Ninja Theory’s Hellblade: Senua’s Sacrifice is piled high with existential dread and psychosis-induced trauma. Much of its challenge lies in trying to identify the truth in a world built from lies — but there’s also the myriad beasts and baddies stopping you from reaching your ultimate goal of saving your beloved Dillion’s soul.
We can’t help you interpret the things you’ll see, read, and hear, but we can definitely help you out with that second part. Here are some tips and tricks to stay alive during Hellblade’s combat endeavors.
General Combat Tips
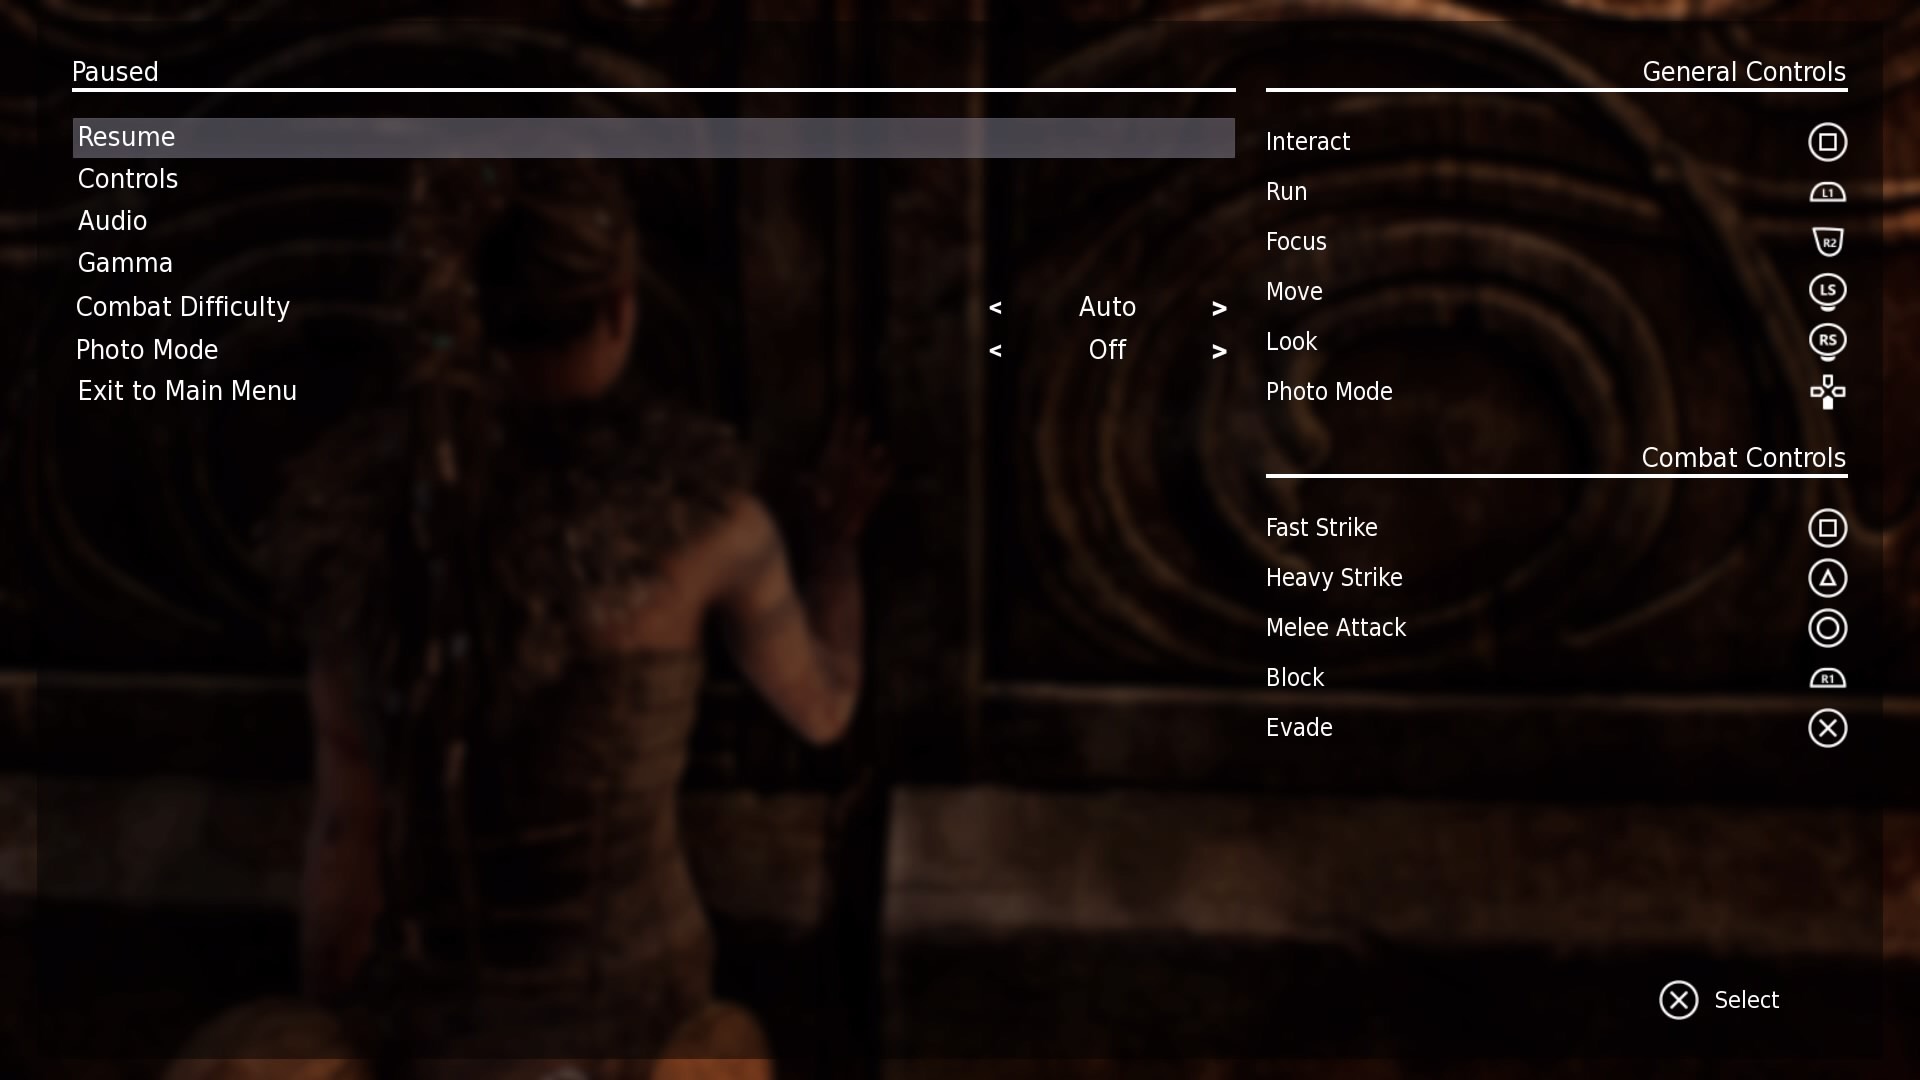
Pictured are the buttons you need to know regarding combat, since there won’t be prompts within the actual game. Here are a few more notes about combat.
- Buttons can be chained together to make some rudimentary combos. Light, Light, Heavy, Light leads into a special extra hit, where Senua stabs her foe, and launches herself away by kicking off of their body.
- Dodging and sprinting while attacking opens up some new attack options, as well.
- Holding down block will mitigate much of the damage from most attacks, but you can only block for so long before you run out of stamina to do so. You’ll leave yourself open for big damage while you recover.
- Countering involves blocking just at the right moment, and will open most enemies up to big damage.
- When knocked down, mash the dodge button to get back up as quickly as possible. You are vulnerable to follow-ups while downed.
- Once you receive the magical sword Gramr, you can hold down the heavy attack button to charge the blade. While the blade is charged, you can still move around as long as the attack button is held down.
Enemy Tips
There are a variety of enemy types, and each of them requires a different strategy if you want to gain the upper hand. They’re typically pretty easy to take care of alone, but as the game progresses, they show up in groups — and when mixed together, their individual quirks can make for some significant obstacles to navigate around. Their names aren’t known, so instead, here are pictures.
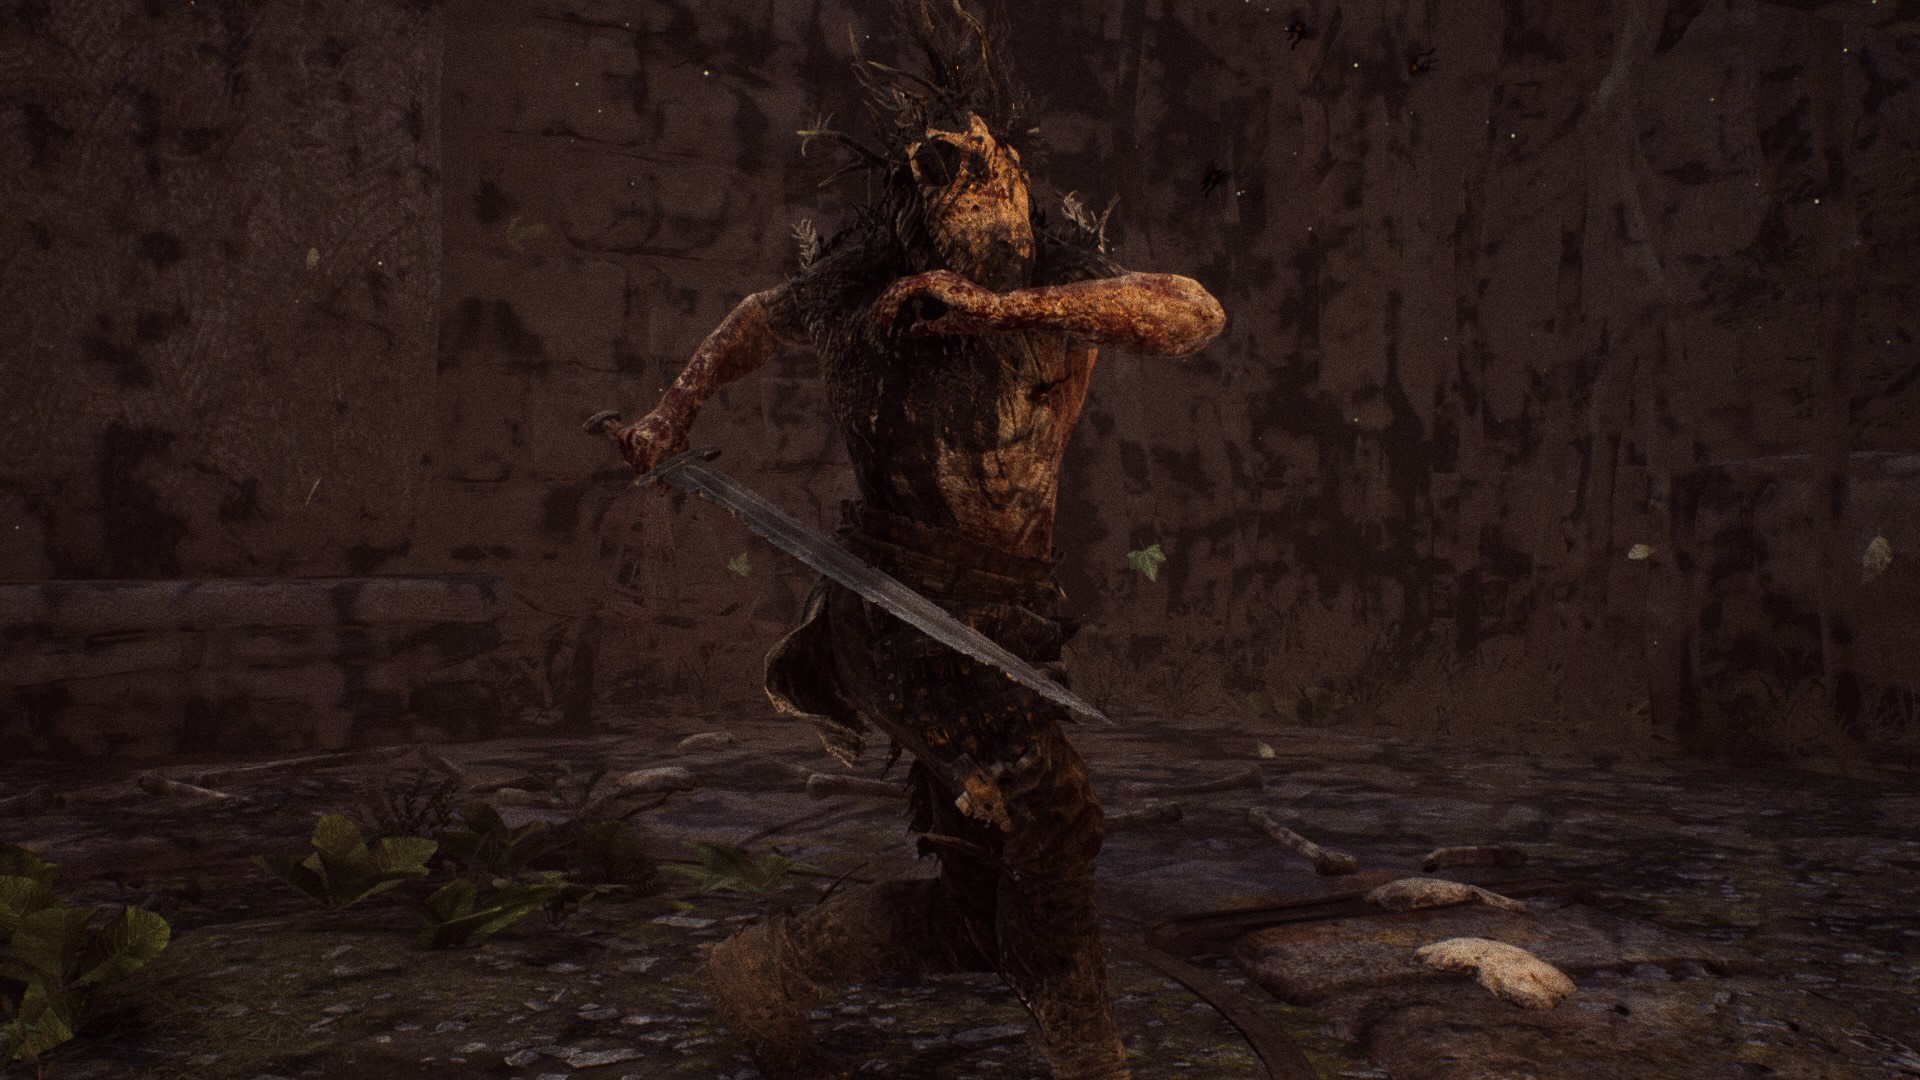
These feathered fiends are the run-of-the-mill nightmare men.
- Their attacks are average speed and they aren’t super aggressive.
- All attacks work well with these guys, and they are pretty easy to counter.
- Don’t let them surround you.
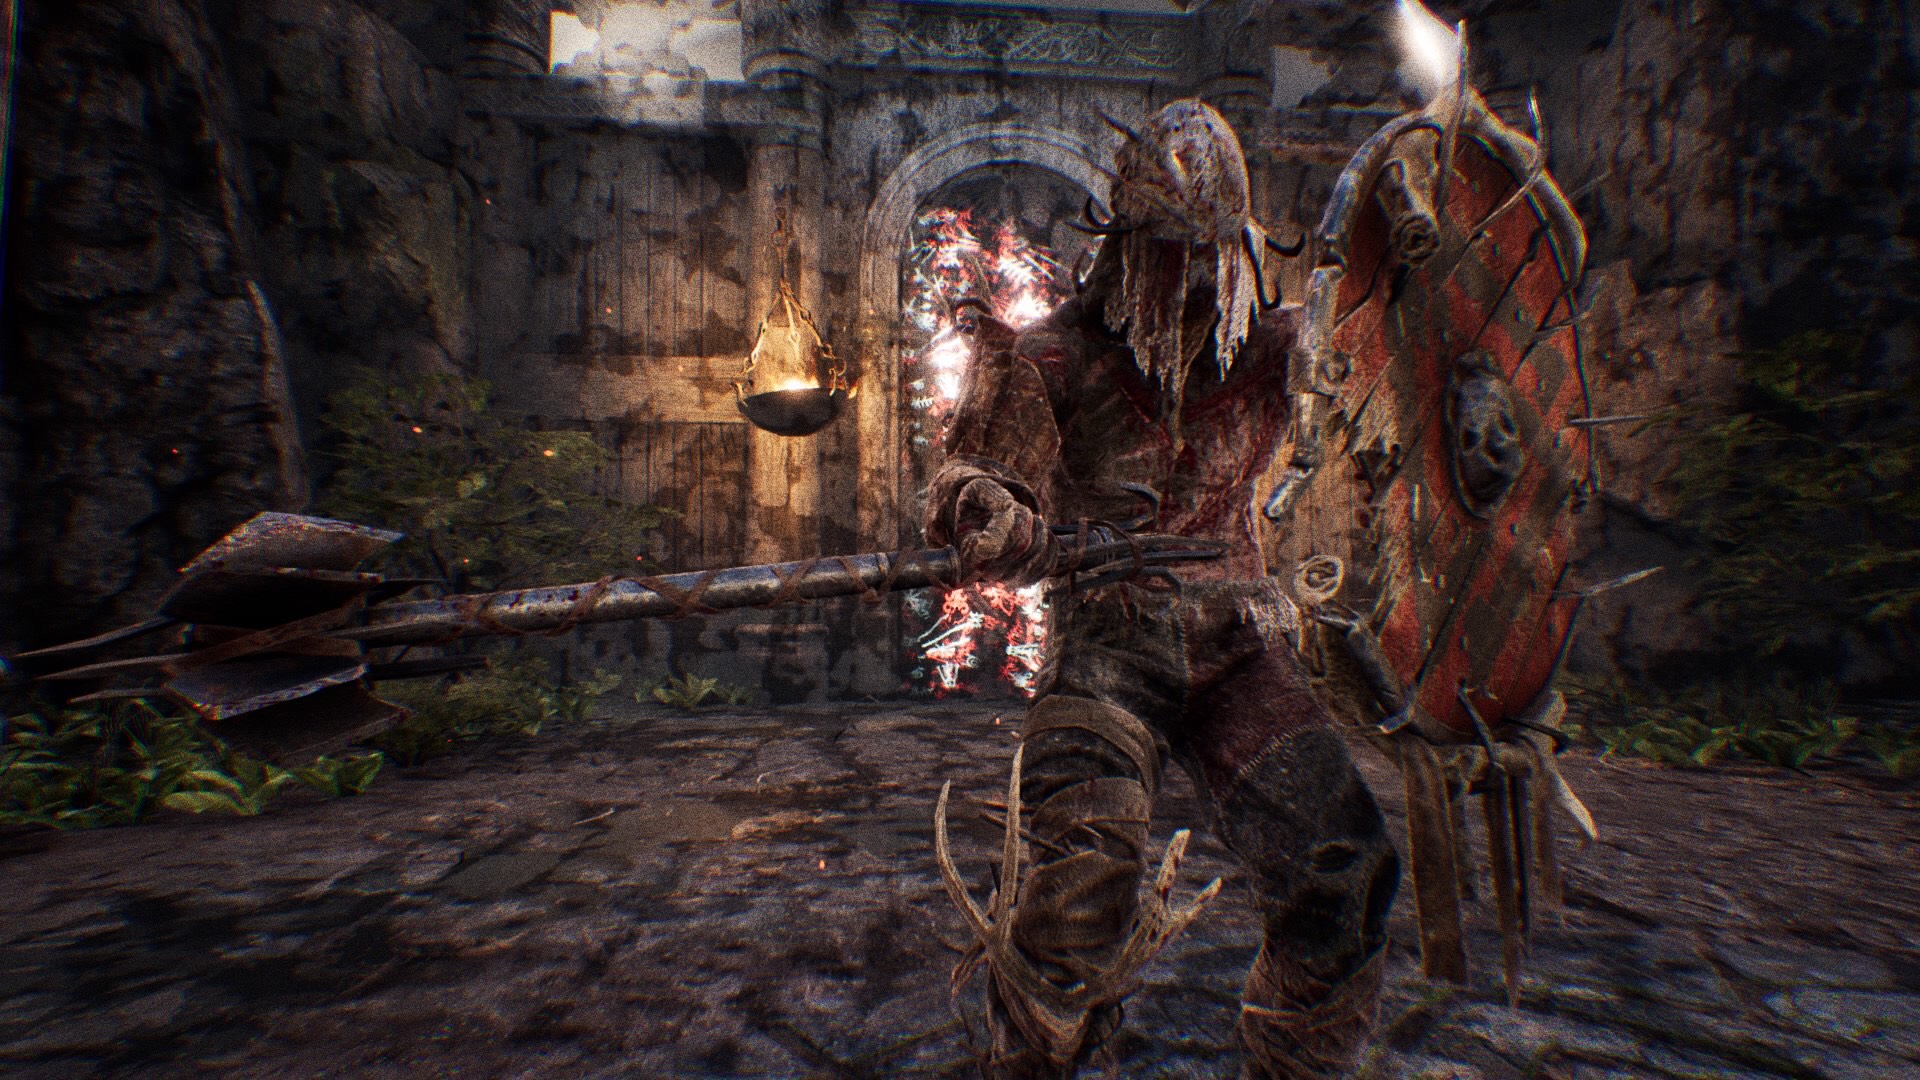
These men come in two forms, with and without the shield.
- Mace attacks are blockable, but it’ll take far fewer of them than sword attacks from the standard feathered enemy before you fall down.
- Slower attacks make them easier to counter, but getting hit cleanly will rock you.
- Shield bashes have the capacity to break your guard, and they use that ability often.
- Kicks are vital for opening up shield men’s defenses and exposing them to your attacks.
These agile warriors use speed as their ally.
- These guys attack very quickly and very often, making them rather difficult to counter.
- They can also throw their hatchets from a distance, giving them a ranged option.
- When low on health, they cloud themselves in darkness and can only be hit when Focus is activated.
These are the feathered troops with some extra spice.
- Shrouded in clouds of darkness, these folks can’t be struck without first being revealed with Focus.
- If you can’t or won’t use Focus, a flash of light will reveal them instead if you counter one while wielding Gramr.
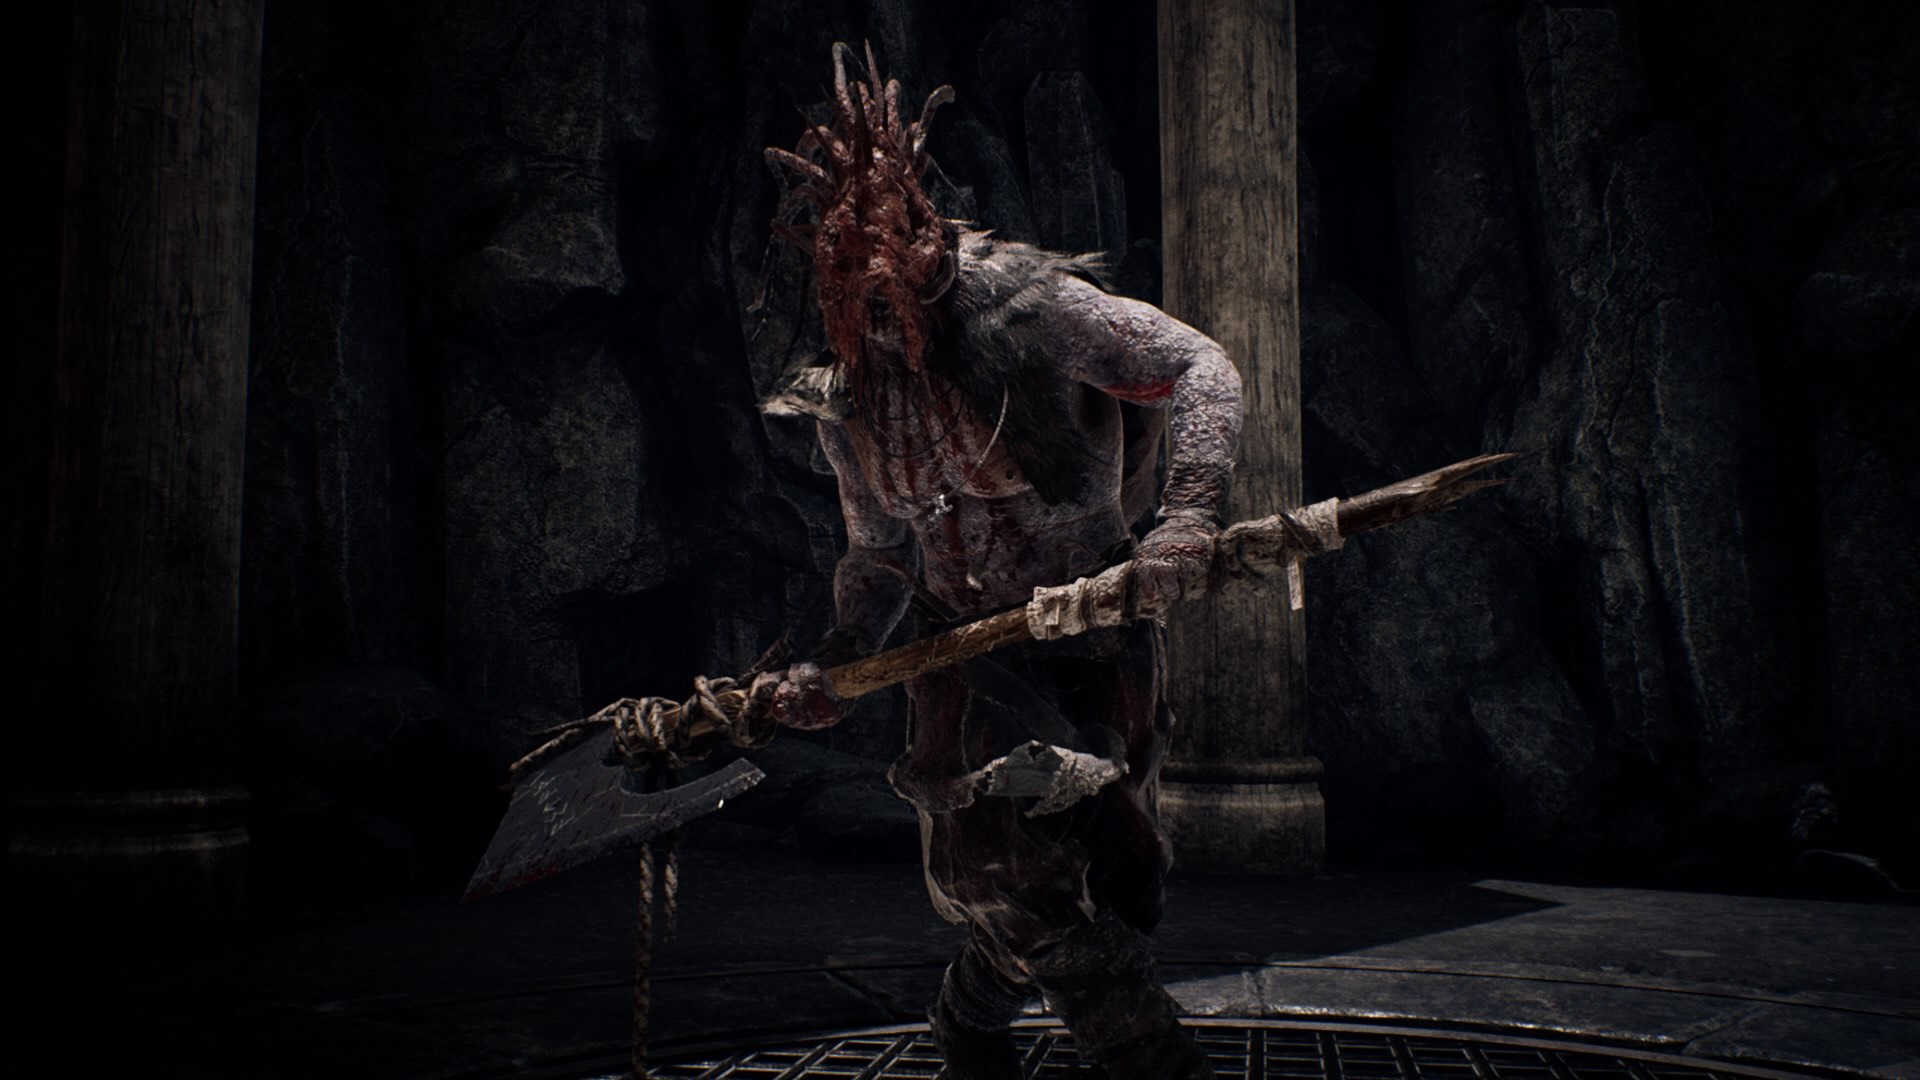
These big lads are very dangerous — if they can catch you.
- These foes are VERY slow, but blocking their swings will drop you every time.
- They can be countered, but it doesn’t leave them open.
- They have a running charge that you absolutely want to avoid at all costs.
- They are very susceptible to charged heavy attacks with Gramr.
Boss Strategies
On this dangerous journey, there are a handful of creatures that stand head and shoulders above the standard foe. These bosses present a wholly unique and greater obstacle for Senua to navigate. It can be tricky if you don’t know what to expect, so let’s round up the “need to knows” about these guys.
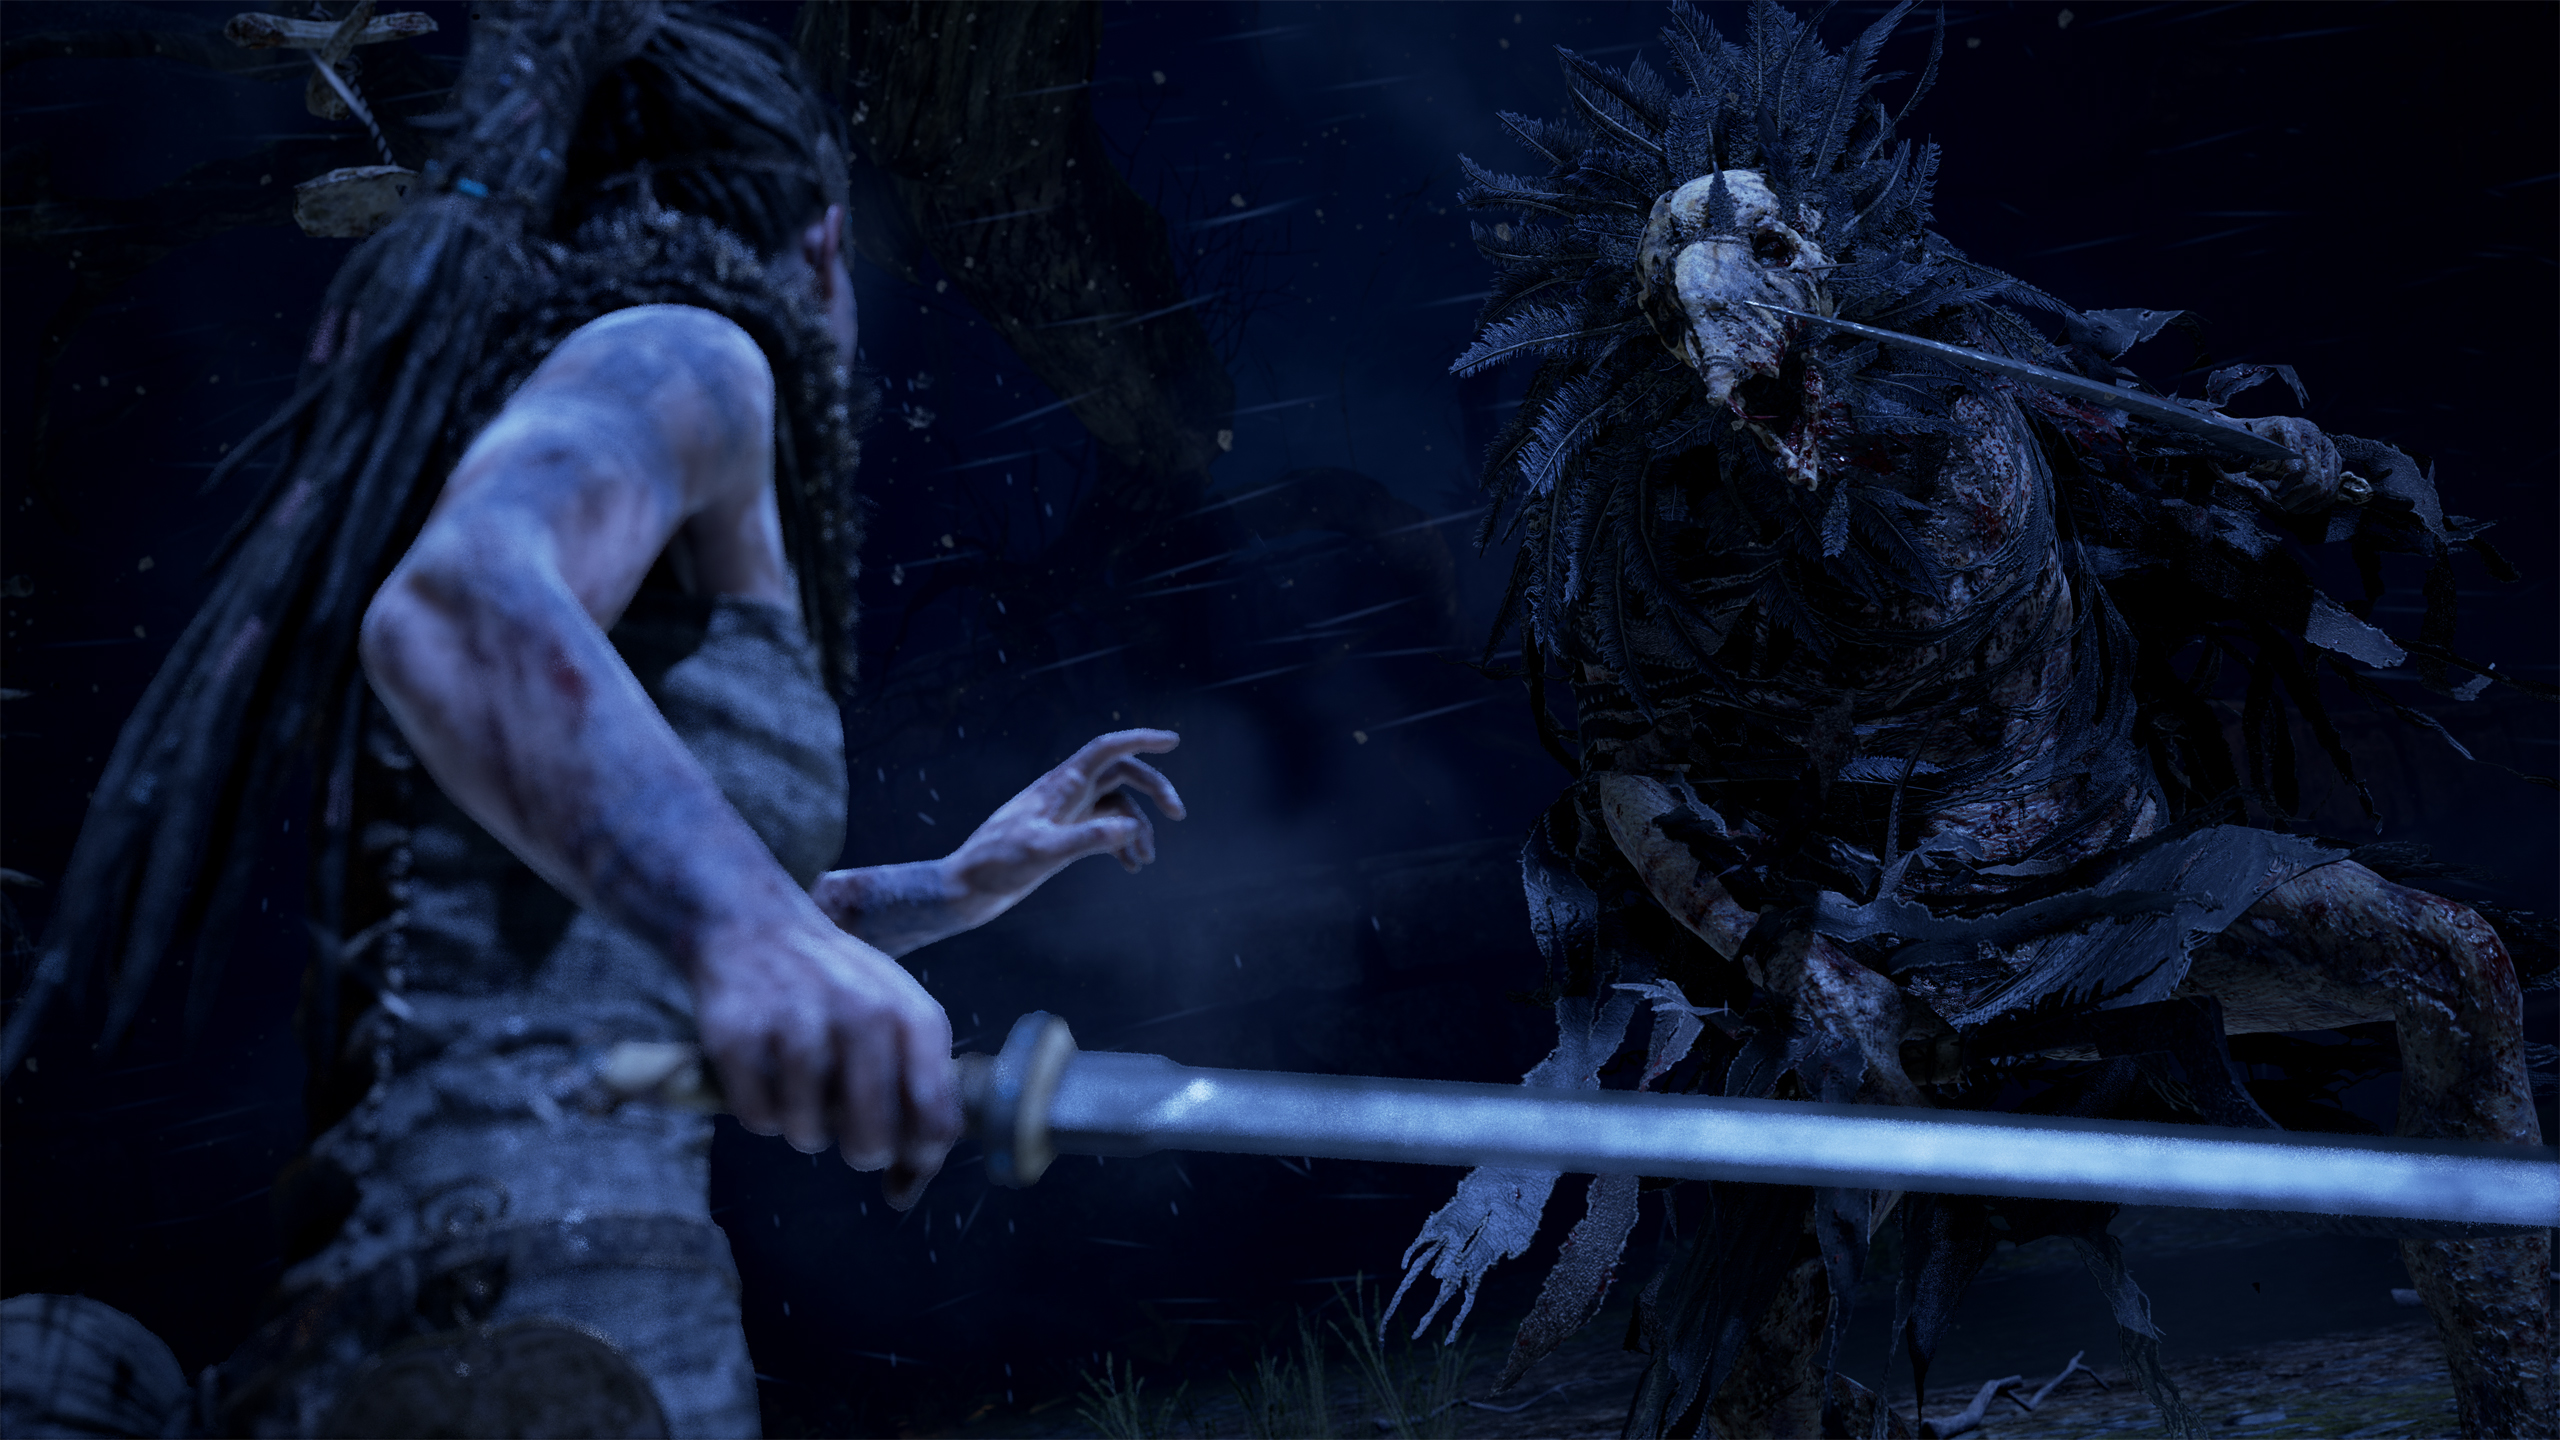
Valravn
In Danish folklore, ravens that feasted on the corpses of chieftains and kings that weren’t given a proper burial could gain the knowledge to become total jerks. They could even transform into knights, depending on what they ate, and level up their jerkiness into the stratosphere.
In Hellblade, Valravn fits the bill. An illusionist trickster deity, he bends Senua’s mind to the breaking point before finally meeting her in combat. During this fight, Valravn proves particularly agile and deft, darting in and out of range while using a wide variety of attacks to tear your body limb from limb. Valravn has a couple of signature attacks to be aware of:
- He has two very easy to block/avoid two-hit combos that will serve as his bread-and-butter pattern when up very close.
- Once he takes enough hits in the pocket, he will jump back and disappear to take a breather, summoning sword minions to handle his busywork.
- When he returns, prepare for him to leap backwards and make some distance. From there, he’ll vault into the air with a powerful attack that’s easy to dodge, but quite devastating if it connects. If he misses, he’ll be stuck in the ground for a few moments.
- When he leaps backwards, he may also dart back towards you like a feathered missile. Attempts to block it will fail and you will be knocked down, but it can be countered, bringing him crashing to the ground instead.
- When he hops backwards, he may also try throwing one of his blades at you. This can be blocked, but if you counter it just right, it will actually fly back into him.
- He may also throw both of his blades at you, which can both be blocked and countered to similar effect.
- When he gets close to death, he will shroud himself in shadows. You’ill have to use your Focus in order to land blows on him.
The major concept to keep in mind here is to stay close to him, as he will spend more time running away and launching his heavier — yet easier to defend against — attacks more often. Make him over extend and expose himself, then punish him for it.
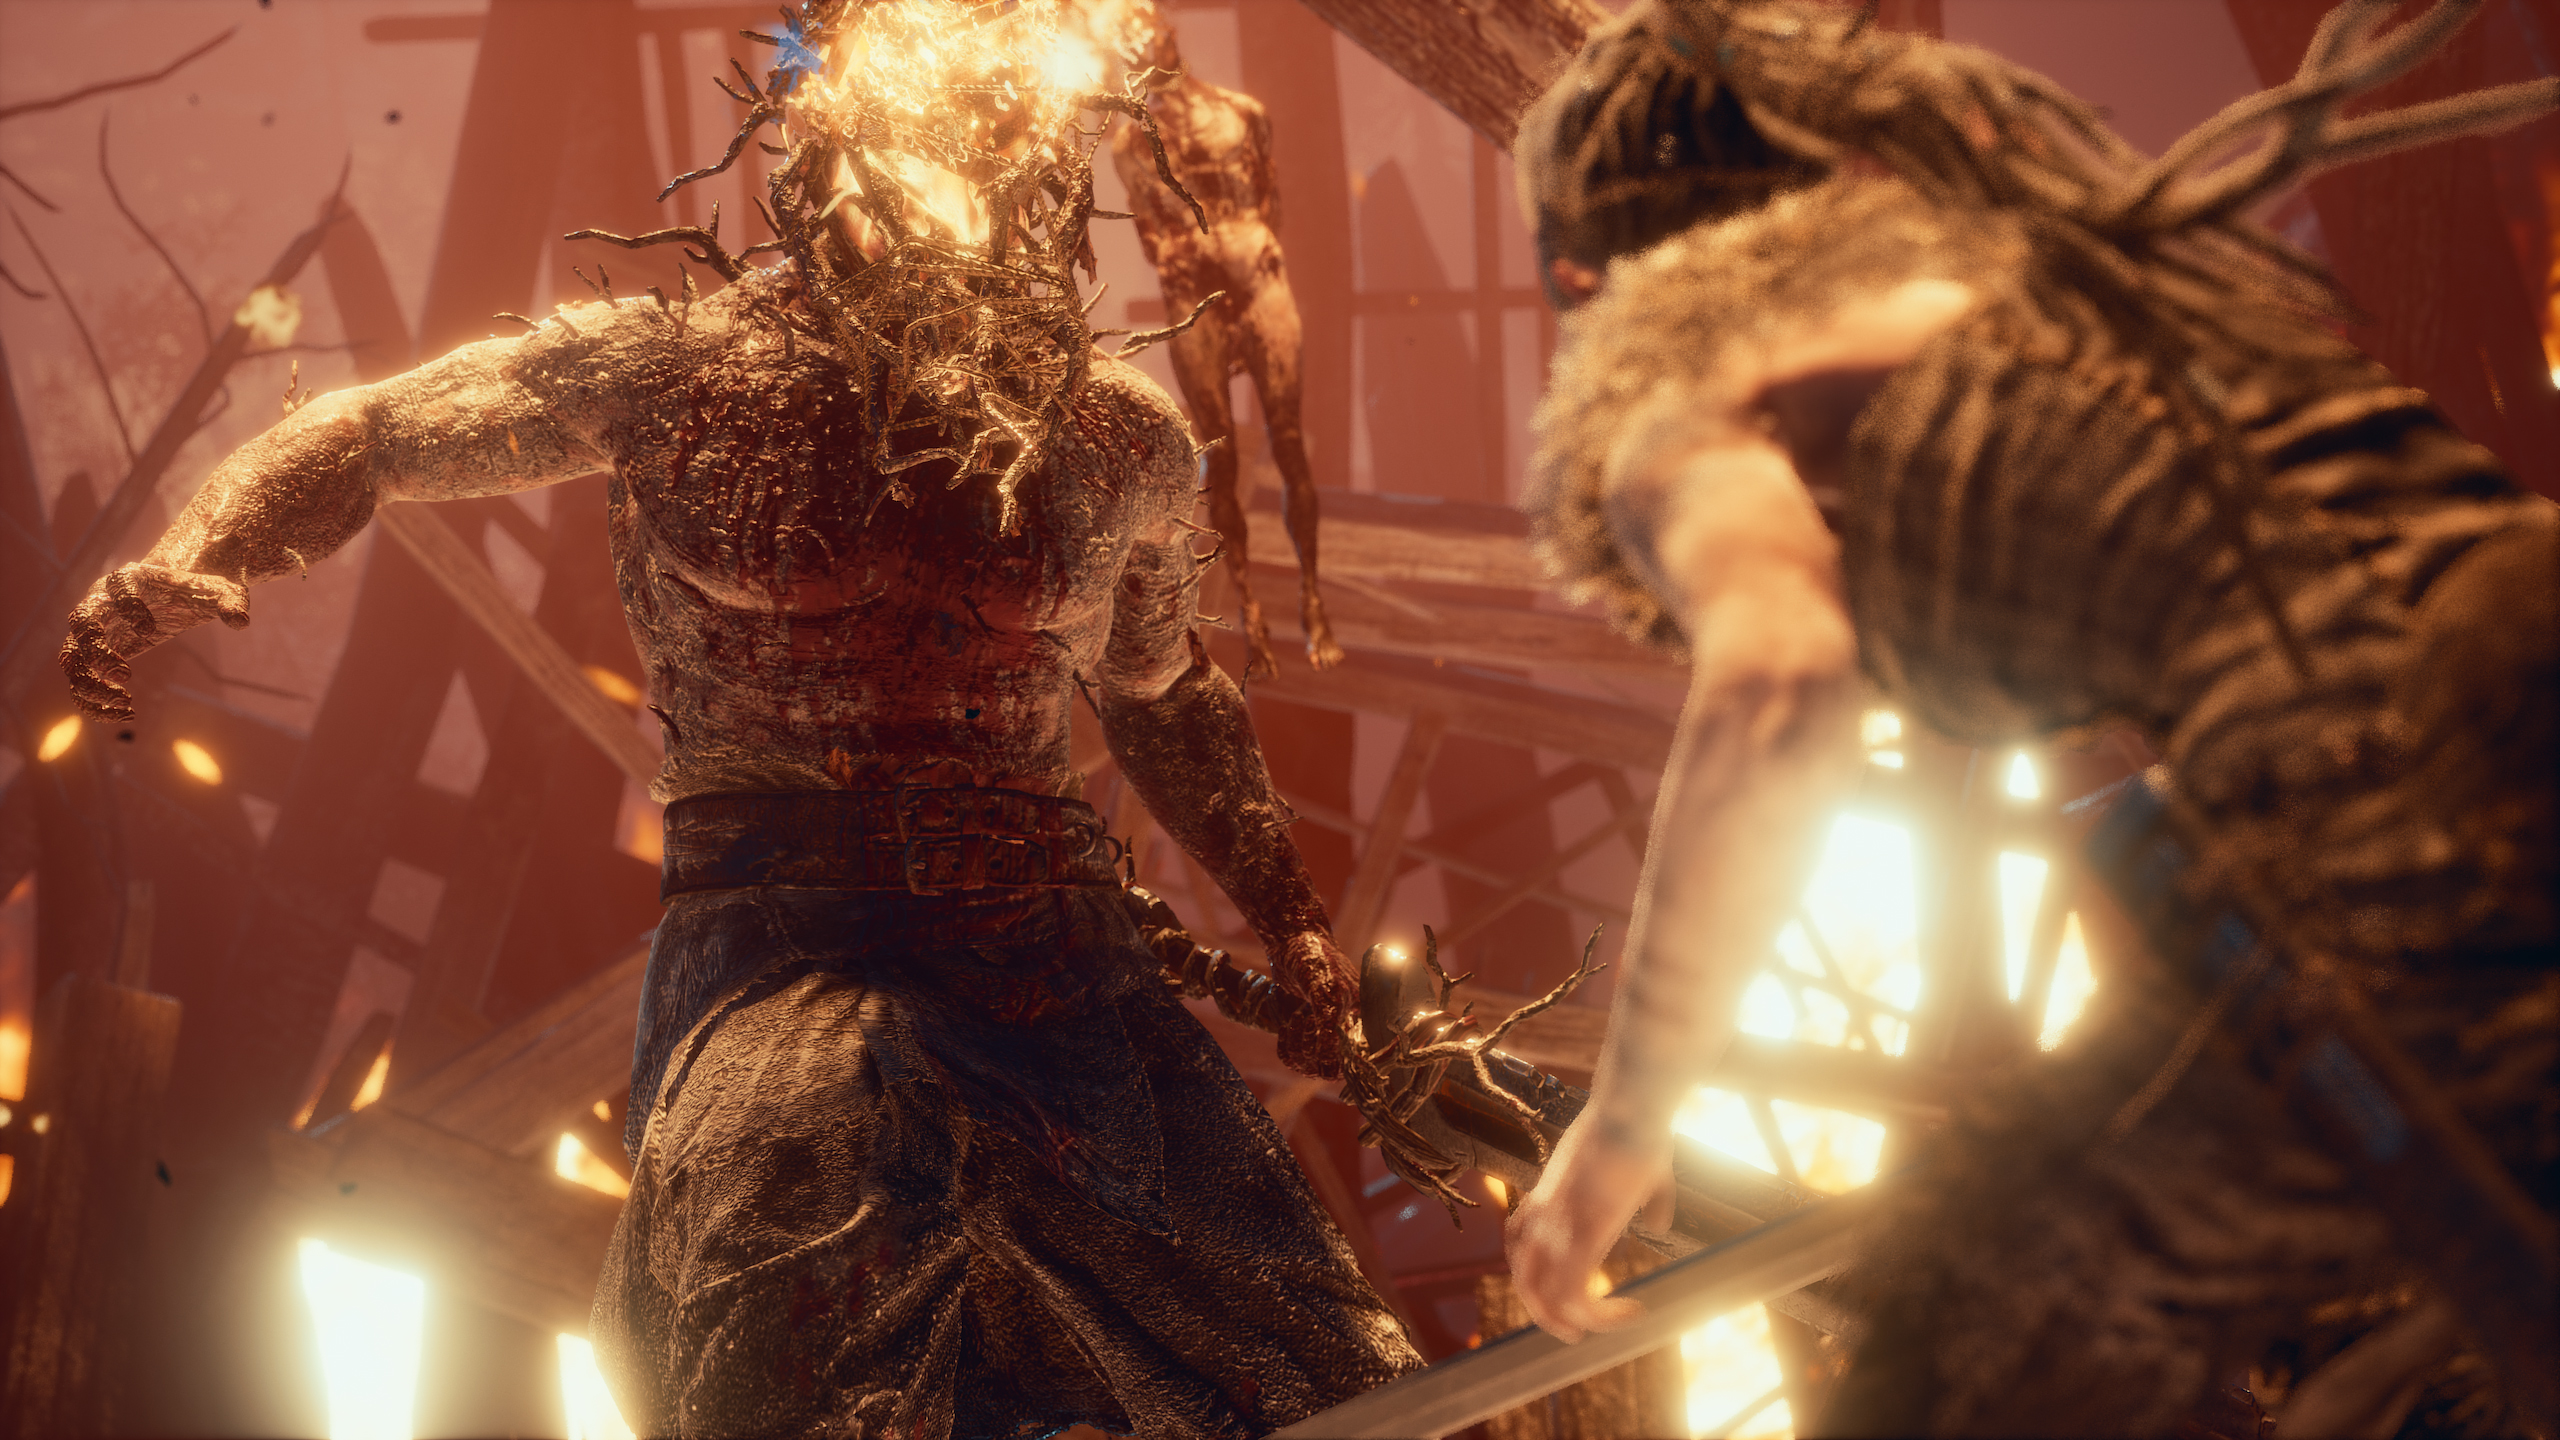
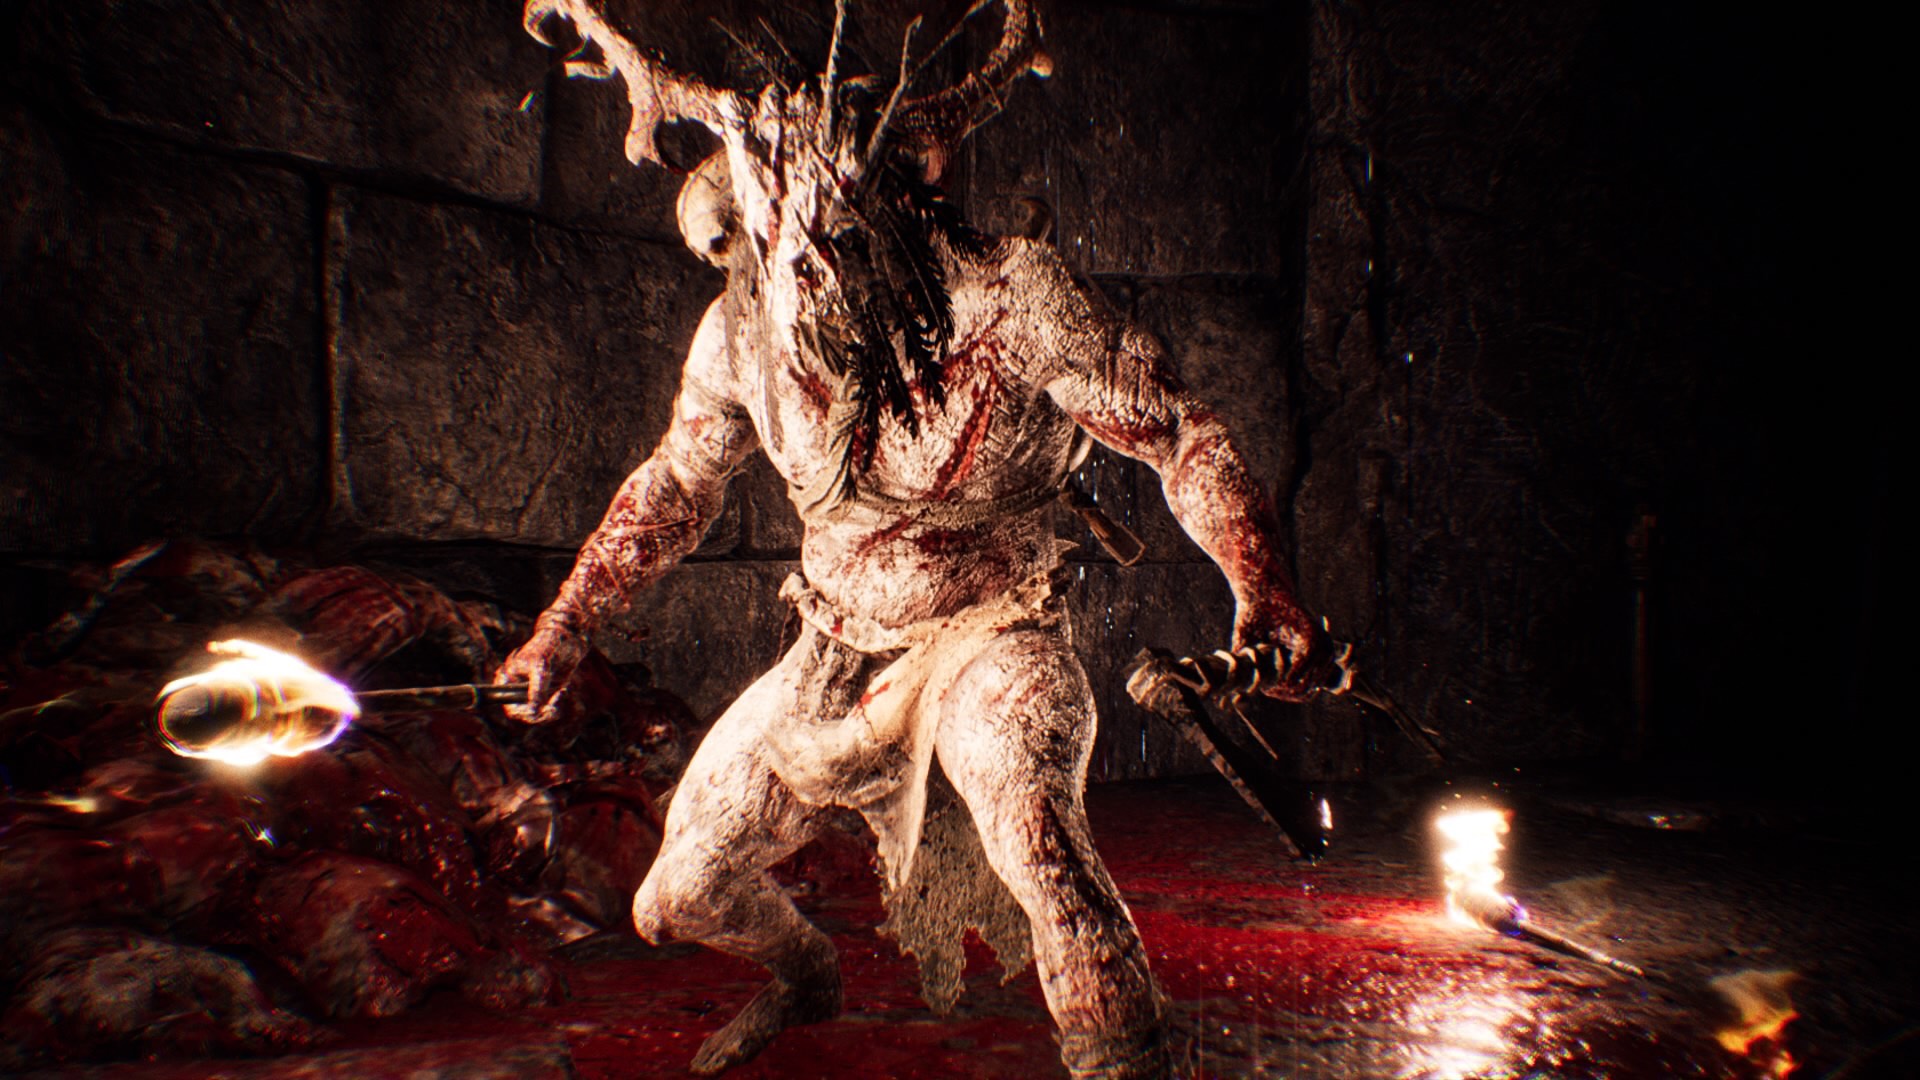
Surtr
Wreathed in fire and motivated by destruction, Surtr leaves the Mulspelheim to march on Asgard and burn it to dust, according to the Norse legend of Ragnarok. Fire explodes before him, and smoldering ash is left in his wake.
Keep that in mind when the God of Fire leaves his throne to take Senua to task. Hellblade’s Surtr is equally as imposing, but thankfully quite easy to dispatch. His attacks are powerful, but straightforward and simple.
- Surtr is a big fan of his front stomp, which has a very short reach and is very easy to avoid.
- He has a big overhand vertical swing with a long reach, but it’s also easy to dodge.
- He also has a grab that is, you guessed it, very easy to avoid.
- He does have a slow, four-swing combo that’s easy to dodge, but it can’t be interrupted, so be mindful of your movement when he starts it up.
- As he takes damage, he will plunge his sword into the ground in front of him and kneel. This will blow you back and start a channeling session as he gathers power. He’s defenseless when he does this, so it’s easy to break his concentration after a flurry or two. Let him finish at your own peril, though.
- When he’s had enough of your nonsense, he will ignite himself and his weapon into flames. You can’t strike him without taking damage while he’s in this form. Use your Focus to put him out and lay the smackdown.
Nothing incredibly fancy from Surtr, but he will catch you slipping if you’re not careful. Strafe him to keep him guessing, and stay at blade’s end just to be sure he doesn’t clip you with something.
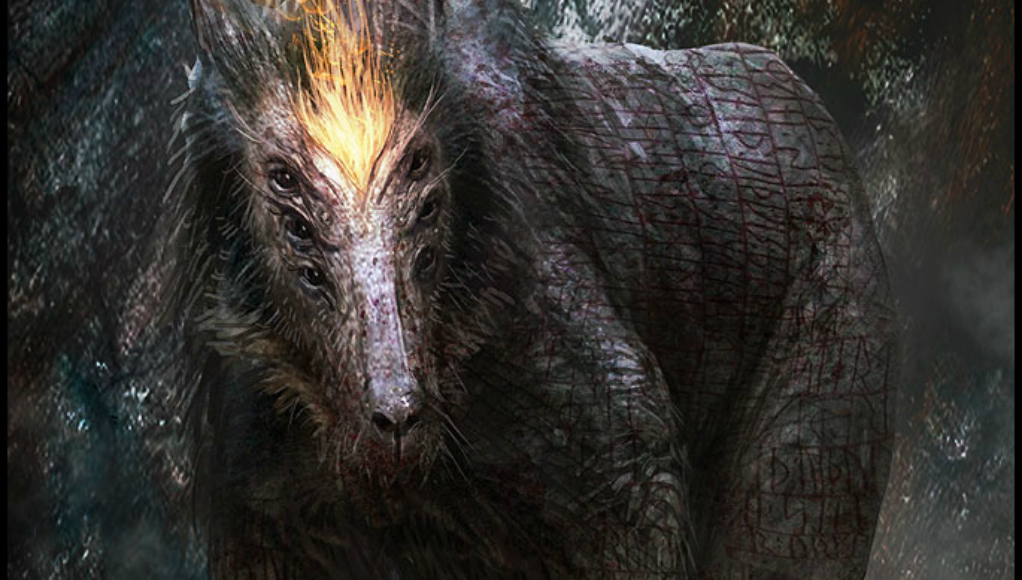
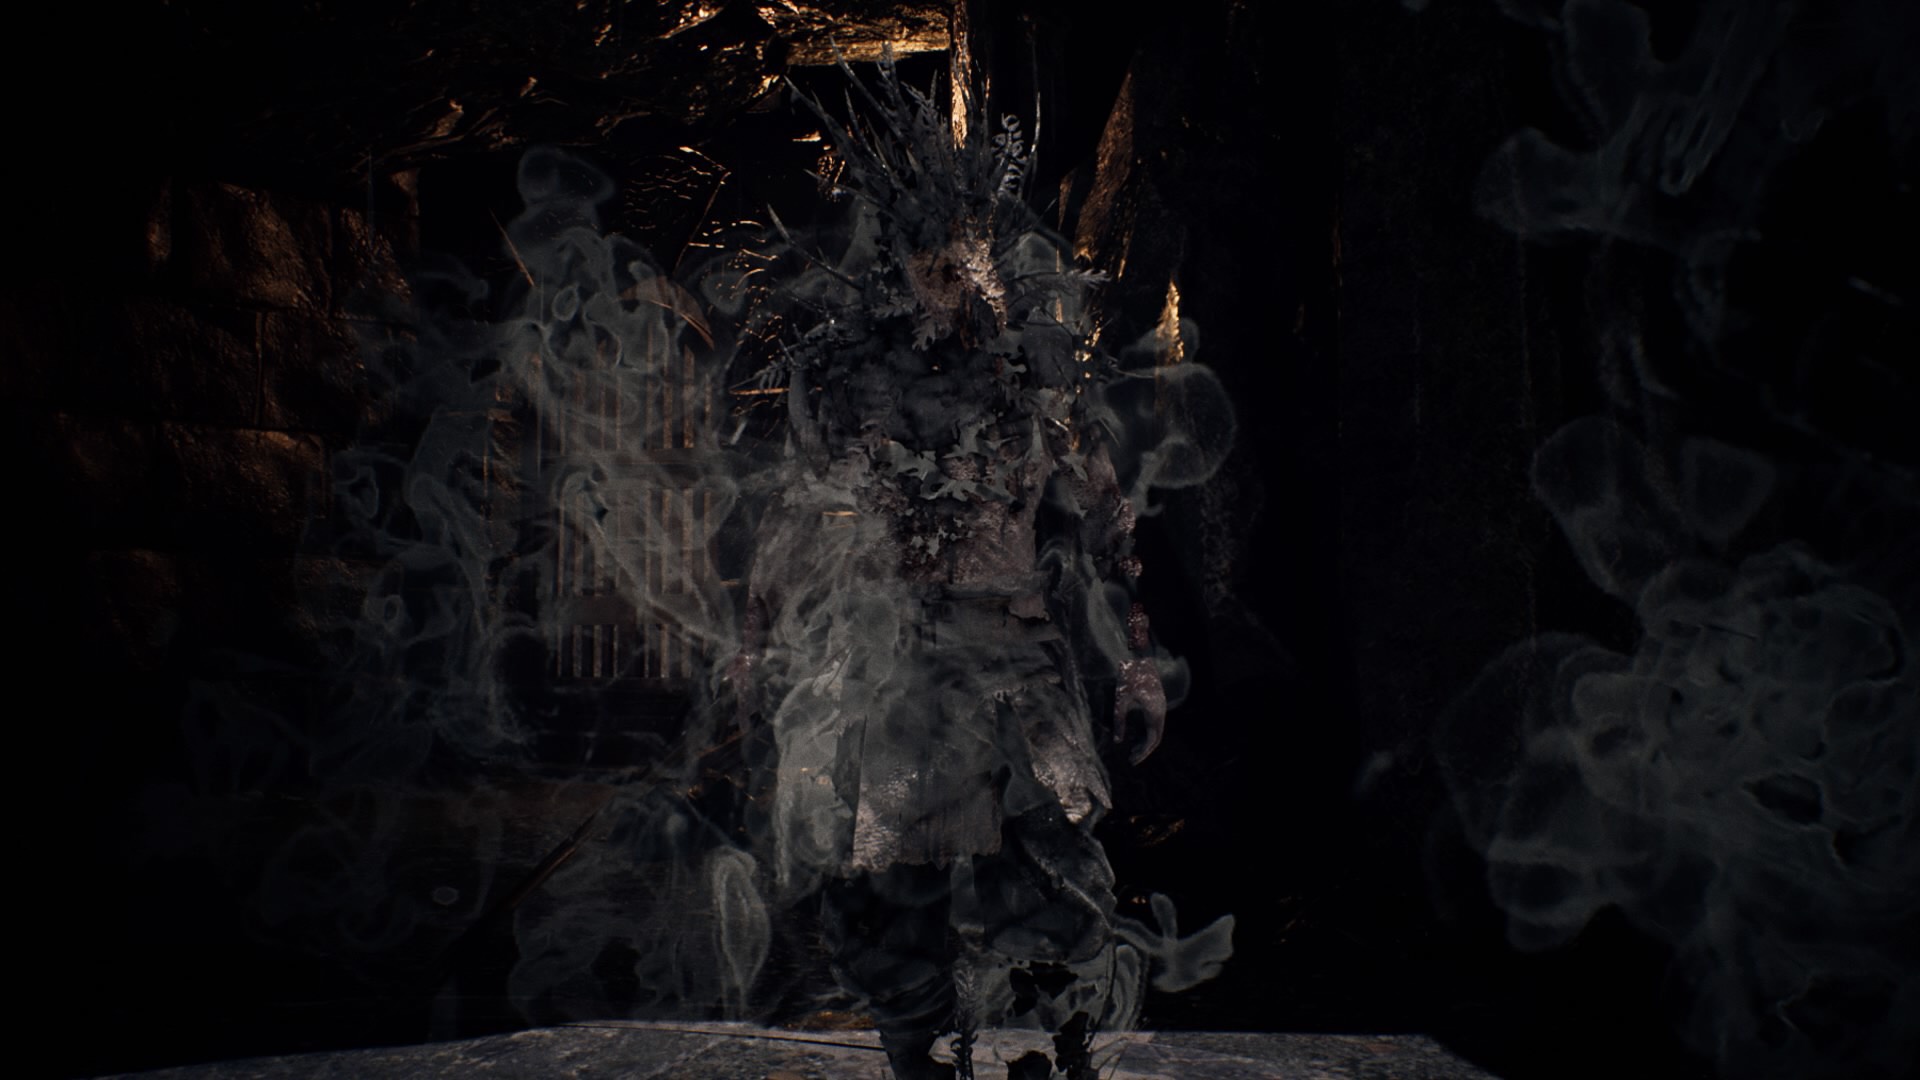
Fenrir
The wolf god, Fenrir, is one of the most recognizable figures of the Norse Mythos. Enormous in size, this son of Loki will be responsible for Odin’s death come Ragnarok — and until then, he’s simply one of the most ferocious creatures in myth.
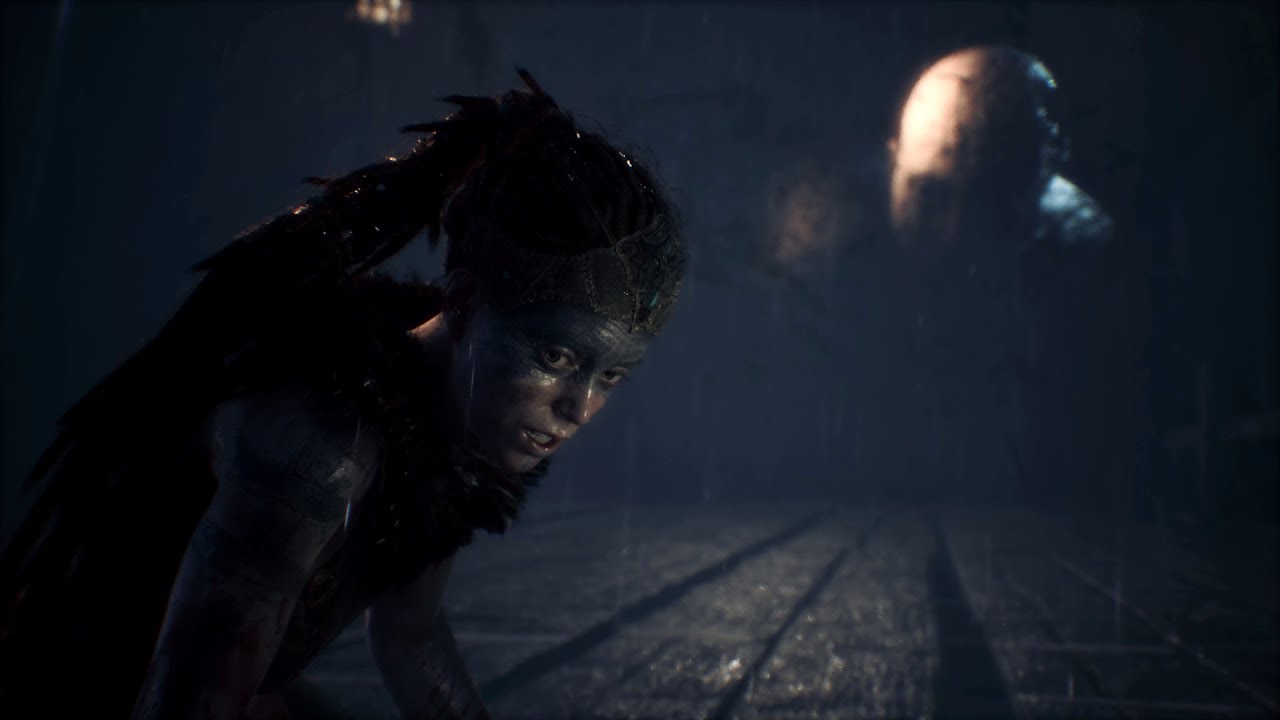
Senua meets Fenrir under different circumstances. He pursues her in waking nightmares, hiding in shadows and tormenting her from afar. Once she is forced to confront him, his rotted body slinks out from hiding and strikes with the very embodiment of fear infused into every blow. Compared to the previous bosses, Fenrir is a step up, challenge-wise, and thwarting him will require some finesse.
- Light and heavy strikes will bounce off of Fenrir’s hide. Gramr’s charge attack (which you use by holding heavy until the sword glows) will pierce him, though, as will attacks thrown while Focus is active.
- He puts in work with his right and left paw attacks, as well as a big bite. All are blockable, but all will knock you down. Remember: blocking will still do damage to you, so it’s best to dodge whenever you’re able to. Countering is an option, but it doesn’t put you in an advantageous state against the beast.
- When Fenrir is at a distance, he will leap towards you with a mighty blow that is absolutely not worth blocking. Dodge when he gets airborne.
- Eventually, Fenrir will meld into the blackness surrounding the area and linger for a time. You wont be able to see him, even with Focus, so it will be difficult to prepare for his big dive attack that will follow shortly. Blocking is an option, but you’re still taking damage and getting knocked down. But it you listen closely, you’ll be able to tell which direction he is coming from by the sounds he’s making. Use this to center the camera in the correct orientation and dodge.
- Fenrir has a nasty trick, where he will vomit darkness and plunge the screen into a red strobe light of utter chaos. You’ll see nothing but blackness and rapid visions of Senua’s mother (the same stuff you were running from throughout the stage), with the image to only be broken up periodically by Fenrir’s attacks. He is near impossible to see without Focus when this is happening, so it’s worth saving it until he starts this nonsense.
- Gradually, the light that illuminates the center of the battle area will shrink, and the blackness around the edges will close in on you. This will also make Fenrir very hard to predict. Focus is key here, as well.
Fenrir can be a nasty opponent, and it’s can be a real chore to keep up with his movements. On top of that, he is basically invulnerable without Focus. He’s easily your most dangerous fight thus far, but some patience and liberal use of Focus will see you through it.
Hela
The giantess/goddess of the Underworld of Hel, she is the curator of souls. She’s cruel and vain and dangerous, which runs in her family — she’s the sister of Fenrir and the daughter of Loki.
She’s also the reason Senua made her epic trip in the first place: to bargain for the soul of her beloved. If duking it out with Hela directly was what you were expecting here, though, prepare for a swerve. You and her never truly cross swords. Instead, you’re beset by waves and waves of minions, as well as shadowy clones of the other three bosses. There are still some things to keep in mind here, though.
- When you finally meet the shadowy bosses, they will morph between the three, and eventually into a pair of two out of the three. The same basic rules apply as before, though.
- That said, the forms they take that require Focus to hit are not present, and Fenrir’s shadow can be hit by normal attacks.
- During the last big wave of minions, as Hela literally crouches next to the action to get an up-close-and-personal look, you will eventually run out of Focus. This is a fight you can’t win, and that’s intentional.
This should be enough information to get you through the many combat encounters that you’ll engage in over the course of the game — but if you need more background information, or a deeper dive into its lore, make sure you check out the Hellblade Wiki.