Battlefield 1: In the Name of the Tsar doesn’t just add new maps focusing on the eastern front of World War I. It also adds two new maps (and a new Operation) revolving around the bloody Russian Civil War that occurred during and after the first world war. One of the Russian Civil War maps, Volga River, is among the expansion’s largest, and should make tank-piloting Battlefield players extremely happy. This guide will give you the essential information and tips you need to achieve victory.
Map Overview
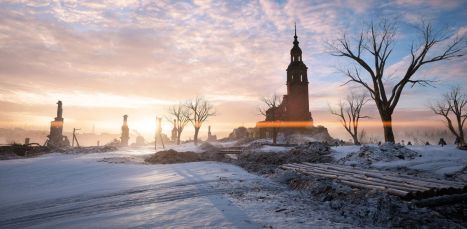
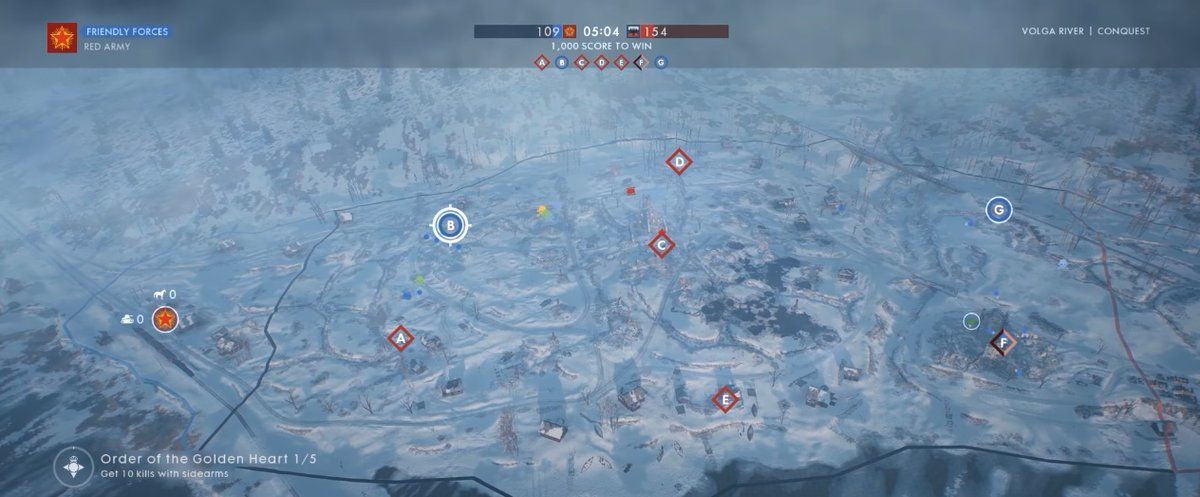
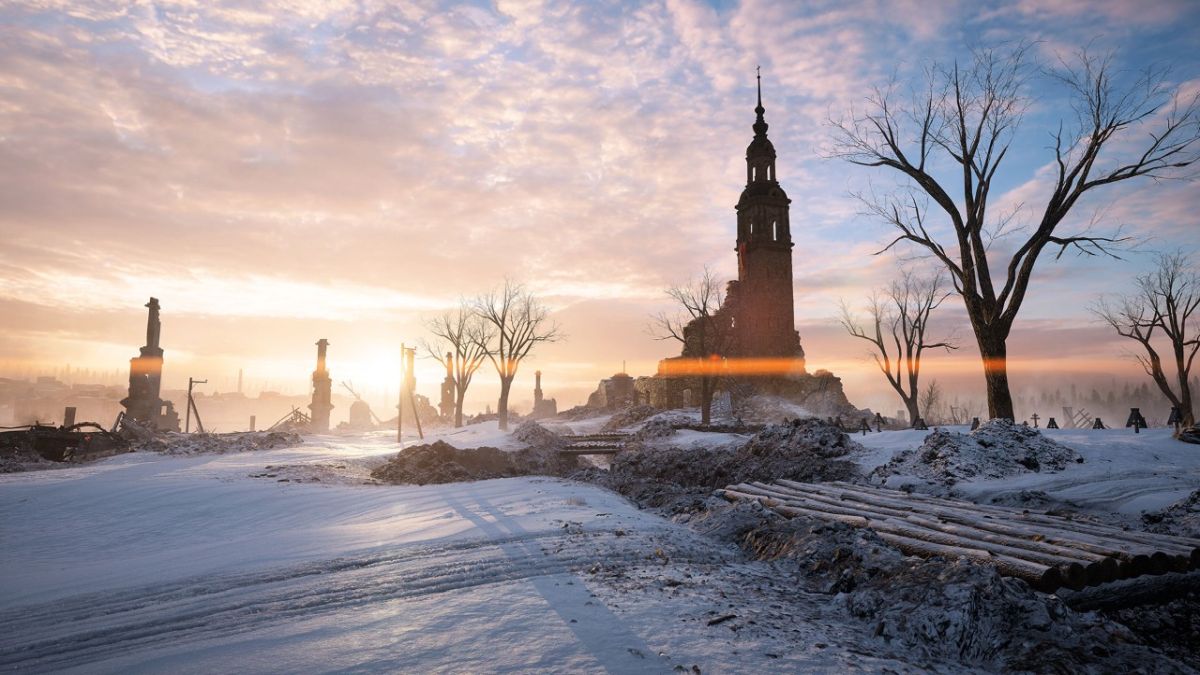
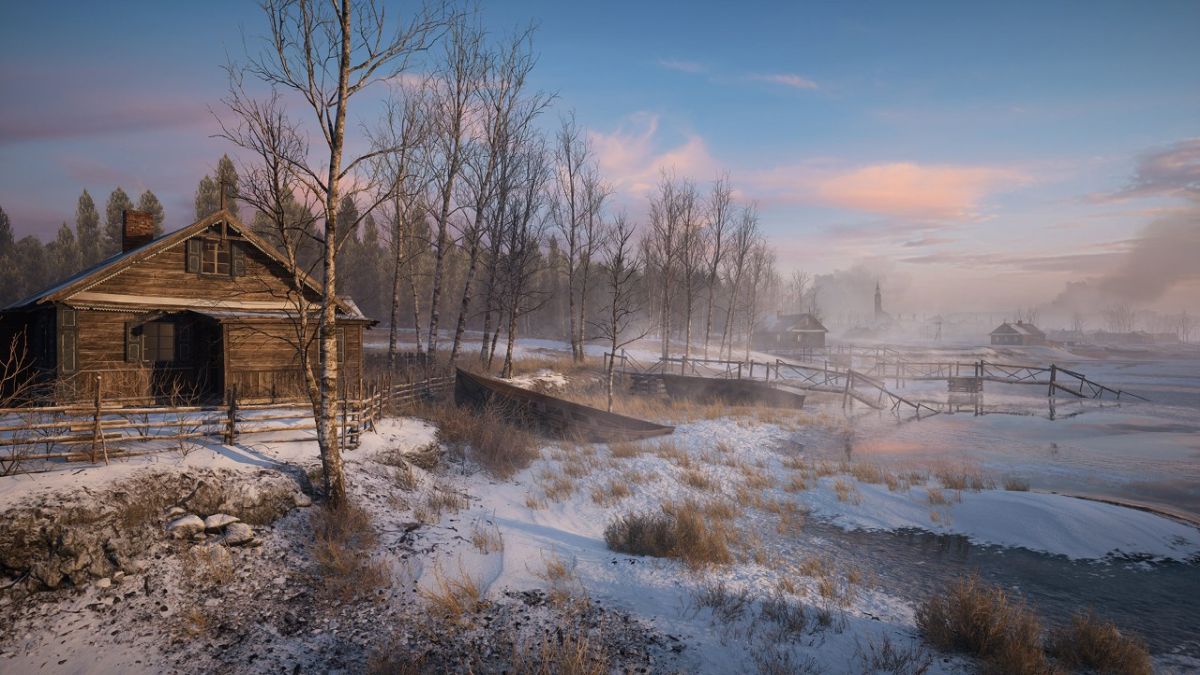
Volga River is a large, open battlefield littered with crumbling buildings and ruins. On the Conquest game mode, three points line the center of the map, with two additional points on both the western and eastern sides of the map for a grand total of seven capture points. A destroyed church serves as the focal point towards the center of the map, sitting slightly above the rest of the landscape. Multiple tanks spawn for both the Red Army and White Guard forces, which results in heavy armor engagements across the open wasteland.
Spawn Information
The Red Army spawns to the west of the map near two capture points, A and B, which are roughly connected by a rudimentary trench. The White Guard spawn on the eastern portion of the map near the G and F points, with the F point being a collection of small buildings.
Key Features And General Tips
Want to learn more about the map’s features and how to utilize them to your advantage? Here are some helpful tips to help you achieve victory.
Hold The Church
The destroyed Zevina’s Church capture point serves as the center upon which all combat in Volga River revolves. Its higher terrain gives the occupying team vision of the whole surrounding battle while also allowing scouts to fire down upon the enemy team from long range. The church itself is difficult to defend, however. The building is almost entirely destroyed, with just a few walls still standing to provide cover for the occupying team. On the other hand, there are multiple entry points and numerous piles of rubble that can be used for cover when assaulting the structure. It’s a struggle, but fighting to keep control of this essential point is well worth it.
Keep The Tanks Rolling
Volga River is one of the few maps in the “In The Name Of The Tsar” DLC which features a heavy emphasis on tank-gameplay. The flat terrain and large spaces make the map well-suited for armored warfare, and using tanks effectively can be the difference between victory or defeat. Use tanks strategically to capture less defended points with minimal losses, rather than storming heavily defended areas where anti-vehicle weapons can quickly destroy a tank. If possible, recruit a support player (or play one yourself) to keep your vehicle repaired with the wrench gadget.
Take Cover Where You Can
This one seems fairly obvious, but it’s important nonetheless. Given that Volga River is such a large, open map with few buildings, making your way from one point to another without being killed is an important skill. While there’s not much obvious cover, there are tons of rubble piles, small trenches, and freestanding chimneys that can be used to stay alive as you make your way from point to point. Simply sprinting across the map is a terrible idea, especially if your team doesn’t control the central church location.
Class Tips
As is the case with every map, each class will have areas and tasks they excel at and others that they will want to avoid. Make sure you’re prepared with these class-specific tips.
Assault
Volga River is a large, open map with few interior areas, something that usually isn’t the best-suited for the assault class’s close-range weapons. That being said, the assault class’s anti-vehicle expertise is incredibly important on this map given the number of tanks rolling across the battlefield. Equip your favorite anti-vehicle weapons (the rocket-gun is especially good due to Volga River’s open landscape) and take out the enemy armor to secure victory for your team.
Medic
Medics are best in the thick of the action, keeping teammates alive and healthy enough to repel enemy assaults. As such, medics will be spending plenty of time either defending or assaulting the central church. Due to the open nature of the map, medic players may want to equip a rifle with a lens or telescopic sight to pick off players from a distance.
Support
Just as the assault class’s anti-vehicle weapons are important on Volga River due to the amount of enemy armor present, the support’s wrench gadget is equally important when it comes to keeping your team’s tanks alive. Mortars are great for weakening enemies hiding out in the map’s central church location as well, as there is little cover within the church itself.
Scout
As always, scouts will want to try and occupy the high ground whenever possible. That means occupying the church if your team controls it and firing down upon enemies attempting to make their way towards the center of the map. If being in the middle of the action isn’t your cup of tea, scouts will find plenty of opportunities to pick off players. Set up near a piece of cover (like a freestanding chimney) and take shots at approaching enemies storming the church, or do a little counter-sniping.
For more information on the weapons, maps and vehicles of Battlefield 1, be sure to check out the Battlefield 1 Wiki. Battlefield 1: In the Name of the Tsar expansion is available now for Battlefield 1 premium members and arrives September 19 for season pass holders.