Cuphead’s notorious difficulty makes it a Max Fleischer-flavored hellscape. The bosses are fierce and furious, and without some guidance, they can be a truly bitter tea to swallow. That’s where this guide comes in. If you’ve conquered Inkwell Island I, congratulations! The bad news is the bosses that call Inkwell Island II home are even more challenging than the first collection of baddies you pummeled into submission. The good news is with this guide in your arsenal, some persistence and a dash of luck, you’ll be collecting all those isle II contracts in no time!
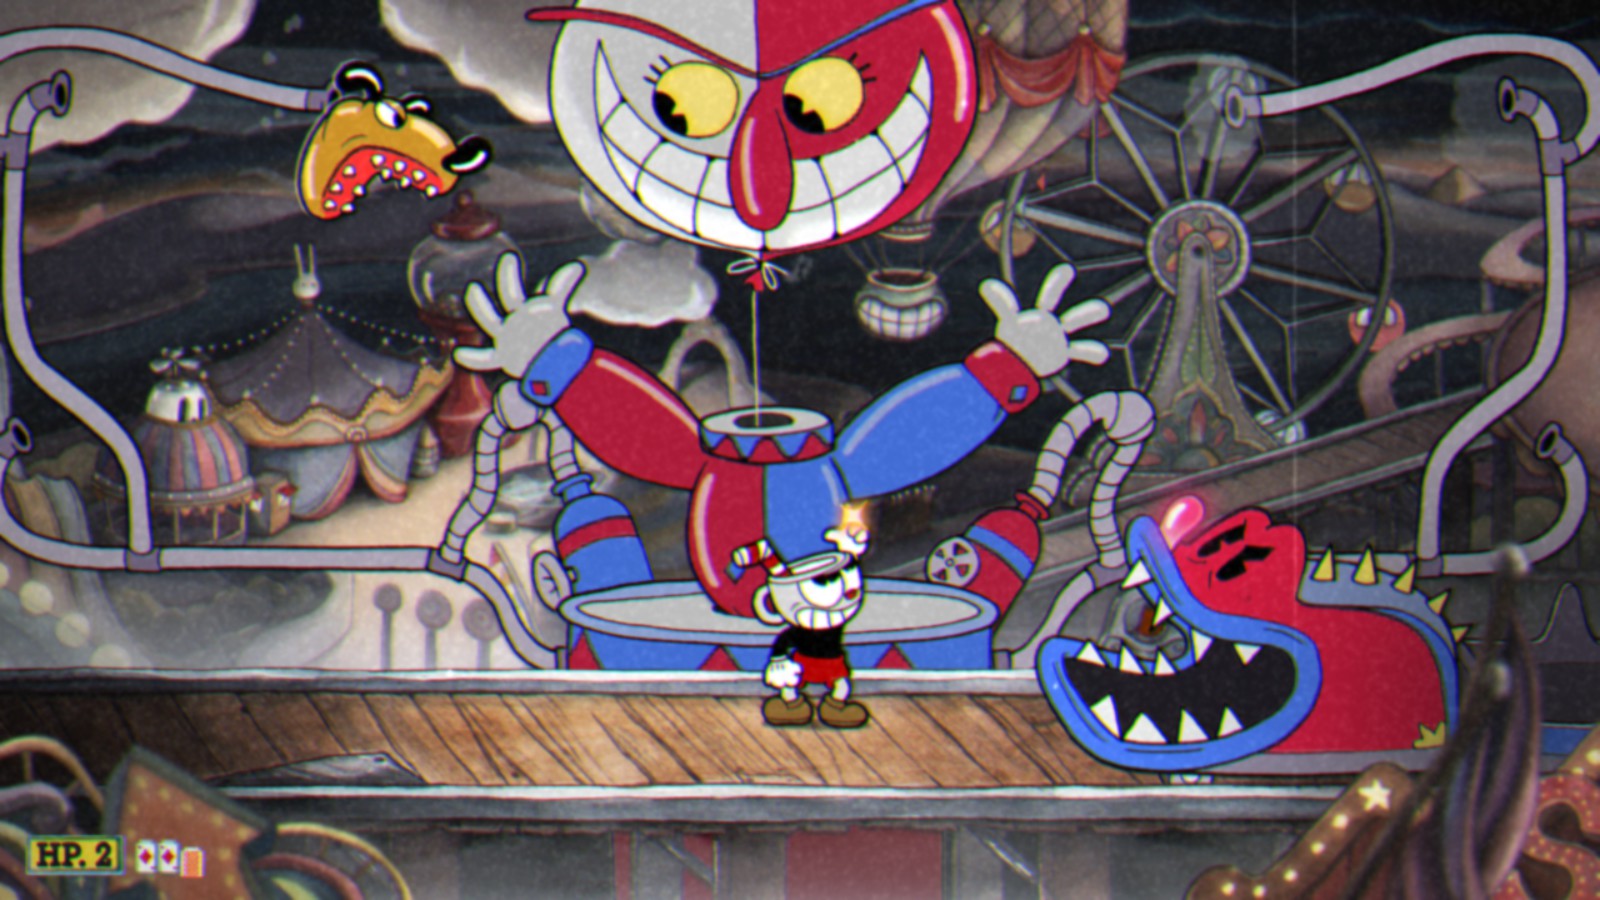
Baroness Von Bon Bon
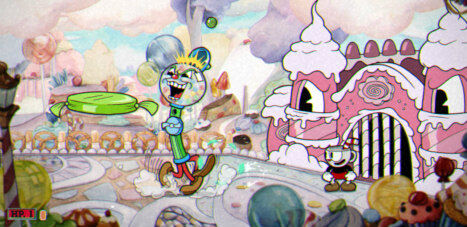
Baroness Von Bon Bon is what happens if Candyland’s Candy King had a Gundam that was also the Candy Castle. While you try to picture that in your head, know that Baroness is all about the razzle-dazzle of keeping you guessing. She has a wide pool of attacks that she uses at random, so being ready for all of them is key. I liked Charge and Rebound for this battle, weapons-wise.
First Phase
In the opening section of the fight, you have to navigate between a pair of threats. Baroness tucks herself into the safety of her castle, and will fire a rifle at you periodically, as well as sending jellybean soldiers to beat you up. On top of that, she has a set of five mini-bosses that will exit the gates to challenge you personally. They are chosen at random, and dealing with each requires a unique strategy. Take notice of the floating candy platform mid screen, as it will be key to getting through this.
The monstrous Candy Corn spins and moves in straight lines, cutting his path at right angles to form some facsimile of a figure eight around the screen. If you can stay behind him, he’s easy to deal with — just be wary when jumping over him, as he changes directions on a dime.
The flying, moth-like Waffle will flutter around the screen, stopping every so often to burst itself into nine pieces, only to eventually pull itself back together. These pieces shoot in eight directions, so the position that it stops in will influence whether you should jump over or duck under. Stay to one side of him for as long as you can to give yourself time and space to react when he breaks up.
Two Jawbreakers, one huge and one small, will slowly shadow you across the screen. The big one is easy to dodge, but relentless, and his little tag-along makes it hard to just chase behind him passively. Keep up the shooting as you bob and weave and he’ll disappear in no time.
A tall Gumball Machine will sprint from one end of the screen to the other, firing gumballs out of the top of its head and raining them down on you below. Standing on the floating platform will give you the height needed to jump over him, but may put you in harm’s way, thanks to the gum. The Smoke Bomb charm works wonders here.
Finally, there is a squat yet feisty Cupcake, who makes aggressive, diagonal leaps through the air, and ground pounds straight down at the height of his jump. He is deceptively large, and difficult to stand close to thanks to a frosting shockwave that triggers upon his descent. You’ll need to put a lot of screen between you and him to stay safe while shooting.
Second Phase
After you beat any three of the above mini-bosses, Baroness will jump on top of her castle, and ride it like an armored tank or chariot, chasing you toward the left-hand side of the screen. There are two attacks to worry about here. Firstly, Baroness will actually tear her head off of her shoulders and throw it at you. It will follow you around the screen for a time and make staying posted on the candy platform basically impossible as you attempt to ride the chase out. Secondly, her fortress will spit out giant peppermints that roll across the screen and are fairly easy to clear, especially if you can get on the floating platform. Dodge these deftly and keep in mind that you have to hit the Baroness herself with your shots to do damage, not the castle.
Djimmi the Great
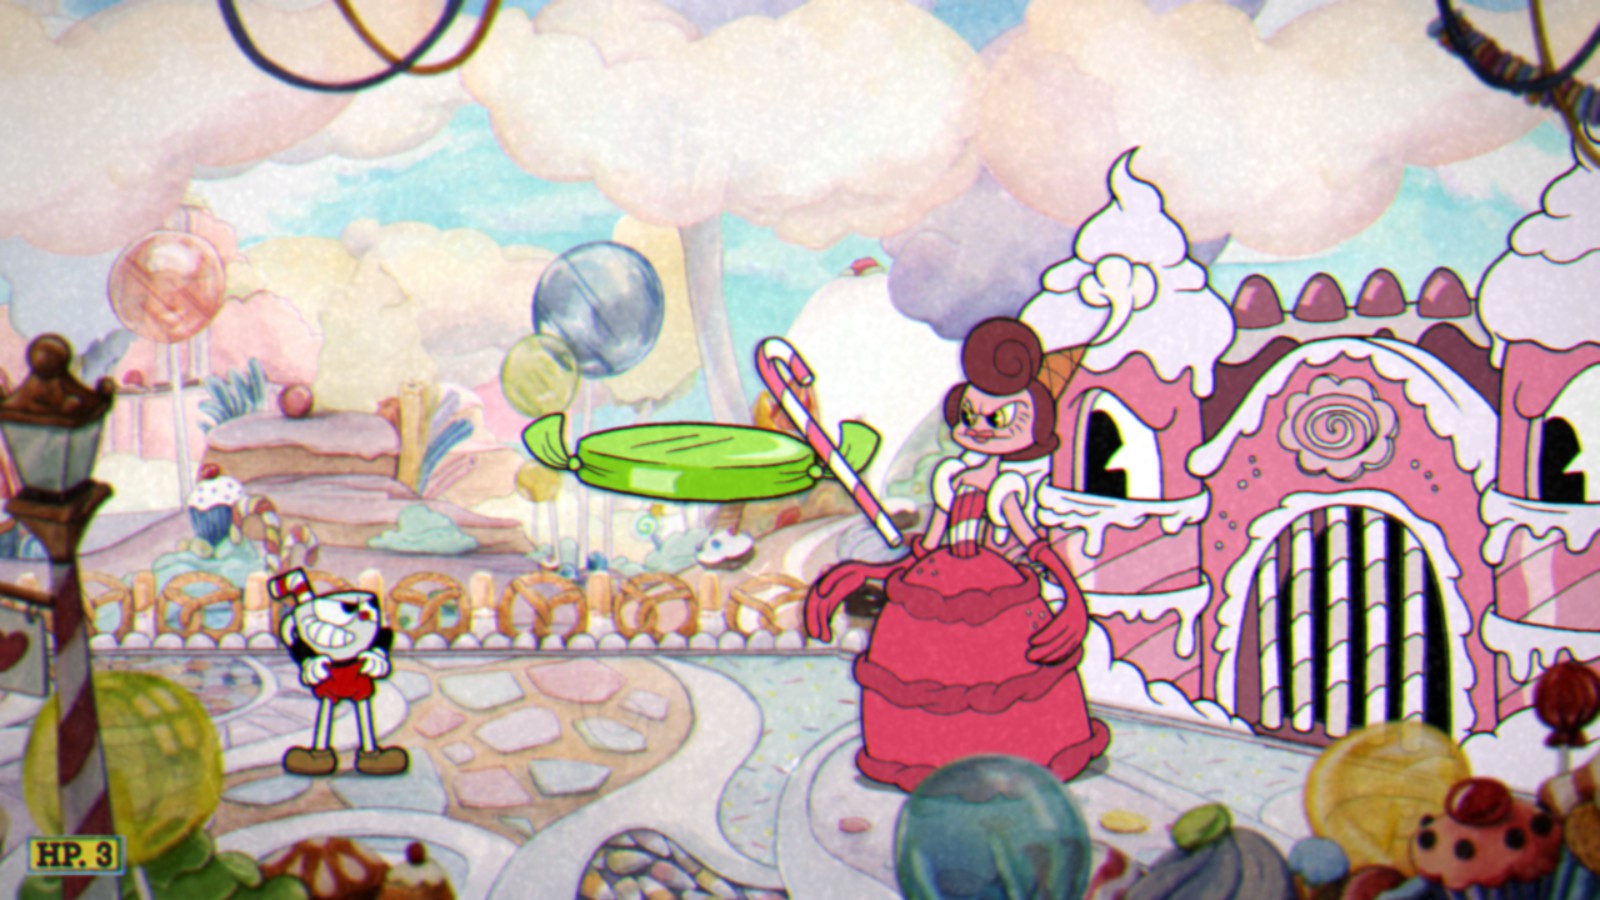
Djimmi is part pharaoh, part genie, and all magical tomfoolery. This sprawling battle with him is quite long, so keep it together and stay focused! This being an airplane fight, you are locked into the equipment you’re given. But if you talk to the airplane man before entering, you’ll get yourself a sweet new bomb upgrade!
First Phase
Djimmi opens the bout in straightforward fashion. He lingers in one place on the right side of the screen, and will occasionally fire a ghostly fireball at you out of his face, so don’t fly directly in front of him. He also has a set of random, treasure chest-based attacks that he will employ.
The genie will summon golden cat sarcophagi out of the chest, that will open and fling several smaller cat statues at you. They follow you around the screen for a time, so stay in motion. He can also summon magical swords to dart at you. First they will line up across the left edge, and eventually they will fly to your position in succession. His last attack option sees him flinging jewels at you from him chest. You’ll notice that they fan out in a particular pattern, with a safe space oscillating up and down. Be sure to stay in it.
Second Phase
Djimmi will eventually vanish, only to be replaced by giant pillars with his face on them. As you navigate through them, you’ll have to locate and shoot the pillar sections that have his face on them. They will disappear, and you can proceed to the next safe zone. Keep your eyes peeled for falling swords, as well as the buzzsaws moving up and down and back and forth.
Third Phase
So after your flight of peril, Djimmi will transform himself into a giant sarcophagus. When he opens the door, mummy ghosts will fly out towards you, and a very awkward-looking red thing will slide out of the bottom. Dodge the ghosts and shoot the red thing. Beware, though, as the red thing will fire back with its own giant eyeball bullets.
Fourth Phase
Djimmi will vanish once more and turn into… a puppet version of you? Well, maybe he HIMSELF isn’t the puppet, as the strings have to lead somewhere, right? Anyway, just like you, he fires bullets from his gun finger rapidly, so dodge those. Be very careful of Djimmi’s turban, which is floating around the screen as well. It will stop periodically and fire upon you.
Fifth Phase
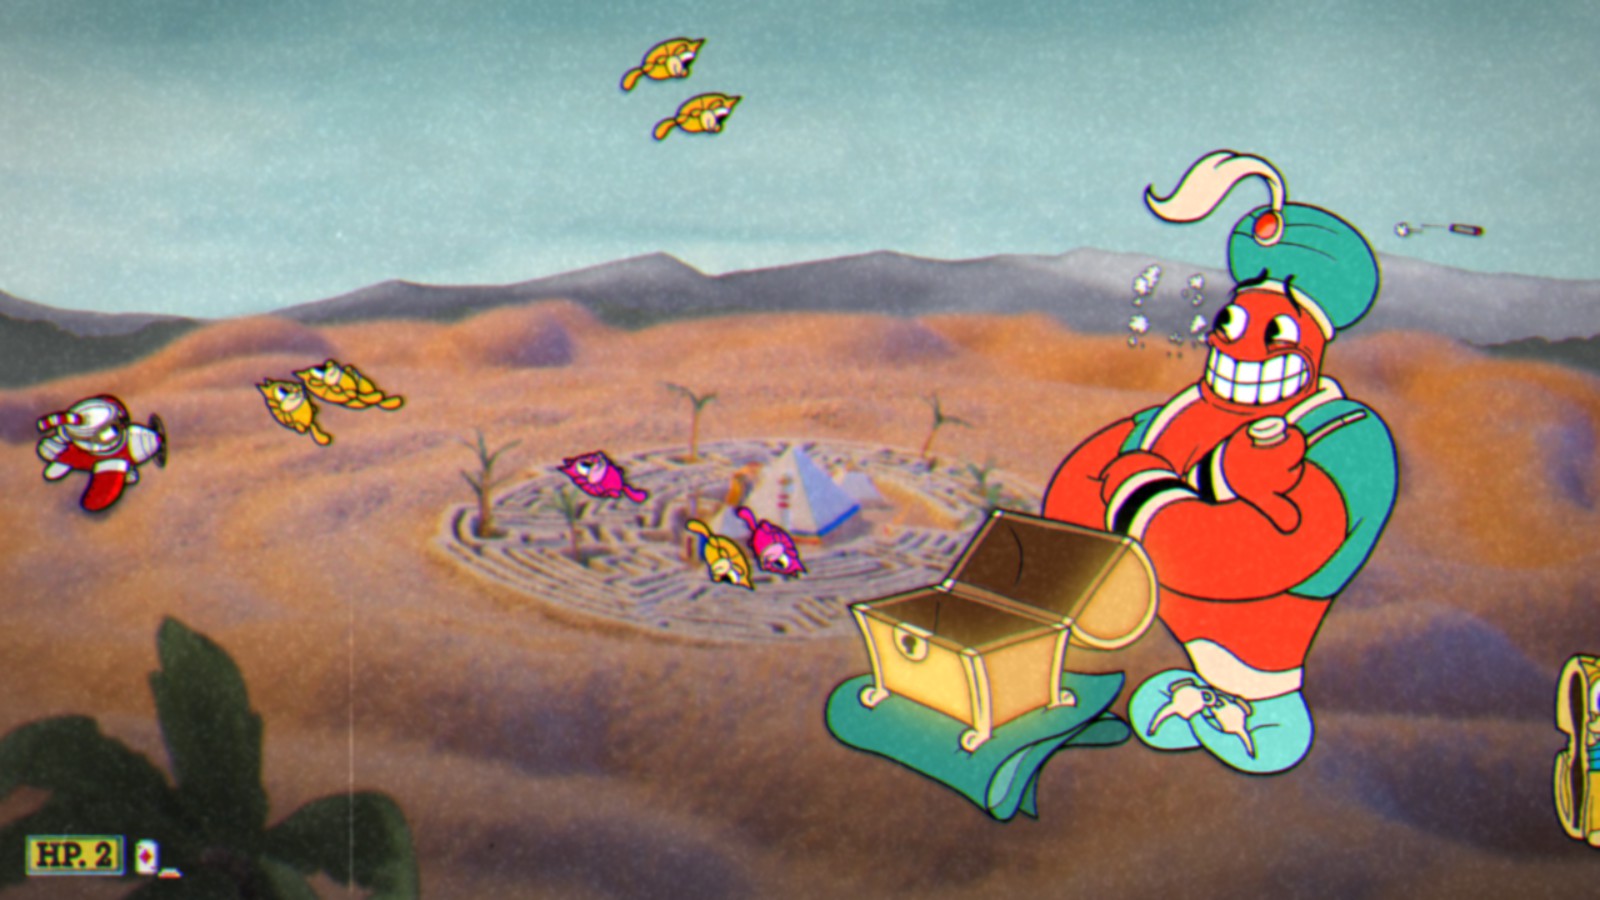
With all of his other tricks exhausted, Djimmi performs his grand finale: making himself near screen-sized. Big Djimmi is difficult to move around, so your best bet is to just recoil away as far as possible. When he starts to spin his hands, three pyramids will appear, spinning in a circle. You’re going to want to remain as close to the center of them as possible as he barrages you with a final set of attacks.
Perhaps the least sinister of these techniques is his eyebeams, which he will fire out in circles that slowly float toward you. Dodge those as they come. The really dangerous attack is when one of his pyramids wakes up, and fires a four-directional beam from its eye. Not only do you have to avoid his body, his beams, and his pyramids, you have to make sure you are doing so while these beams cut the screen off dramatically. This can be a real pain point, but with some grit, you can send the genie back to his lamp.
Wally Warbles
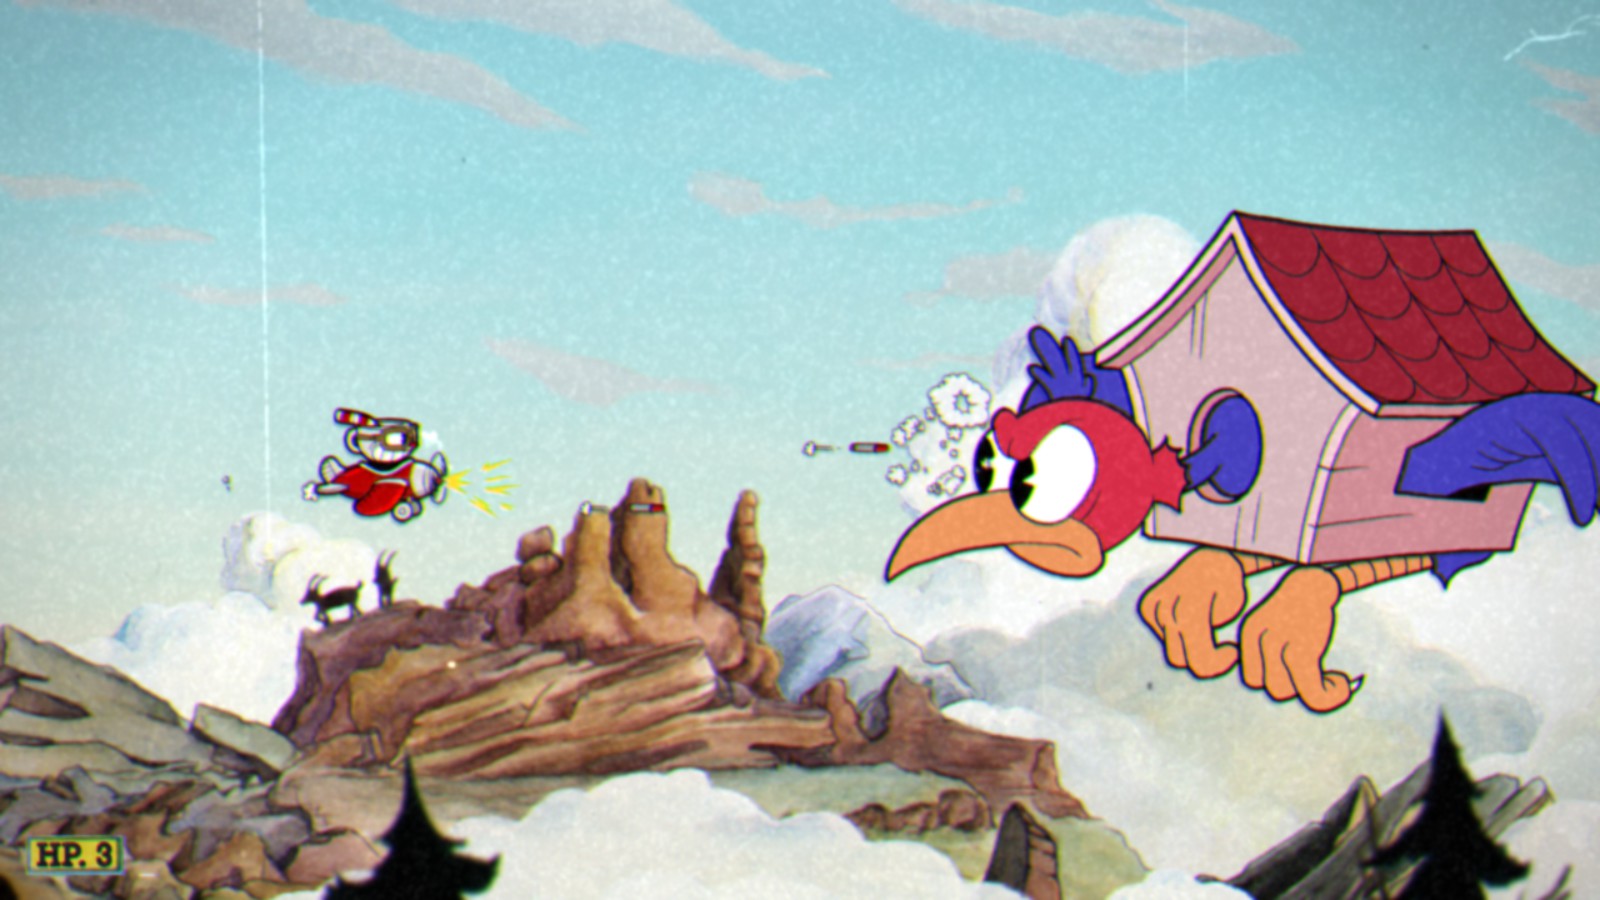
Wally is an eagle, so it does make some sense that you’d have to jump into your plane and meet him in the sky for a dogfight. And a fight is exactly what your gonna get with him. Wally is a real bird bully — but obviously he’s not unbeatable.
First Phase
Wally is in a dog house or a cuckoo clock, but it doesnt stop him from darting up and down the screen and harassing you with a set of strange attacks. At random, he may fire his very own finger gun at you. His hand has three fingers, and bullets come out of each; one straight ahead, one angled slightly upward, and one angled slightly downward. If you are far enough back, you can dodge these with relative ease.
Don’t hug the left edge of the screen too much, though, because Wally can also fire an egg at you. The egg moves quickly, and in a straight line, but it’s easy to dodge. The trick here is that when the egg collides with the back of the screen, it breaks off into three splintering pieces, which basically move in the opposite pattern of the finger guns.
If those don’t get you, he may also send a small squad of chicks at you. They flutter in a straight line to jam you up with nails strapped to their backs, essentially cutting off your access to a portion of the screen.
Second Phase
Next, Wally will blow a big steam whistle and basically freak out. From the right side of the screen, he flails wildly, launching droves of feathers in every direction. Prioritize not getting hit by these while he’s attacking, because he will eventually stop and give you plenty of time to hit him up before he starts again.
Third Phase
Wally is incapacitated and drops out of the screen, leaving little Wally Jr. to appear and take vengeance. Wally Jr.’s nest has spiked eggs orbiting it, and their orbit grows and shrinks over time. All the while, he will be moving around you, firing at you with his little ray gun. If you can weave in and out of his eggs reliably, hitting him with a steady stream of bullets shouldn’t be difficult.
Fourth Phase
Once Wally Jr. is dispatched, Wally Sr. returns for one last hurrah on his death bed. Devoid of feathers, with a pair of nurses propping him up in a cot, he is wildly vulnerable to that bomb attack that you just learned on this island. To fight back, Wally’s heart will literally jump out of his mouth and shoot bullets at you for a short time before returning to his chest. When it does, attack the heart. Wally’s head will transform into a trash can and launch garbage at you, as well. I wouldn’t worry about attacking when this happens, just keep yourself safe and ride it out until he changes his pattern.
Even his paramedic birds get a piece of the action, throwing pills at you sporadically. The farther away from their mouths you are, the easier it will be to dodge them.
Beppi the Clown
Beppi the Clown and his roller coaster of chaos is the sort of Cuphead fight that is relatively easy to figure out, but still makes you sweat buckets. Beppi is coming at you from all angles, and much of his onslaught has immediate interactivity options that you can choose from. It’s also one of those fights that tasks you with keeping your eyes on every single part of the screen at once. I opted for Chaser in this fight for that very reason, as well as Spread.
First Phase
Beppi begins by wedging himself into a little bumper car and using it to dash back and forth at you. It’s pretty easy to see when he’s going to charge, but in the interim, he sways back and forth, slowly getting closer to you, and then farther away from you. Be very mindful of how he uses his space. Also, take stock of the target ducks bopping over head. They will do damage to you on contact if not shot first, but only exist in the top half of the screen. Every so often, one of the ducks will have a light bulb in its grasp, to drop on you when they pass over. Shoot them to make it drop early.
Second Phase
Beppi flies off of the platform, but returns with a head of steam, literally blowing himself up like a balloon to lurch over you. In addition, he’s brought four pipes with him, that inflate balloon dog heads, which will chase and kill you. These dogs track your position but don’t follow you after they launch, so once you’re clear of one, it can’t hurt you. You’ll be free to shoot Beppi in his big air head.
Which would be easy, if a roller coaster didn’t sweep in every couple of seconds. You have to jump on top of it, avoiding the head, and basically run over it like a conveyor belt while jumping over evil passengers, not to mention everything else that’s going on. A definite clown show.
Third Phase
Once you pop Beppi’s balloon, he reemerges on some merry go round horses. The color of the horse he’s riding dictates the sort of attack he will do. Yellow horses launch a set of horseshoes that fly off-screen and reorganize in a random pattern at the top of the screen. Find the space where a horseshoe won’t drop on you and stand there. If it’s a green horse, the horseshoes will bounce up and down the screen while gradually working their way right. I like trying to stand directly under the green horses and shooting straight up, as its impossible for the horseshoes to hurt you there.
The problem with that is that the roller coaster is still rolling. Faster, and with slightly more passengers.
Fourth Phase
Beppi transforms into a full on carousel, with umbrella platforms mid-screen moving right, and the roller coasters on the ground running left. You’ll have to hop from platform to platform in order to stay in position to shoot the middle post of the carousel, but it shouldn’t be too difficult. Stay off the ground if you can manage it. Not only will the roller coaster wreck you, but Beppi dispatches backup periodically, in the form of penguins. These little guys will launch baseballs at you, so it might be worth taking them out quickly if you can manage it.
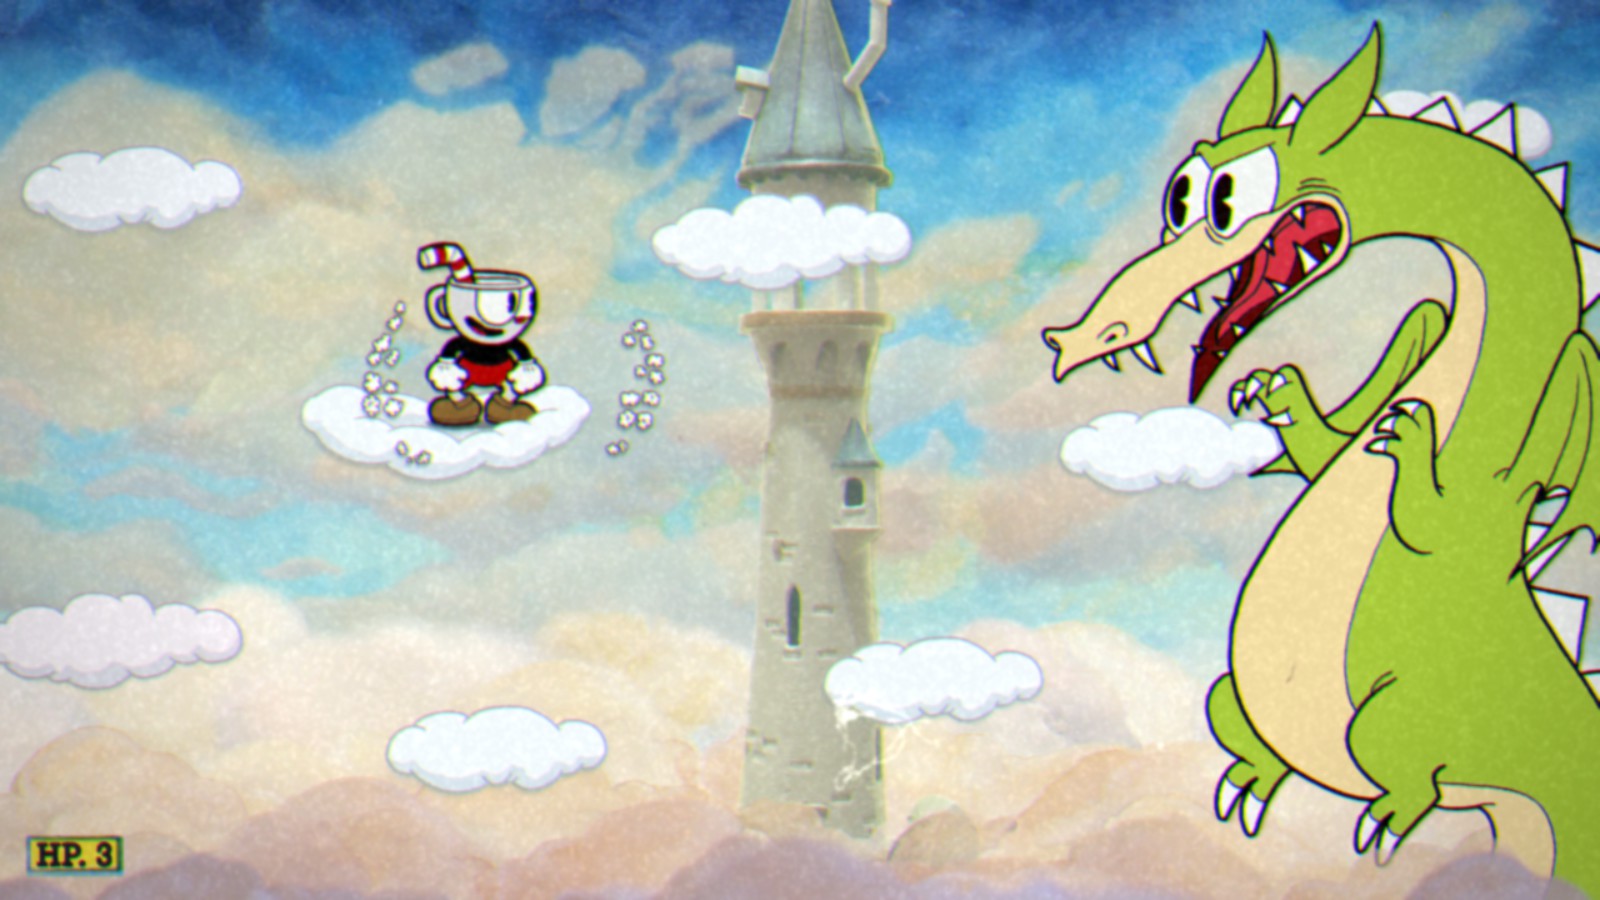
Grim Matchstick
This budget Puff the Magic Dragon is quite the ornery lizard. Maybe the hardest boss on Island II, Grim has a decadent command of the screen and will frequently push you out of desirable positions via the simple threat of his attacks. I took Rebound and Charge for this fight, because he’s not so hard to hit, but he does make it very hard to stay in one place long enough to do so.
First Phase
You’ll notice immediately that this fight, unlike past fights, does not have a solid ground to stand on. Hopping from cloud to cloud while moving forward is your baseline level of security in this bout — and that is terrifying, in and of itself. Cloud spawn positioning is mostly random, so you really have to keep your eyes open to monitor paths through the clouds, thinking several jumps ahead in some instances.
Also, you’re going to need to dodge this dastardly dragon’s attacks all the while. His eye laser isn’t so bad, but make sure he’s launching them where you were, not where you’re gonna be. He will also spike his tail up from the bottom of the screen, which is a hazard in two acts. It can hit you on the way up, but maybe more importantly, it lingers there for several seconds to make an impassable wall. It’s hard to jump around clouds when he is being this disrespectful.
Grim will also belch fireballs, which has its own dynamics. The fireballs dance up and down the screen, like Beppi’s horseshoes. Unlike the horseshoes, the direction that they start their approach changes. Also, he can fire two at once, meaning instead of going over or under them, you may have to find a way to jump through the middle of them.
Second Phase
When Grim howls and opens his mouth wide, his tongue will roll out like a red carpet, and out will march a flaming marching band. This bizarre stage puts Matchstick in the bottom two-thirds of the left-hand side of the screen. Shooting his body means looking left while moving right, balancing staying low enough to actually hit him while also being high enough to avoid the flames.
To make sure Grim doesn’t go down without a fight, the flames will literally jump off his tongue and launch themselves at you. They jump pretty high too, so don’t think they can’t reach you. Always keep moving.
Third Phase
This is where Grim is his nastiest. He sprouts a pair of heads and they all take turns shooting little fireballs at you as he chases you. Dodging them can be difficult because they accumulate quickly, but shooting them isn’t the answer. When you do, they explode into more fireballs!
Every so often, one of the heads will transform into a flamethrower, and fire a huge plume of flame down the center row. You do not want to be hit by this. It may be difficult to stay out of its way though, because it lasts a decent amount of time, and you are completely reliant on the frequency at which the clouds appear in the row you happen to be in. This fight will likely give you a bit of trouble, but you can put this scorcher on ice with some practice and perseverance.
And now you’ve cleared Inkwell Island II! Gather those contracts and tell King Dice to step aside. If you want more information, come to the Cuphead Wiki!