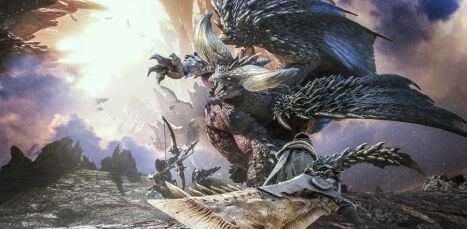
Monster Hunter: World takes the long running cult favorite series a blasts it into the mainstream. During it’s trip from handheld back to big time console game, it’s gained a whole lot of bells and whistles that are, frankly, not that easy to navigate. Have no fear! The first couple of hours of Monster Hunter: World will be overwhelming, but keep these tips in your mind when sorting it all out, and you’ll be well on your way to glory.
1. Master a weapon, but get familiars with others too
There are 14 weapons available to slay with in Monster Hunter: World, all with their own strengths, weaknesses, and special features. Base level versions of each are available to try in your equipment box, and it’s a good strategy to give each a spin. It’s hard to tell what sort of weapon suits your playstyle if you don’t try them out.

Once you find a weapon you like, it’s best to stick with it for awhile. Many of the weapons have combos and attacks that aren’t immediately apparent without persistent practice. Knowing the particular rhythms of the attack patterns takes time.
But your favorite weapon might have some shortfalls. Maybe it isn’t long enough to hit taller monsters, or it isn’t strong enough to break pieces of tougher monsters. A back up weapon is a good option here. Maybe sword and shield is your jam, but you cutting off that Rathalos tail becomes a problem because of its short reach reach. Having a great sword or a long sword is a good option then.
2. Upgrade weapons and armor often
It’s important to always review your gear and look for opportunities to upgrade. With the right pieces, you can take your weapons to the next level. It may seem incremental, but every slide down the weapon tree is important.
Upgrading armor is also important. With armor spheres plus some zenny, and you can up the armor value of the pieces you have. It’s a quick way to bolster your defenses if you can’t make a stronger set right now.
3. Take in all of Astera
It’s very important that, after the desperate escape from the massive Zorah Magdaros and the wild rush through the Ancient Forest, you pay good attention to the guided tour you’re given of Astrea. It’s true that you can fast travel to all of the important spots thanks to the lift, but there are important spots to remember that you can’t teleport directly to.
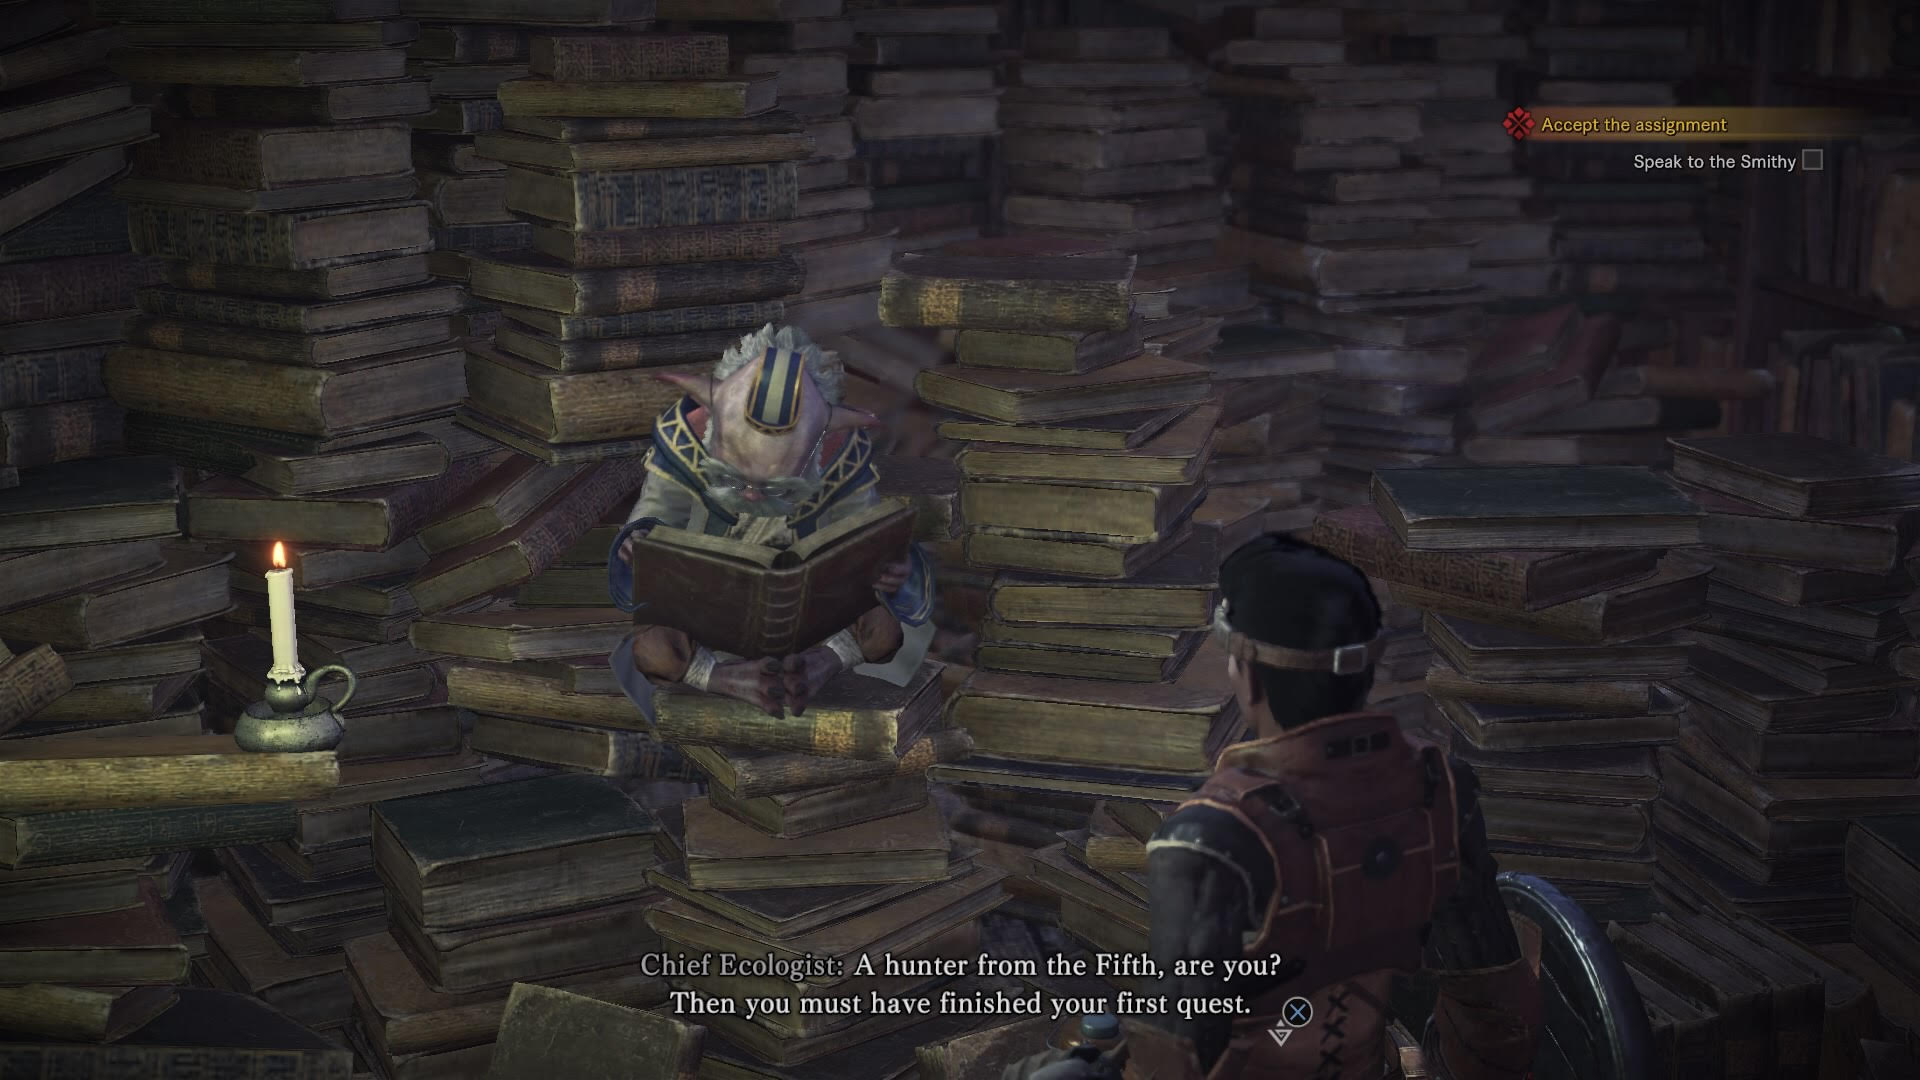
Like the Chief Ecologist over in the Ecological Research area, for instance. He’s set back in the north western corner of the first level of town in front of a wall of books. He has a lot of super useful information for you, but he’s incredibly easy to miss. Next to him is the Chief Botanist, also an important man in later steps of the game.
The Provisions Stockpile sits in the center, in which a man on top of a pile of goods will sell you sundries of all types, like ammo and potions. The Resource Center sits in between the Ecologist’s area and the Stockpile, and the triumvirate there are stewards of optional quests and Investigations.
4. The Chief Ecologist’s Field Guide is your friend
As you gather monster tracks and what not during missions, your research level will gradually rise. As it does, you will gain access to intel that will make hunts easier. Your research level will only rise when you visit the Ecological Research Team, so when your prompted about a level up, make sure to go see them soon.
The Monster Field Guide is an important resource of information that you’ll gradually fill in this way. In it is a list of all the monsters you’ve faced, their weak points, their elemental strengths/weakness, their breakable sections, and a list of potential loot that will drop from them. All of the stuff you used to have to Google, pretty much.

5. Learn how to navigate multiplayer
Monster Hunter: World is a cooperative game that involves gathering a party of your friends and killing big monsters. Unfortunately, some parts of Monster Hunter: World don’t make the cooperative part so easy. There are definitely some caveats in certain modes of play when it comes to multiplayer.
Generally speaking, games are divided into lobbies of up to 16 players called Sessions. When a player posts a quest, up to three more people in the Session can join the party, either before or after it starts. If you’re in a quest and the monster you’re fighting is giving you more stress than you thought you could handle, you can fire an SOS Flare. This will put you in a specific group of missions, where people looking to respond to SOSs from any session can jump in and save you. This is pretty easy to swallow, but there are some things that are far more obtuse.
Specifically, playing in a party while doing the campaign-centric Assignment missions involves patience and some fanegalling. Many Assignments, especially early on, start off as single player missions and open up into multiplayer during the course of it. The initiating player will have to have seen seen a specific cutscene before other players can jump into their games. When the mission declares that you can fire your SOS flare, multiplayer is then open.
That said, if you are looking to joing an Assignment but haven’t done that mission and seen that gatekeeping cutscene yourself, you won’t be able to join. It’s inconvenient, but nothing to freak out about. Note that when your quest becomes a multiplayer one, the difficulty of the monster scales up. It will have noticeably more HP, making it more of a chore to slay.
6. Experience Expeditions
Expeditions are freeform explorations of the available wildlife environments without the burden of quest requirements, time limits, and faint restrictions. You can run around and gather and hunt to your heart’s content.
This is another instance where multiplayer is more difficult than it should to be. You CAN enter an expedition with a party, but only after you complete a quest with that party. See, at the end of a successful quest, you’ll have the option to go back to Astera, or stay and go back to a base camp to roam.
Expeditions are great ways to hunt a lot of monsters in one go, for as long as you want. Since you can switch gear in the camp tent, you don’t have to be out matched necessarily. And the best part, you can’t faint your way into failing the quest.
7. Familiarize yourself with your survival tools
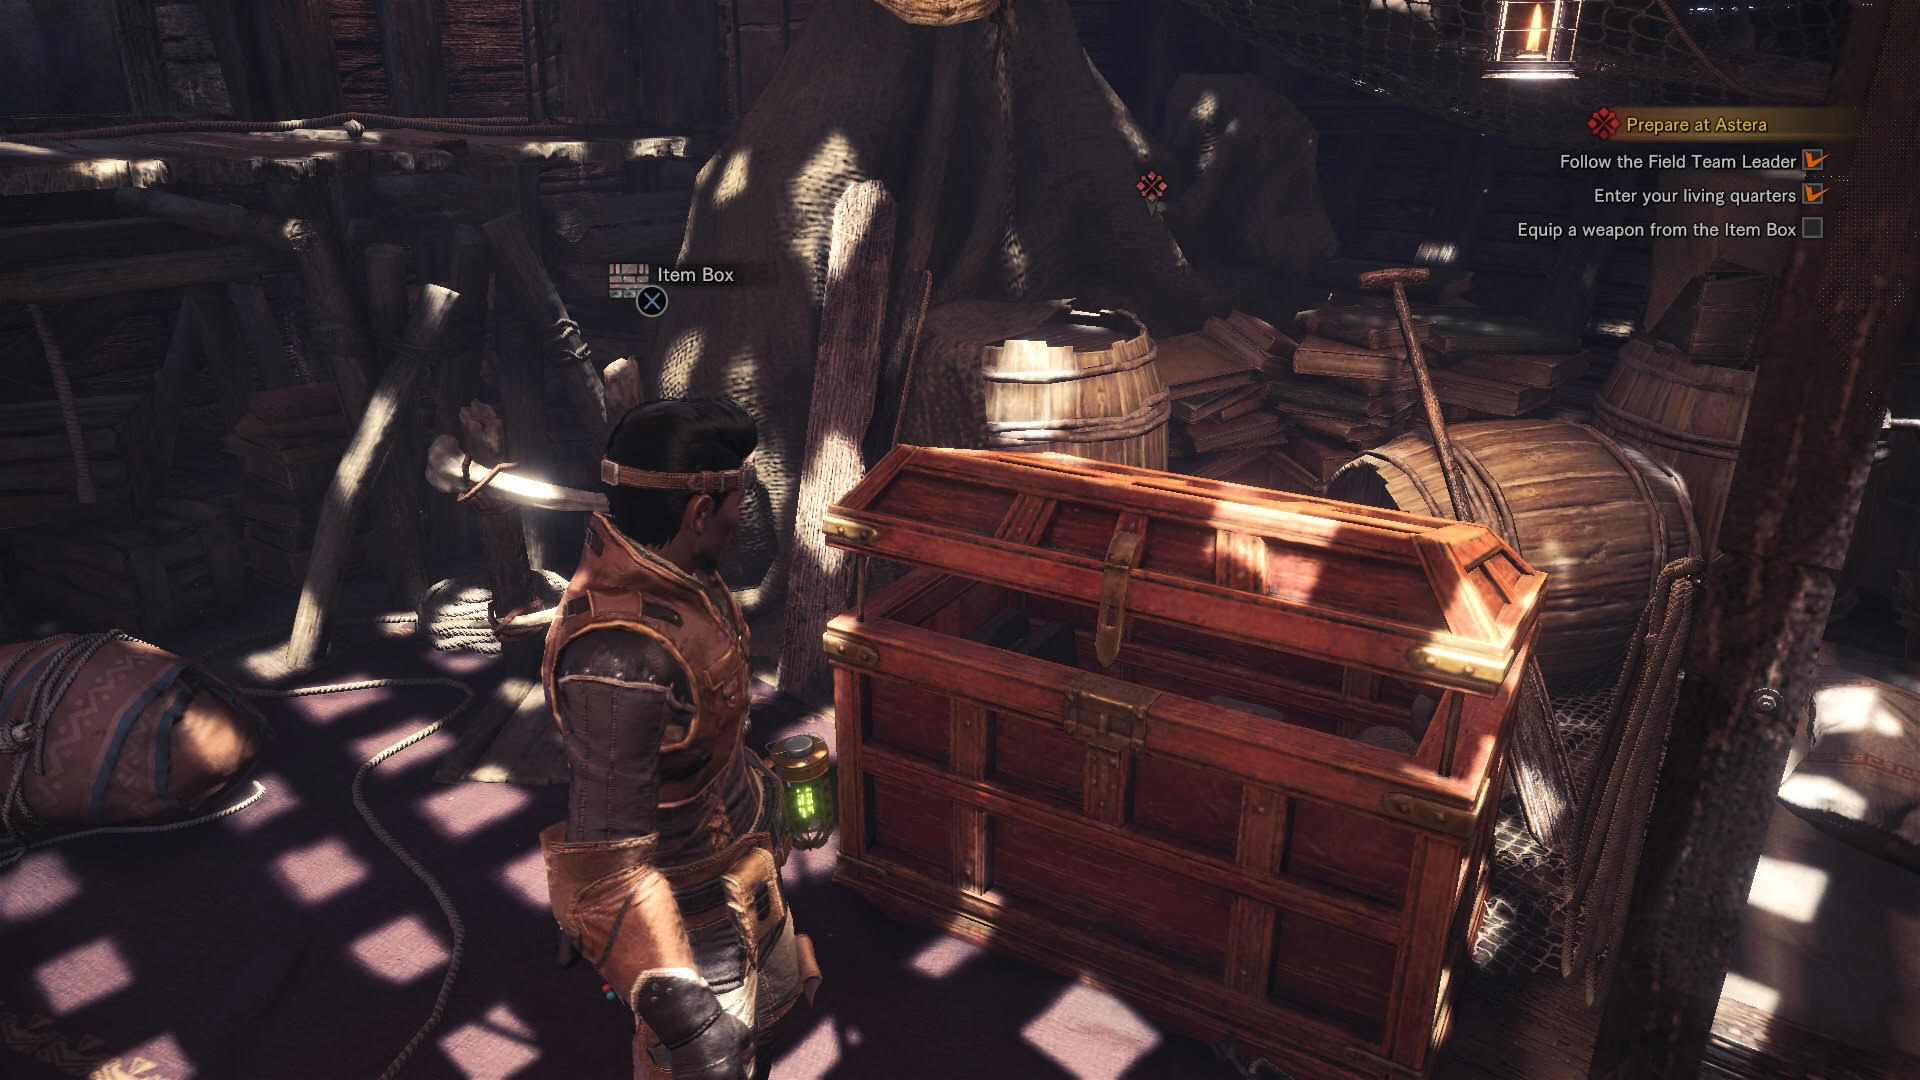
Managing your kit, curating your item selection for the task ahead, picking the right equipment — they’re all things you’ll get accustomed to pretty quickly in Monster Hunter: World. The item boxes littered around Astera are the perfect place to do this.
But every time you enter the field you’ll notice that a couple of instruments you didn’t select keep showing up in your inventory. Or maybe you didn’t notice it, because no one told you they would be there.
The roasting spit, fishing rod, and capture net are tools that will always be in your inventory in the field, and are each useful in their own right. The roasting spit allows you to cook raw meat whenever its in your inventory. The fishing rod allows you to fish in the various waterways out in the world. The capture net can be fired on bugs and small animals to collect pets and research points.
There’s two other item types you’ll want to get familiar with: mantles and charms. These are spoken about in more detail in-game and have to be equipped during missions. Mantles can give you limited use abilities, like the ghillie mantle making you stealthed in plain sight for a time. The health booster charm creates a clouded zone where hunters inside of the mist will find their health regenerating slowly. These two types of items occupy the same inventory slot, so decisions will have to be made.
8. Bring the right Items
There are a lot of items to craft and collect in Monster Hunter: World, each with their own particular uses and special effects. There are a handful that are useful almost all the time, and should be taken every time you ship out.
Potions and mega potions are essential to keep you on your feet in rough and tumble bouts. Mega potions heal the most, but normal potions do a fair amount of restoration, too. I like to bring both, because combining potions with honey can make more Mega Potions. A stamina regeneration item, like rations or well-done steak is also a necessity. The more you use your stamina, the lower your maximum stamina becomes. Low max stamina means you can only run and climb short distances, which is a death sentence if a monster is chasing you.
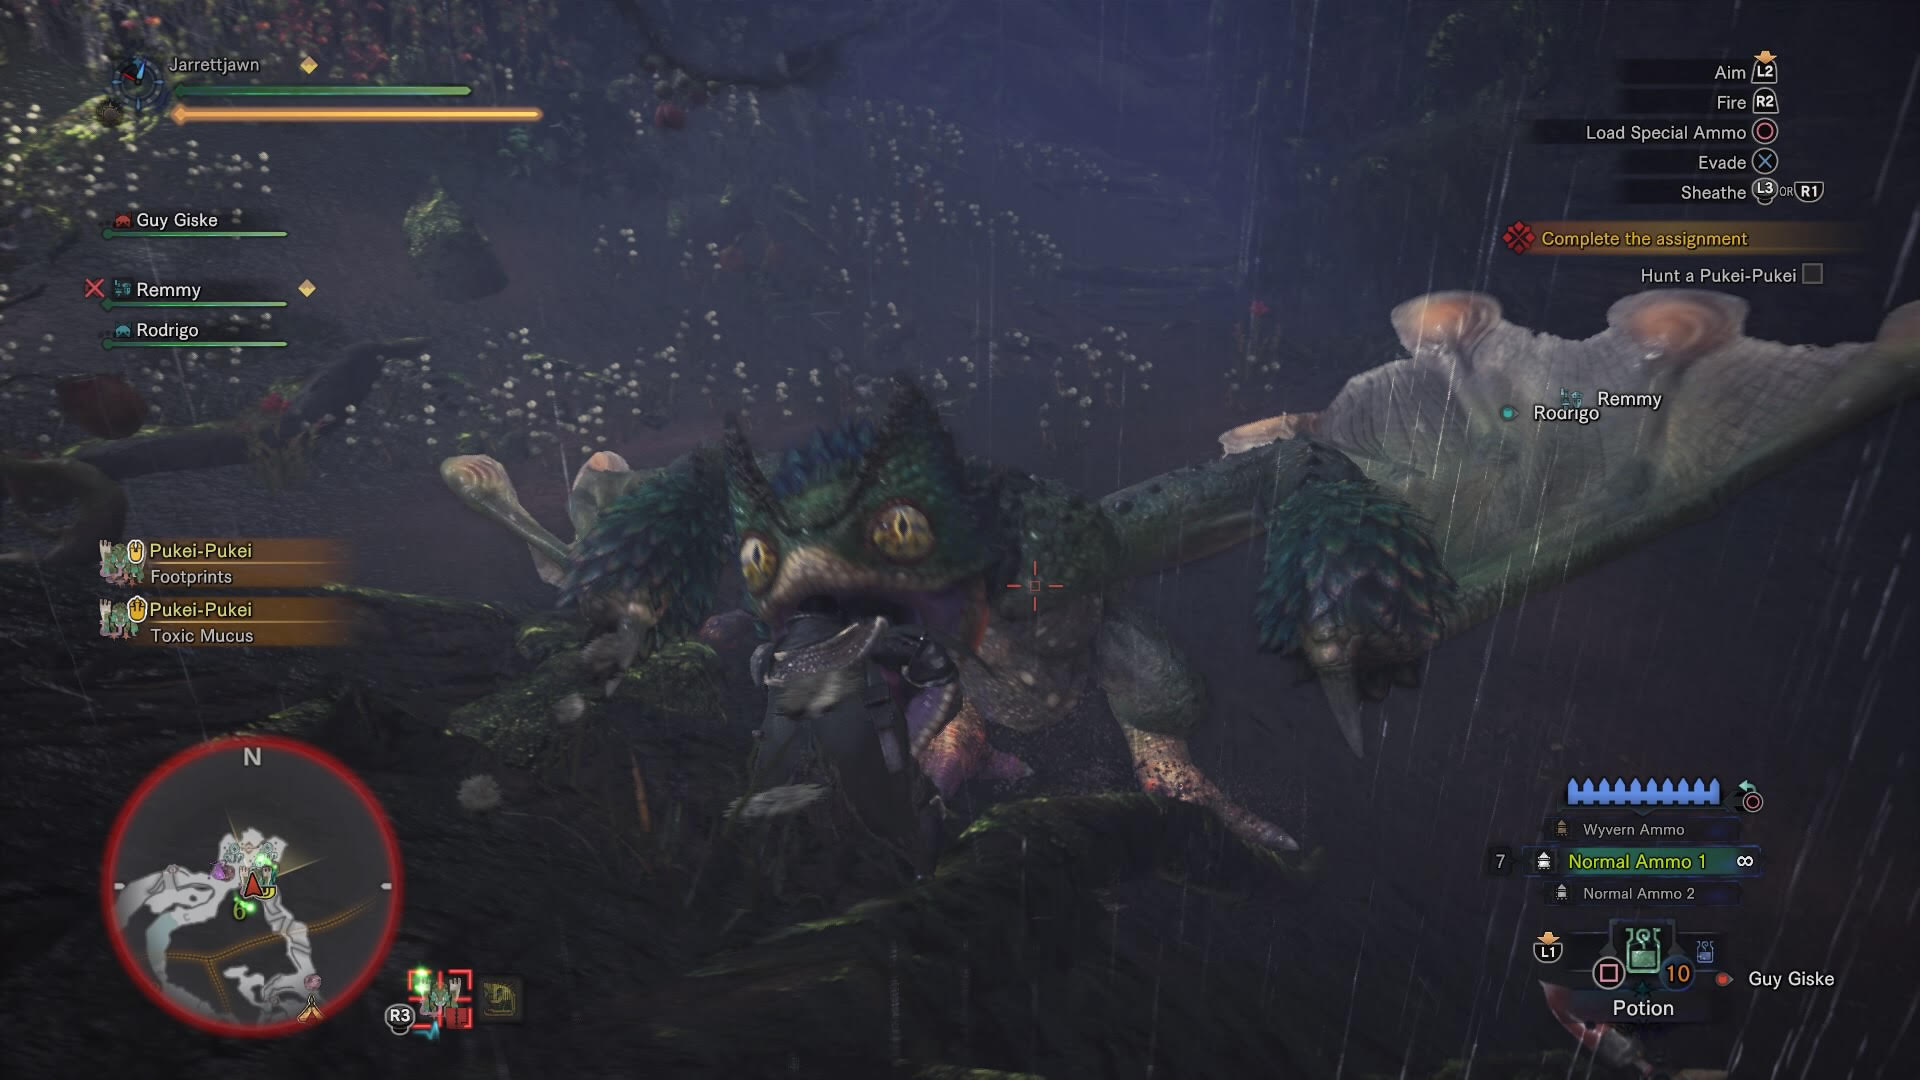
Antidotes cure poison, which you will be introduced to fairly early in your time with Monster Hunter. Not only can monsters like the Pukei-Pukei poison you with its bile, there are naturally growing flora in the Ancient Forest that can be spilled out on the ground to poison everything caught in the puddle. Nulberries are good for curing various other ailments you’ll suffer along the way, like shock or waterblight. Pitfall traps and shock traps help keep the monster from running circles around you, but some monsters may be immune to one type of trap, so it’s helpful to bring both. Also, weakened monsters that are trapped can be caught by using tranq bombs on them. Captured monsters grant more resources when the mission is completed.
Some offensive items like flash pods and sonic pods are good to keep monsters incapacitated. Monsters can be affected by one or both of them, so it’s not a bad idea to keep them handy. Make sure you top off your ammo and coatings when using ranged weapons, as well.
There is obviously a great deal more to know and see and learn in Monster Hunter: World, but these somewhat undersold aspects of the game will help get you through the early hours. New to the series and thinking about diving into Monster Hunter: World? Read this for a better understanding of what you’ll be signing up for. And as always, check out the Monster Hunter: World Wiki for even more information.