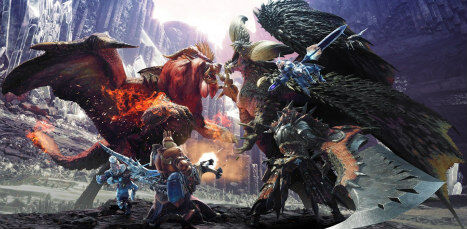
Monster Hunter: World is a game about taking down massive monsters, using your bounty to create better items, and then taking down even bigger monsters with that gear. This cycle leads you up the food chain to the biggest and baddest of them all: the Elder Dragons. These seven monsters are the lords of the realm, and taking them down requires more than a little extra effort. If you find yourself in a bad spot thanks to these exotic beasts, this guide can get you moving in the right direction.
Here are some general things that you should know about Elder Dragons:
- Elder Dragons can’t be captured at all. Leave the Shock Traps at home.
- Elderseal is a weapon attribute that affects Elder Dragons specifically. It comes in three levels (Low, Medium, and High) and reduces the effectiveness of Elder Dragons’ personal auras.
- With the exceptions of Kirin and Zorah Magdaros, all other Elder Dragons are High Rank-only.
Now, to the monsters themselves.
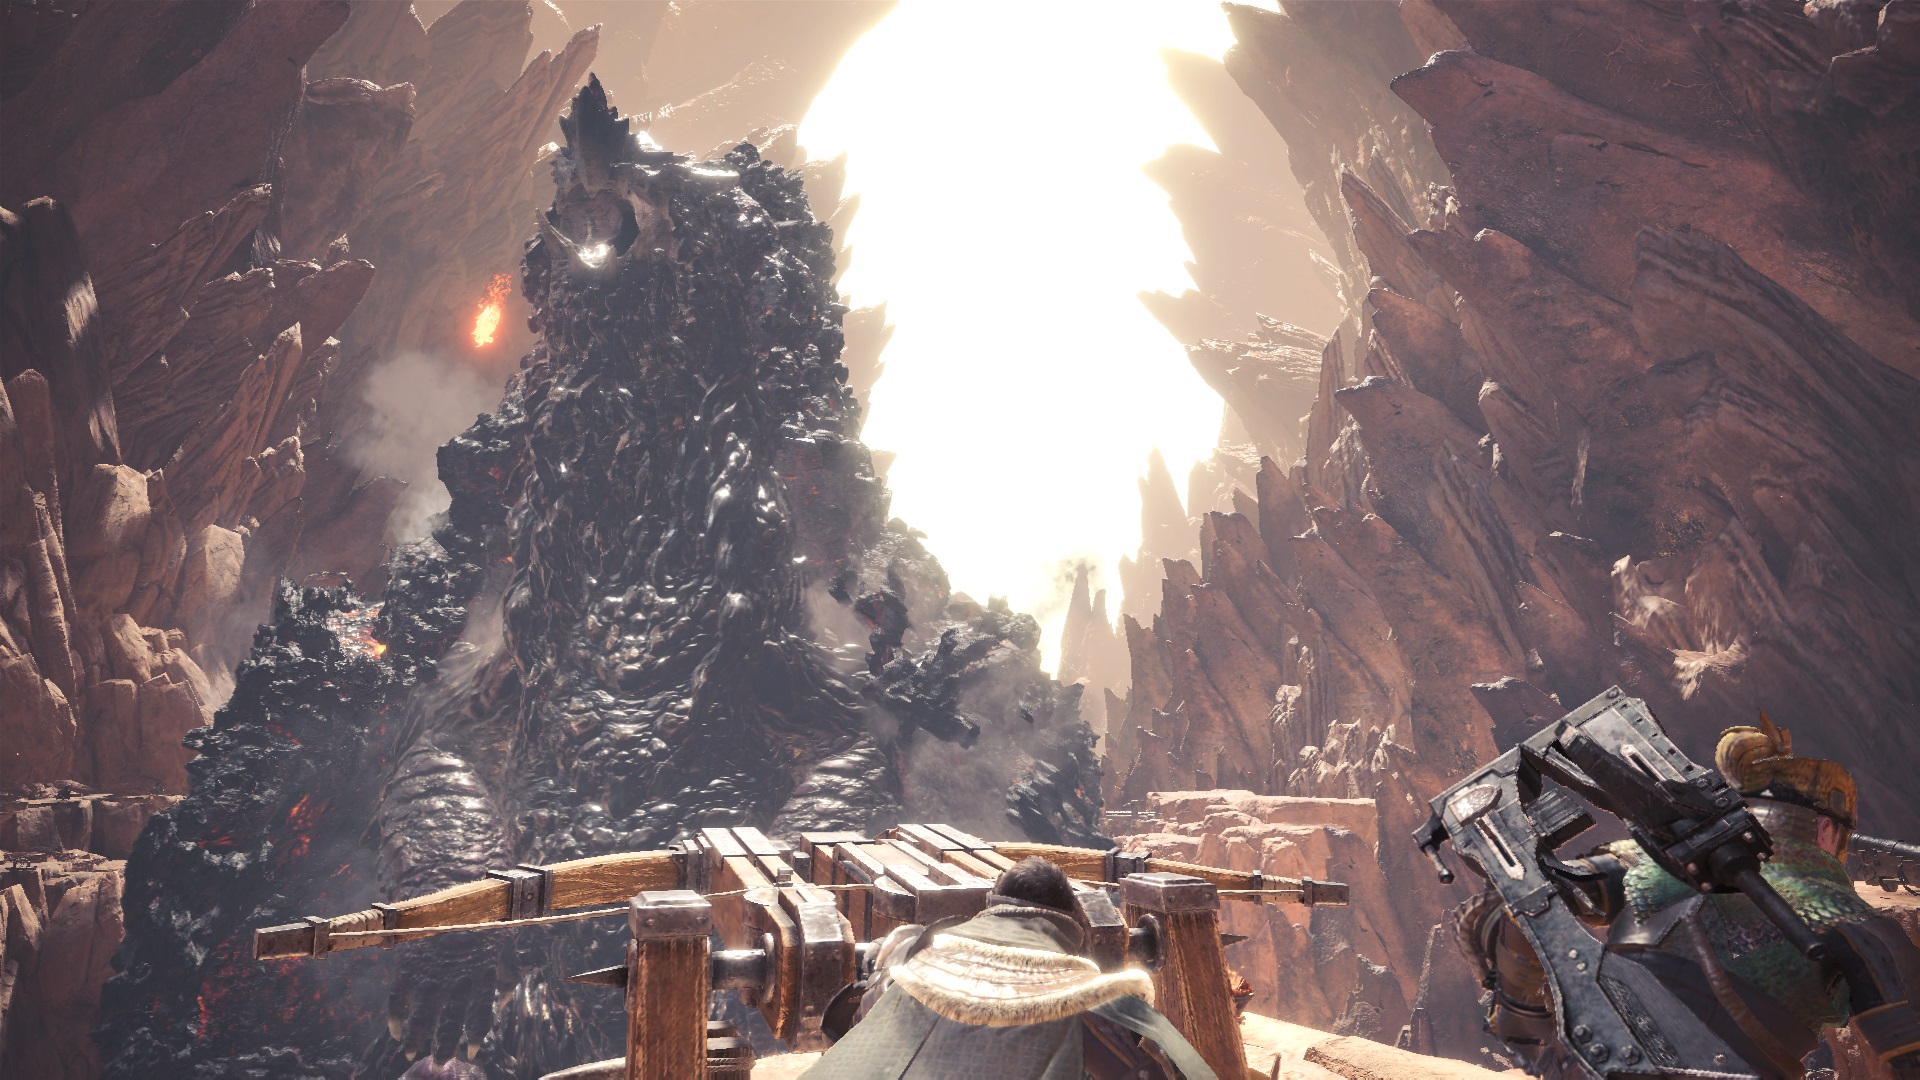
Zorah Magdaros
Quite literally a walking mountain, this is the biggest monster in franchise history, looking more like a Shadow of the Colossus boss than a Monster Hunter bounty. It’s the first monster you make contact with, and you’ll come up against it two other times during the game’s story. Dealing with Zorah Magdaros is a special circumstance, unlike anything else in the game.
You cannot kill the Zorah Magdaros, you can only hope to repel it from the barriers set up in the Great Ravine. The fight happens in two stages; running around on its back, and bombarding it from the barrier. Depending on which mission you’re on, the order you approach these goals in will change.
While on the back of the Zorah Magdaros, you’ll be tasked with breaking its three magma cores, glowing rock-like growths that are concentrations of its power. These things can take a beating, and will occasionally combust with lava to repel you, but all in all, they are easy to deal with. At some point during mid-phase, the Nergigante will land on its back, and you’ll be asked to chase it away. In truth, you can leave it be, and it’ll fly away eventually. Above you there are stalactites rigged with explosives that you can detonate with your slinger, which will slow the creature down and do damage.
While on the barrier, you will be using cannons, ballista, and the epic Dragonator to drive Zorah Magdaros back. Firing on it at all times is crucial, as you basically have to do enough damage to turn it away before your barrier is destroyed. Note that there are breakable parts (the head and chest) that will increase your chances of rare drops.
The cannons fire up to five cannonballs at once, so maximize each load. The cannons on the far sides of the top barrier will be loaded automatically by NPCs, as well as two cannons on the ship below. There are also ballista and accompanying ammo on both, including the One-Shot Binder, which will effectively paralyze Zorah Magdaros for a brief time.
On the ship, you can find the switch for the Dragonator, a large hydraulic lance that punches out into the lower bits of the creature for big damage. You can only use it when it gets particularly close to the barrier, and the cooldown time is pretty long, but the hurt it deals is worth the wait.
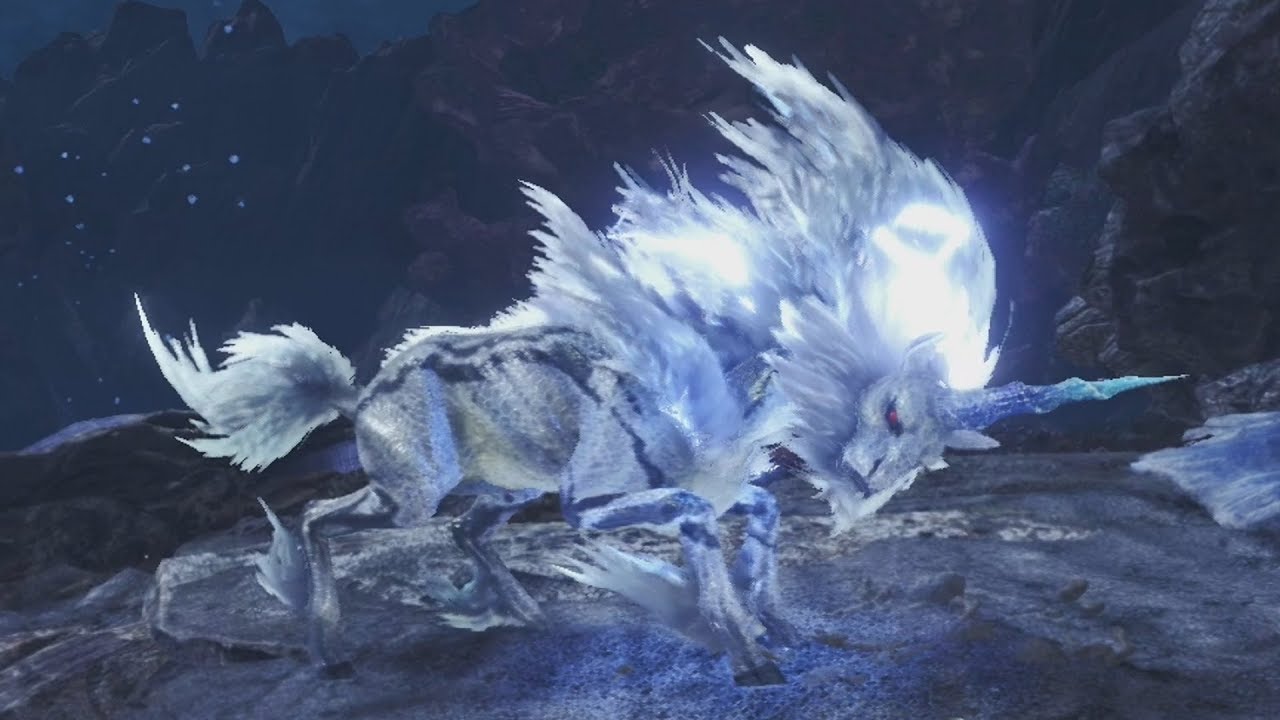
Kirin
When you think “dragon” you don’t think “pastel unicorn.” But don’t let the Kirin’s appearance fool you: it is a real thunder horse, and one of the most dangerous creatures in the game.
The Kirin is incredibly fast and flaky. It moves around a lot, often withdrawing to turn around and zap you from afar with lethal lightning bolts. If it doesn’t run, the Kirin is likely preparing to surround itself with a deadly ring of lightning that’s difficult to block — and very effective at making you regret your decision to move in close. When enraged, its hide hardens, making it difficult to deal damage on any part of it besides its head. Lightning will randomly strike in the area around you, so you always have to stay on your toes.
The Kirin is among the most elusive monsters in the game, while simultaneously being one of the most aggressive. It can attack so many times in such quick succession that it’s likely you’ll be dizzied more than you’ve ever been before.
Striking the Kirin in the head is much more difficult than monsters with bigger heads, but if you do it enough, you’ll break its horn, hindering its ability to call lightning a little bit. It’s also weak against fire, so a good fire weapon can make the difference. Bring the Thunderproof Mantle for an extra safety net, and if you’re going to farm the Kirin, invest in some sturdy armor and decorations for lightning resistance. You can also exploit its weakness to sleep, and plant bombs near the horn when it drops off to break it faster.
Nergigante
The Nergigante is one of the most difficult fights in the game. Covered in large, sharp spikes, this raging beast strikes swiftly and with great force. It can also cover ground very quickly, thanks to its incredible jumping abilities. Even if it’s all the way across one of the Elder’s Recess’s bigger open areas, don’t drop your guard. It can get to you in a heartbeat.
Those two enormous horns atop the Nergigante’s head are put to good use, as it often charges and leaps into you and your allies face-first. It uses its wings effectively too, digging them into the ground and digging them up into you. It can knock you into the air like this, or by flapping is gargantuan wings in one mighty stretch. Its signature move is a super heavy diving attack, where he leaps into the air and plants his body into whatever is below it. Even with a sturdy shield, I wouldn’t recommend trying to block it. It can hit multiple times and overwhelm you before you even know what’s happening,
Luckily, the Nergigante has a potent weakness to Thunder when its white spikes are out, and it’s also weak to Dragon. He can be paralyzed, poisoned, put to sleep, and stunned by Flash Pods. Blast damage will help you break the spikes that continue to regrow on his body. Know that when those spikes turn black, it is enraged. Strafing around the beast is key, because it likes to move in straight lines. If you can immobilize it for a while, plopping Mega Barrel Bombs by its head and blowing them up is a good way to break the creature’s horns.
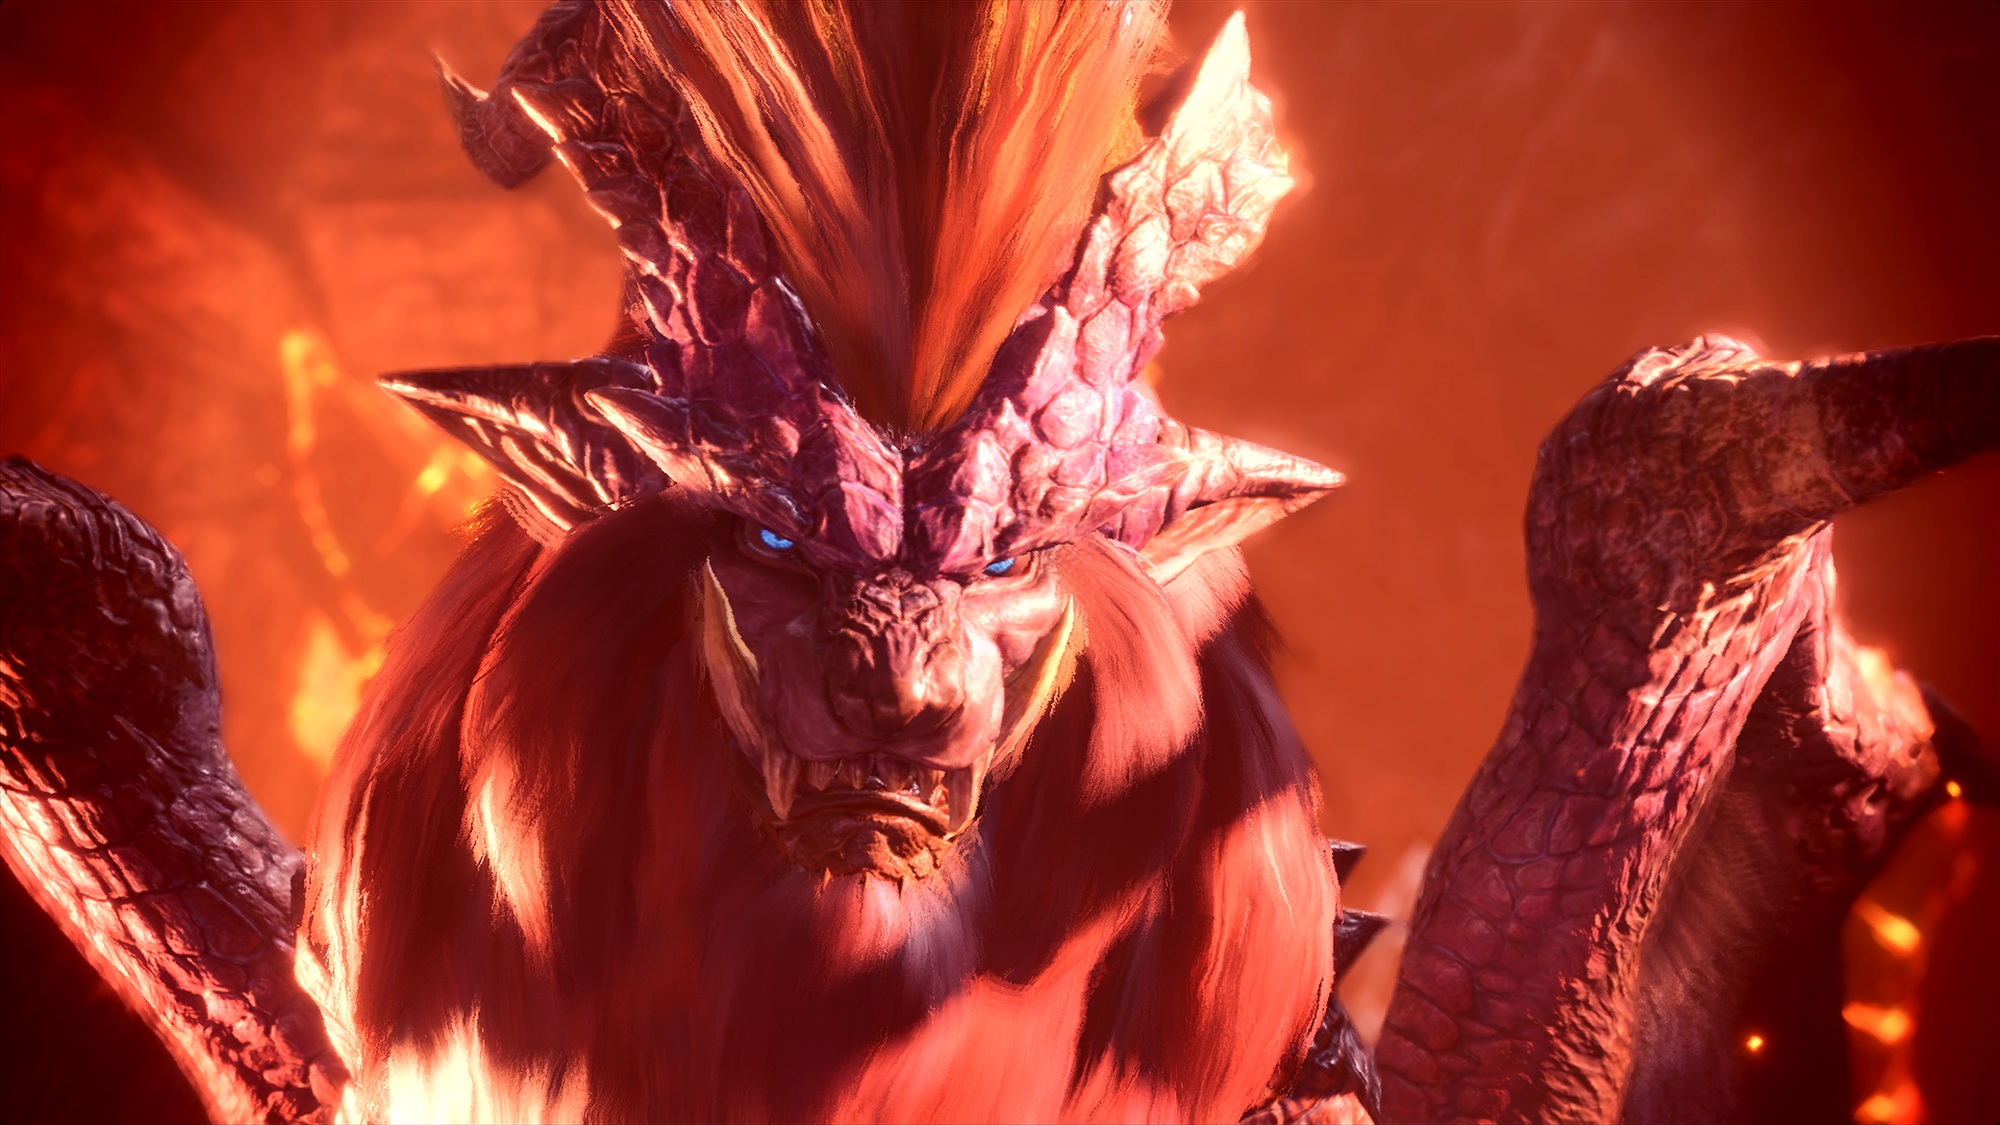
Teostra
Furious and fiery, the burning rage of the Teostra is sort of legendary in the Monster Hunter series. It prowls the environment like a lion, and strikes with king-of-the-jungle levels of violence. This thing isn’t the biggest dragon around, but it makes up for that with its liberal application of hellfire.
It’s physically aggressive, but the Teostra’s signature quality is how heavily it relies on its fire attacks, which means Burning effects are a common occurrence. It also has a wide-sweeping fire breath attack that it just loves to spam. It can cover itself in blast dust that spreads over a wide area and spontaneously combusts. This will be even worse if he gives you Blastblight. When enraged, Teostra will cloak itself in flames, making it impossible to stay in melee range without taking damage. When covered in fire, Teostra may take to the sky and release all that pent up energy in a giant explosion, which will erupt across a wide area.
It’s imperative that you bring a set of Nulberries to the fight to mitigate the Blastblight. Ice and Water weapons will give you the best advantage, especially if you hit it in the head. A Fireproof Mantle will be key to protecting you from all of the fire attacks it dishes out. Melee fighters may find it safest to attack from under the belly.
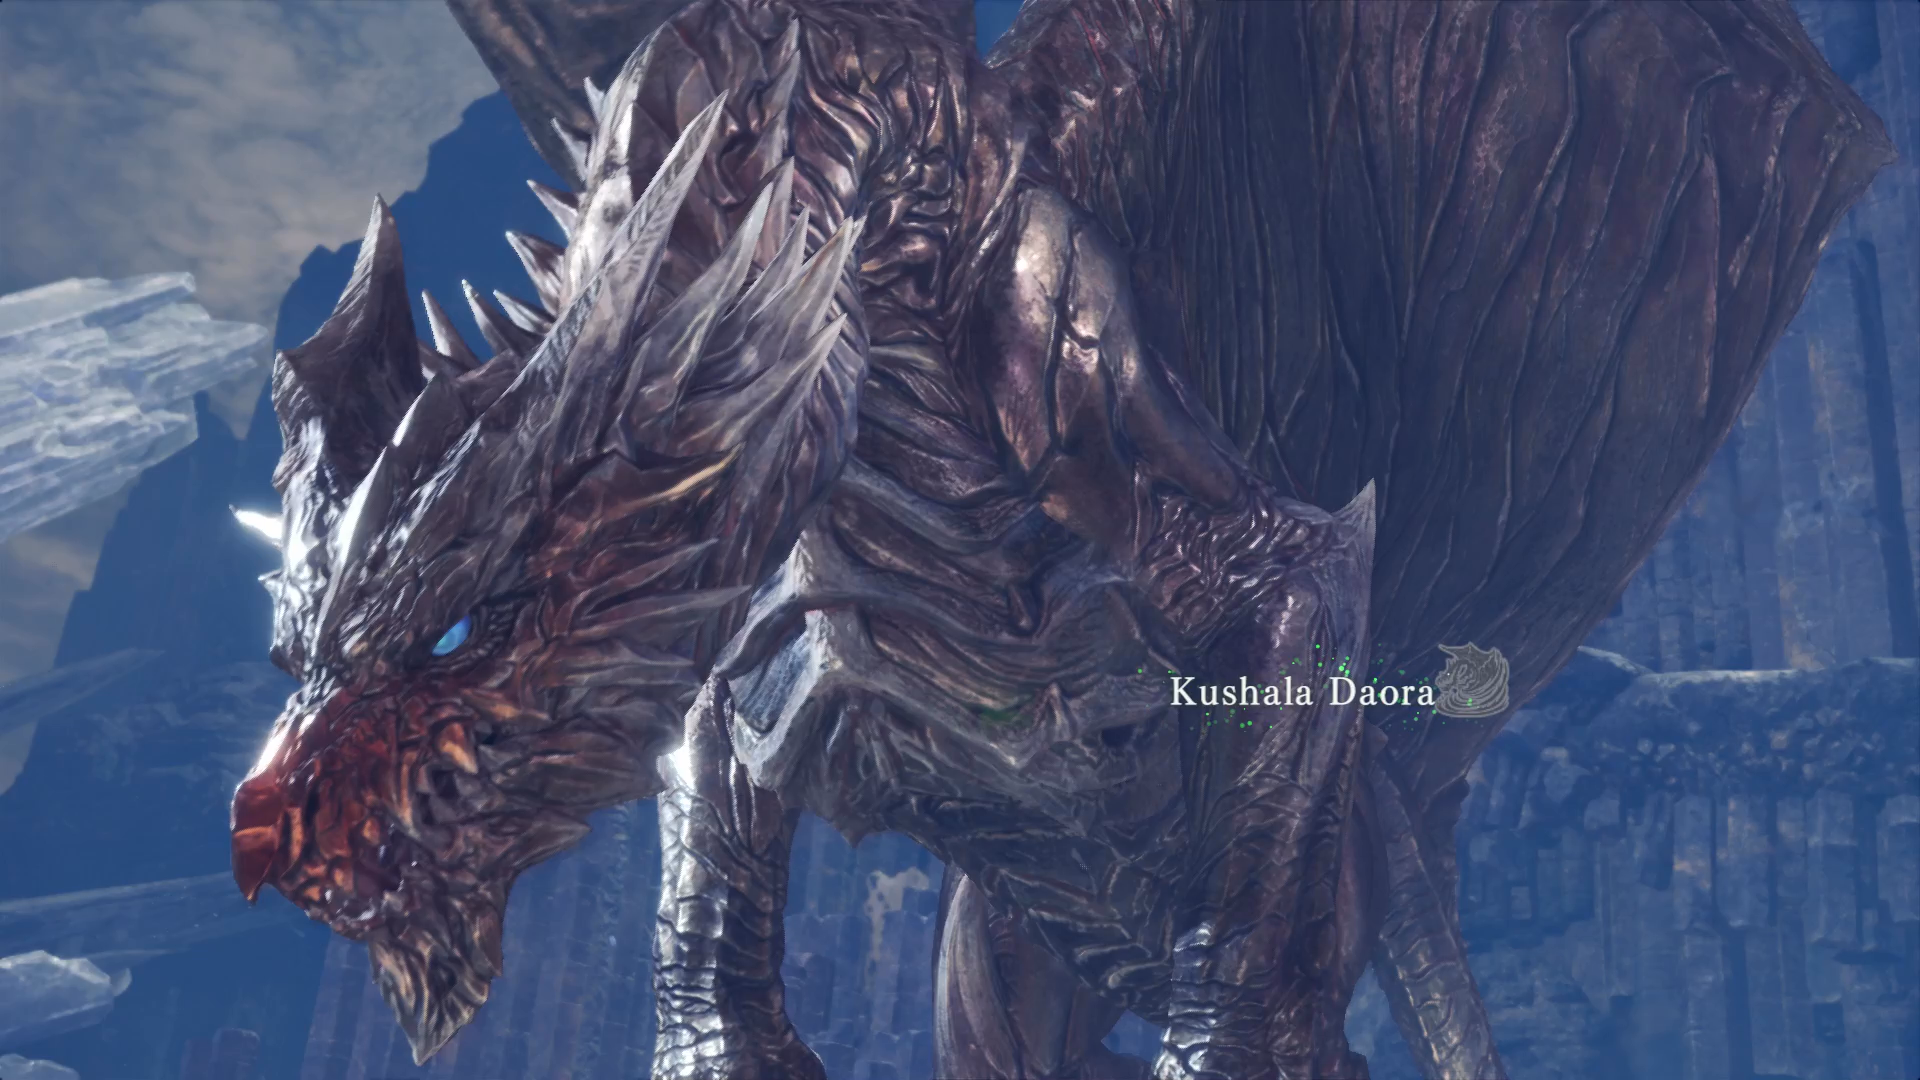
Kushala Daora
Kushala Daora is a dragon clad in steel-like scales that is as ferocious as it is annoying. Hurricane gusts follow it wherever it goes, and they are a key factor in regard to how this thing can be so intensely lethal.
Besides tail whips, claw slashes, and dive bombs, the Kushala Daora is infamous for spouting gusts of wind across the battle area, which disrupt you the same way wind pressure from flapping wings does. Getting near them will trip you up, and being stuck in them will knock you over. Daora is pretty conservative with them until it’s enraged, at which point it’ll spam these things all over an area, to the point where you’ll have a hard time seeing anything but gray storms (especially in its sleeping area). Kush will also surround itself in the same wind, which will stumble you if you get too close.
Poison will negate its personal windshield. The creature has major weaknesses to Thunder and Dragon, and can be Blastblighted. An easy way to lock Daora down is to use Flash Pods whenever it’s airborne to knock it back to the ground. Stockpile the bugs and keep this up to take away a big part of the steel dragon’s strategy. A fun trick to try to get mounts is to use the Glider Mantle to float up the wind funnels it creates.
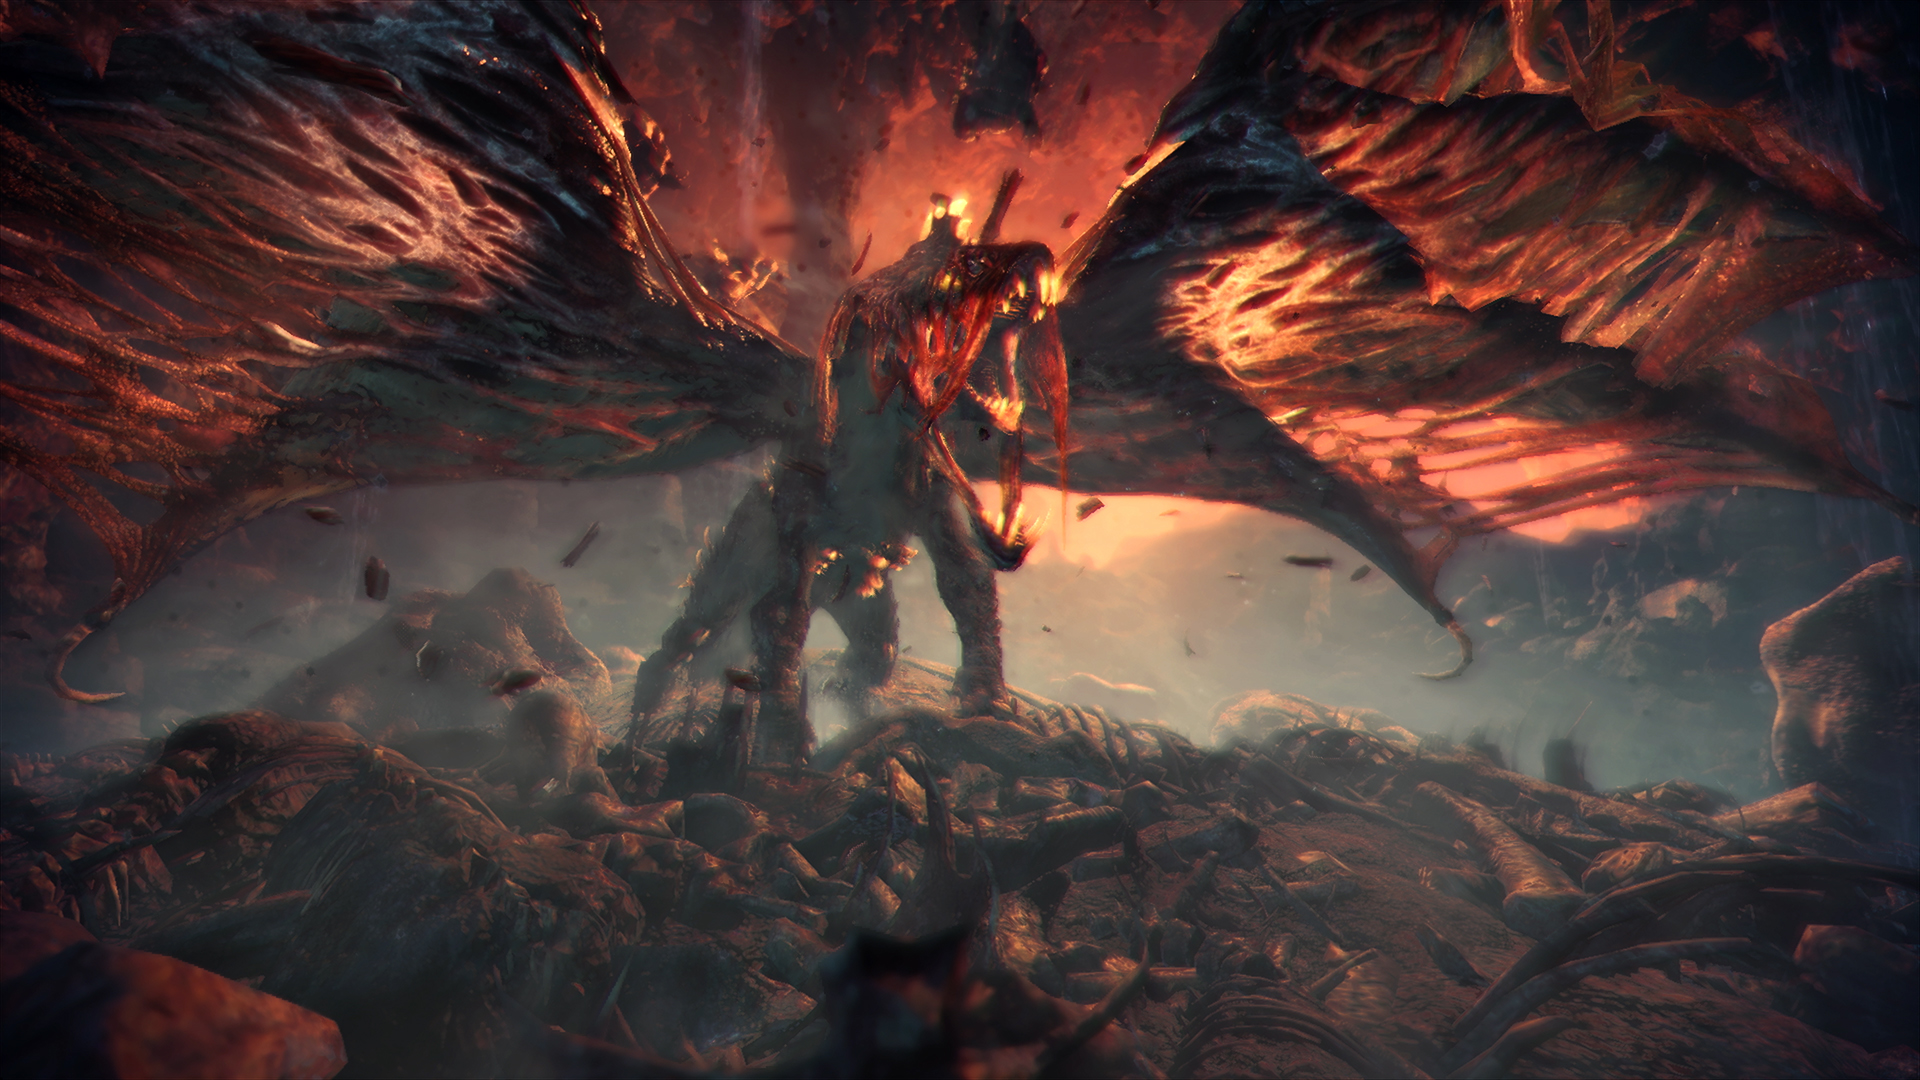
Vaal Hazak
Hidden by the poisonous vapors of its own effuvia, the Vaal Hazak is as twisted and putrid as the Rotten Vale itself.
The Vaal Hazak is a large, slow, lumbering beast that is relatively easy to hit. But it has a pretty clever defense against wily hunters: it emits effuvia from its body, doing damage over time like normal, but halving your HP at a much faster rate. It has to collect the miasma every once in awhile, so once it takes a lot of damage and you notice the fog around its body diminishing, it will rear back and suck the fatal vapor from the ground. It can also fire the effuvia like a breath attack that you’ll have to roll under or take big damage from.
The HP halving effect of the effuvia can be countered with the Effuvia Resistance armor skill. Otherwise, be sure to get as much HP as possible, either through food or Mega Nutrients. Nulberries will reverse the effect of the miasma, and Vaal is weak to Fire and Dragon. This is a good fight to have a Fire elemental ranged weapon on hand for, as standing toe-to-toe with this Elder without proper protection will wreak havoc on your life bar.
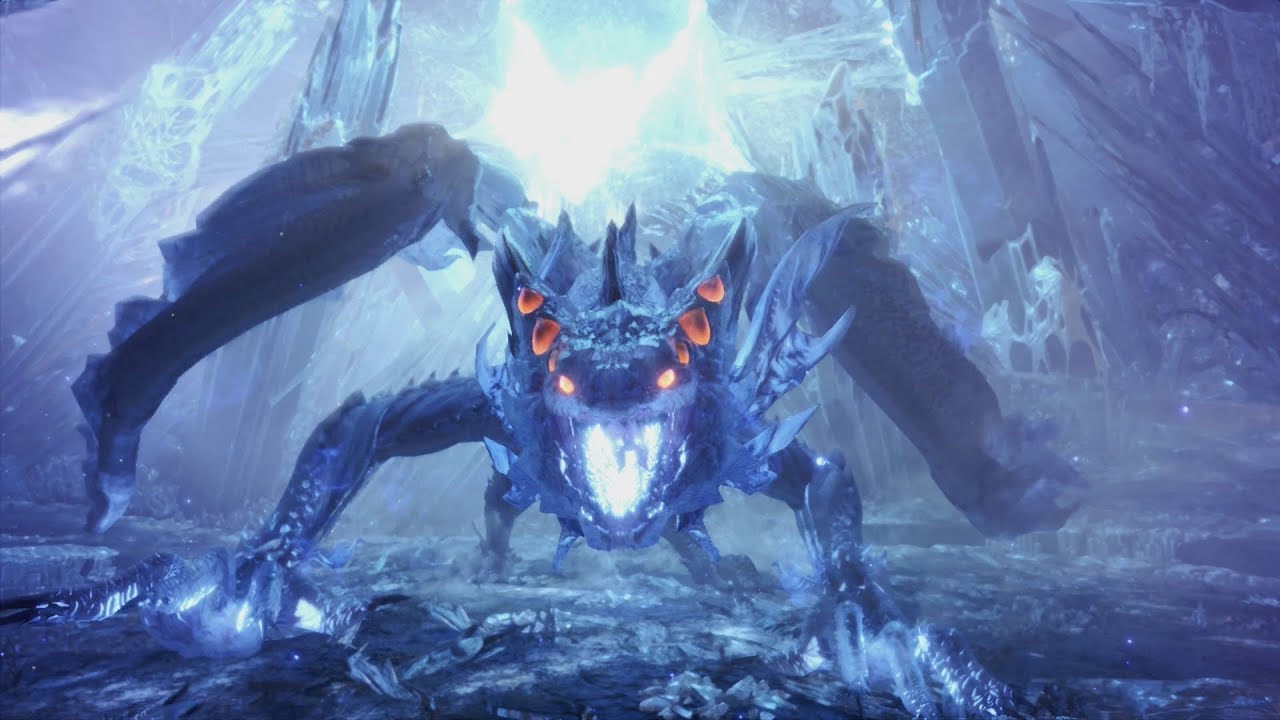
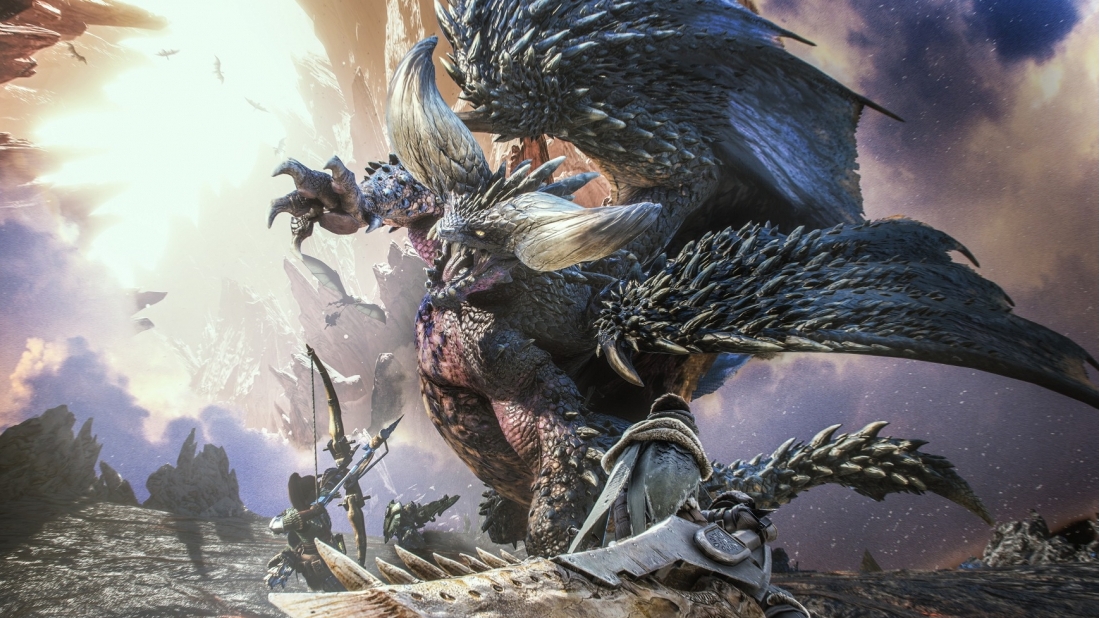
Xeno’jiiva
This pearlescent beast is the biggest Elder Dragon you’ll fight directly. It’s so tall that its feet are the only thing you’ll only be able to hit reliably without using a ranged weapon. It also moves around a lot, albeit not very quickly. This still presents a problem because it has a pretty long gait, meaning even if its foot is moving slowly, it’s moving pretty far away from you when it does re-position.
It’s pretty scary looking, but frankly, it might be the easiest of the Elder Dragons to slay. It has a few big attacks — some swipes and a charge — but of them, there are only two worth noting. When it rears up on his back legs and slams back down, you’ll need to make haste to get as far away as possible. It digs its claws into the ground and a huge eruption of energy explodes from the area , assuredly killing anyone stuck in the blast area. It also has various patterns of large energy beams, that it can either fire in one direction or sweep across in many arcs and angles.
Preparing for Xeno’jiva is pretty simple, as it has no particular strengths or weaknesses, element-wise. It cannot be stunned or paralyzed but is highly susceptible to poison, which is a nice way to get steady damage if you find the beast hard to hit. Beating on its feet is the best way to do damage — but avoid the monster when it’s raging, because its damage output can be unbearable. Both of its horns can be broken and its tail can be severed as well, so do both for a higher chances of rewards. Also, Xeno’jiva once defeated is carveable six(!) times, and its tail is carvable twice.
If you need more information on these legendary creatures, or anything that crawls, bites, or flies, please head on over to our Monster Hunter: World Wiki!