
UnderMine is an action-adventure rogue-like RPG developed by Thorium and published by Fandom that has a large amount of depth and complexity and can be deceptively difficult. As such, it may be easy for new players to feel like they are making sub-optimal decisions and being punished because of it. This beginners guide is designed to help point new players in the right direction by teaching the fundamentals of how the game works. In this guide, we will be covering dodging, gold, upgrade paths, secrets, and the basics of bosses!
Jumping & Dodging
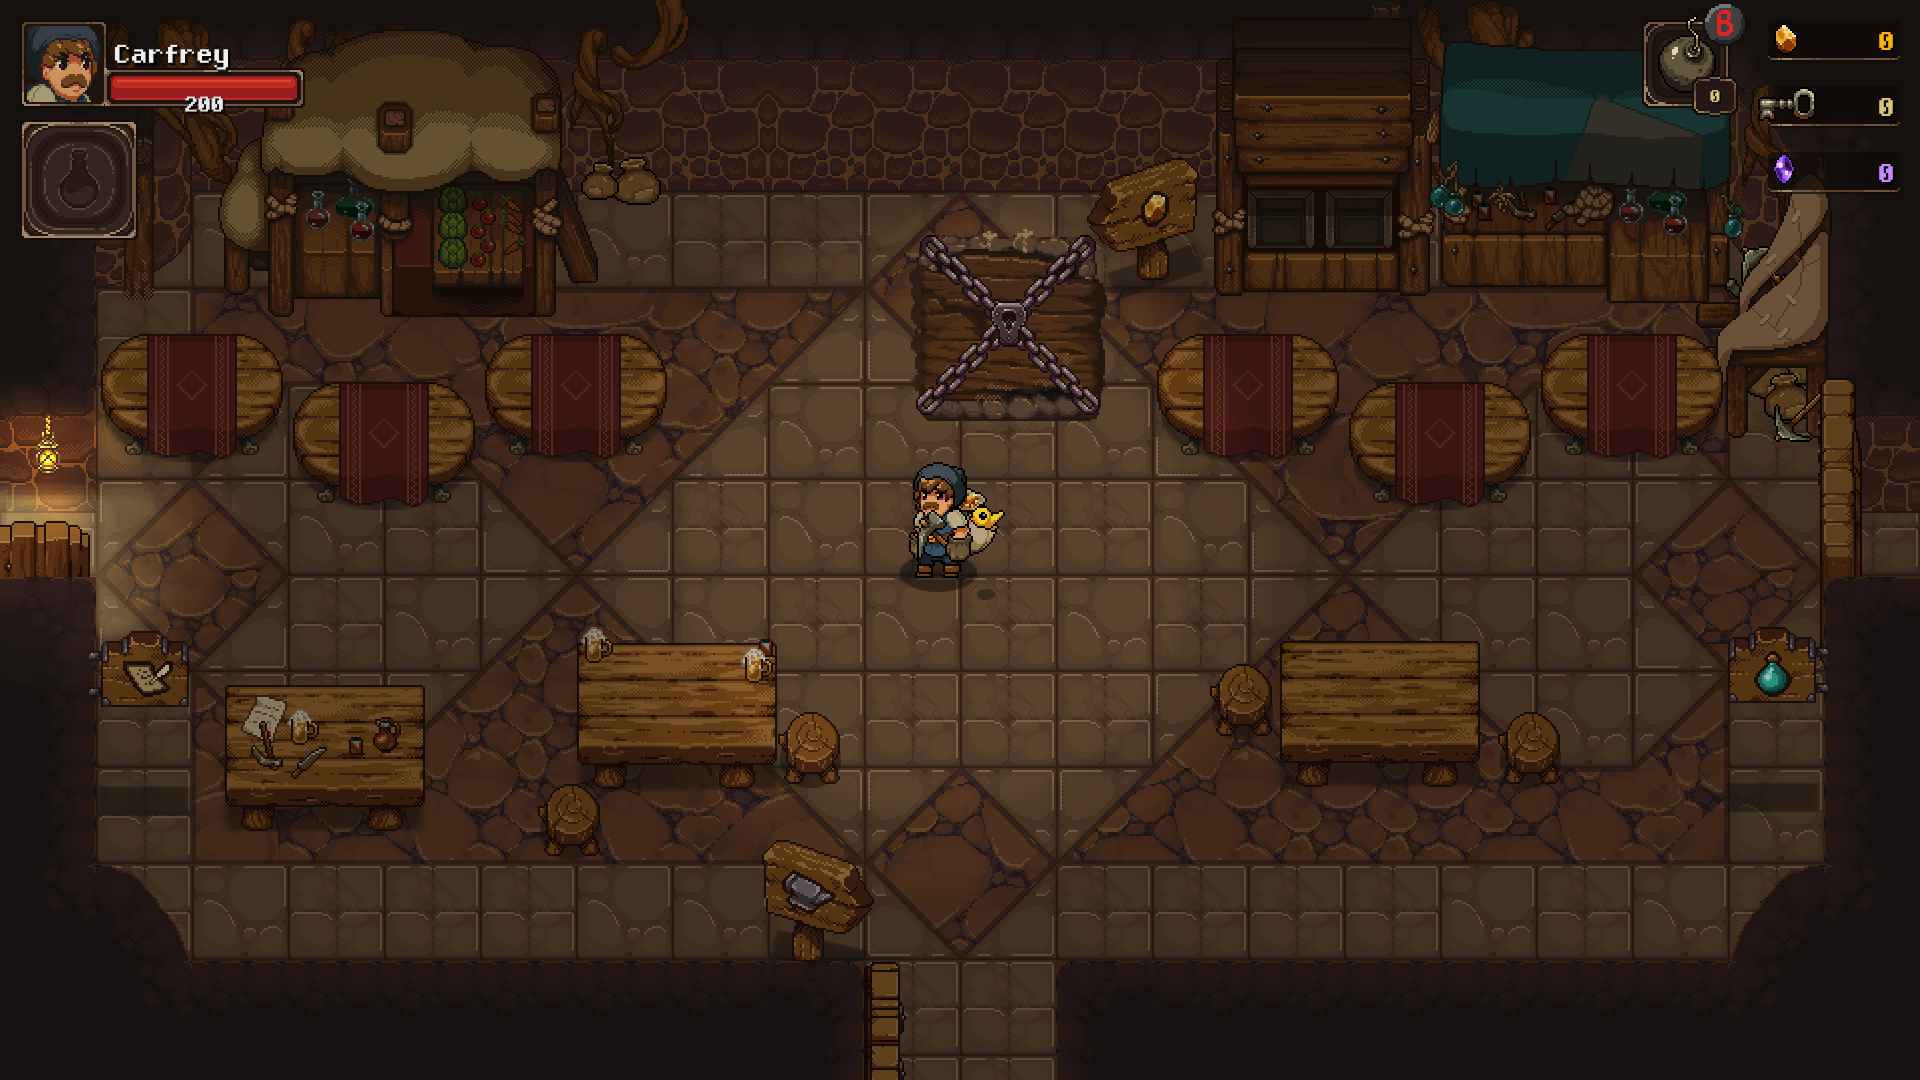
Most action games have some sort of dodge mechanic, where players are able to roll or dash out of the way of an incoming attack to avoid potential damage. UnderMine is no exception to this, but instead of a dash or roll, it’s a jump! Because of this, there are some inherent dangers and side-effects that players must consider before using the jump to dodge.
Let’s begin by discussing the concept of immunity frames. An immunity frame is a portion of a character’s animation (usually during some type of dodge animation) that makes them immune to any incoming damage, regardless if they are being hit directly or not. Immunity frames are common in many action games, and the jump in UnderMine provides a short moment of damage immunity to most damage; however, it’s still possible to take damage from damage-over-time effects–such as burning or poison damage. Therefore, it’s critical that you utilize your jump as often as you can when attempting to avoid damage from monsters. It’s likely that you will find yourself rapidly alternating between a jump and a single attack for the most optimal dodging.
Additionally, while mid-air, it’s possible to move your character around but this presents it’s own set of potential problems. Because you are jumping up into the air, it’s conceivable that your character may land on dangerous objects accidentally. This includes spike traps, fire, and holes in the ground. When using your Jump, be mindful to position your character to land in the safest area possible! Players who are able to master the jump as a dodge and make good use of their immunity frames will be capable of greatly reducing the damage they take during play!
Gold
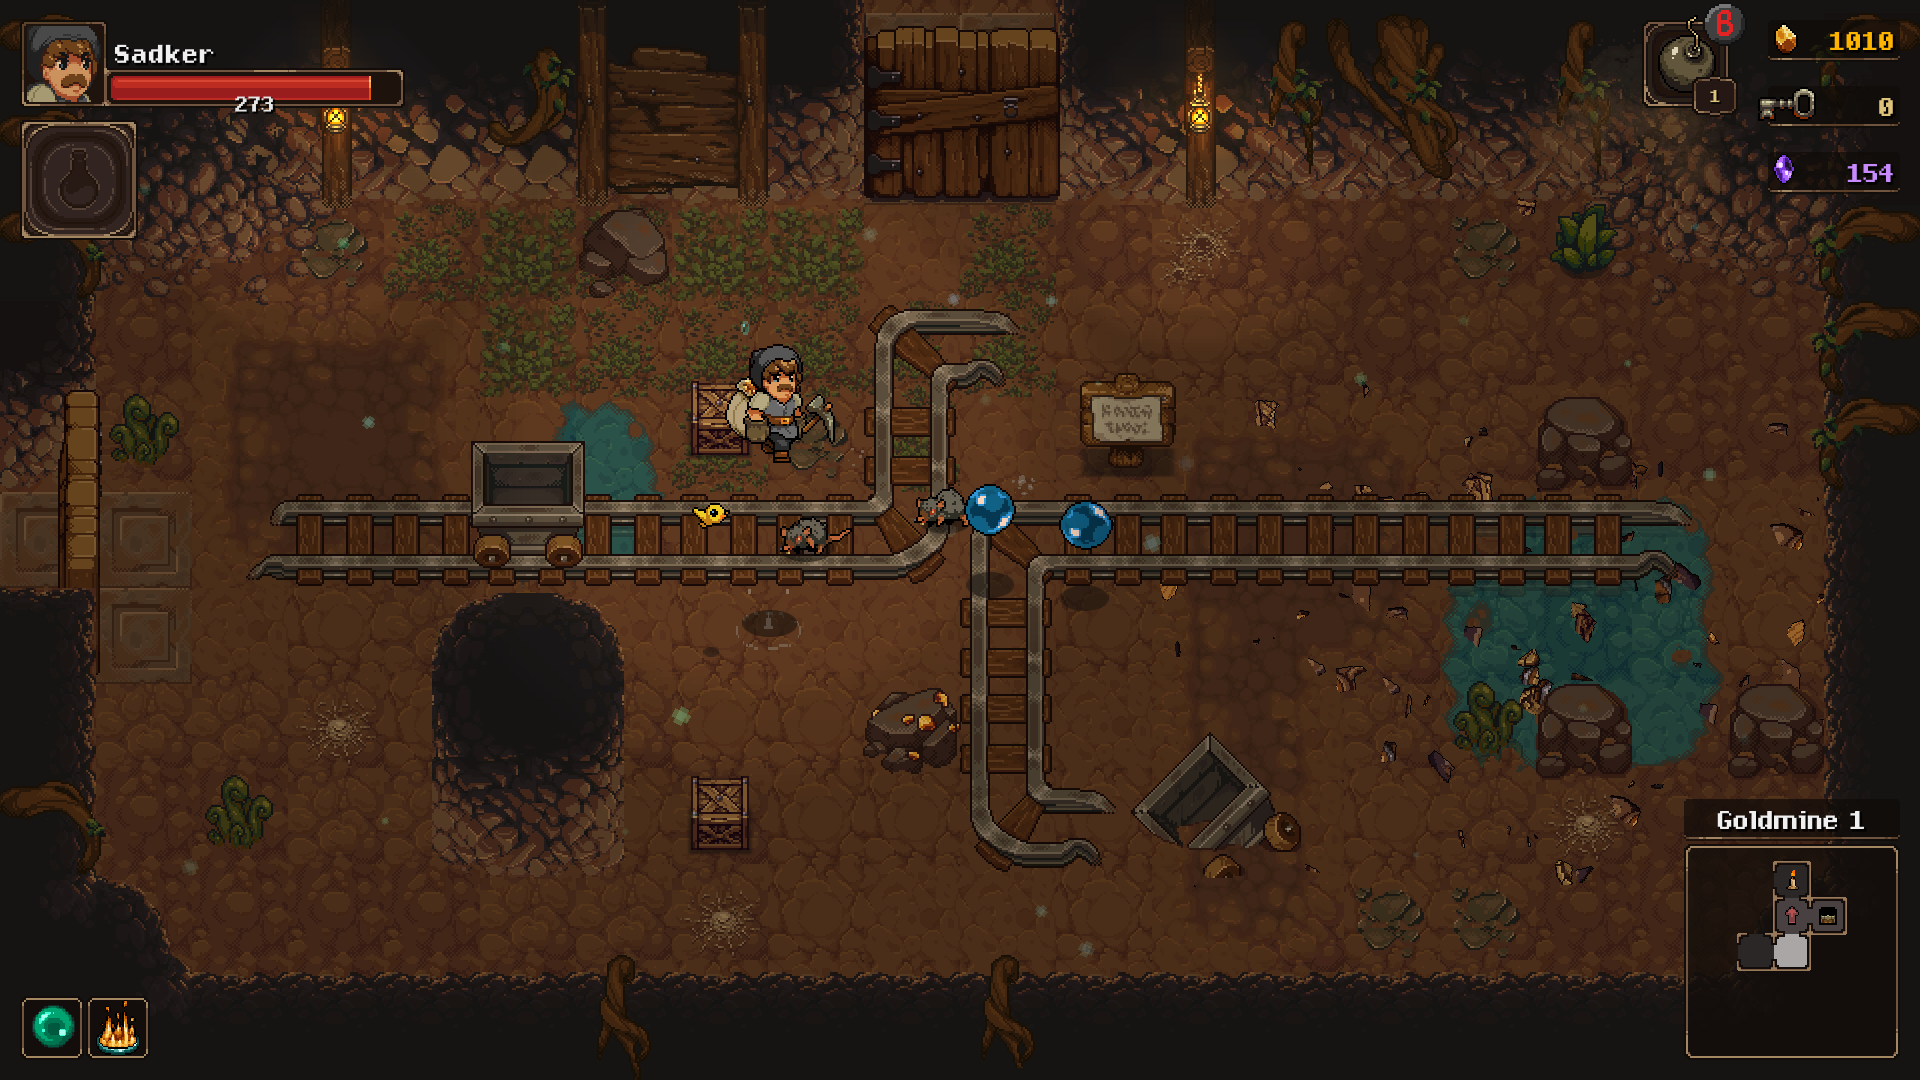
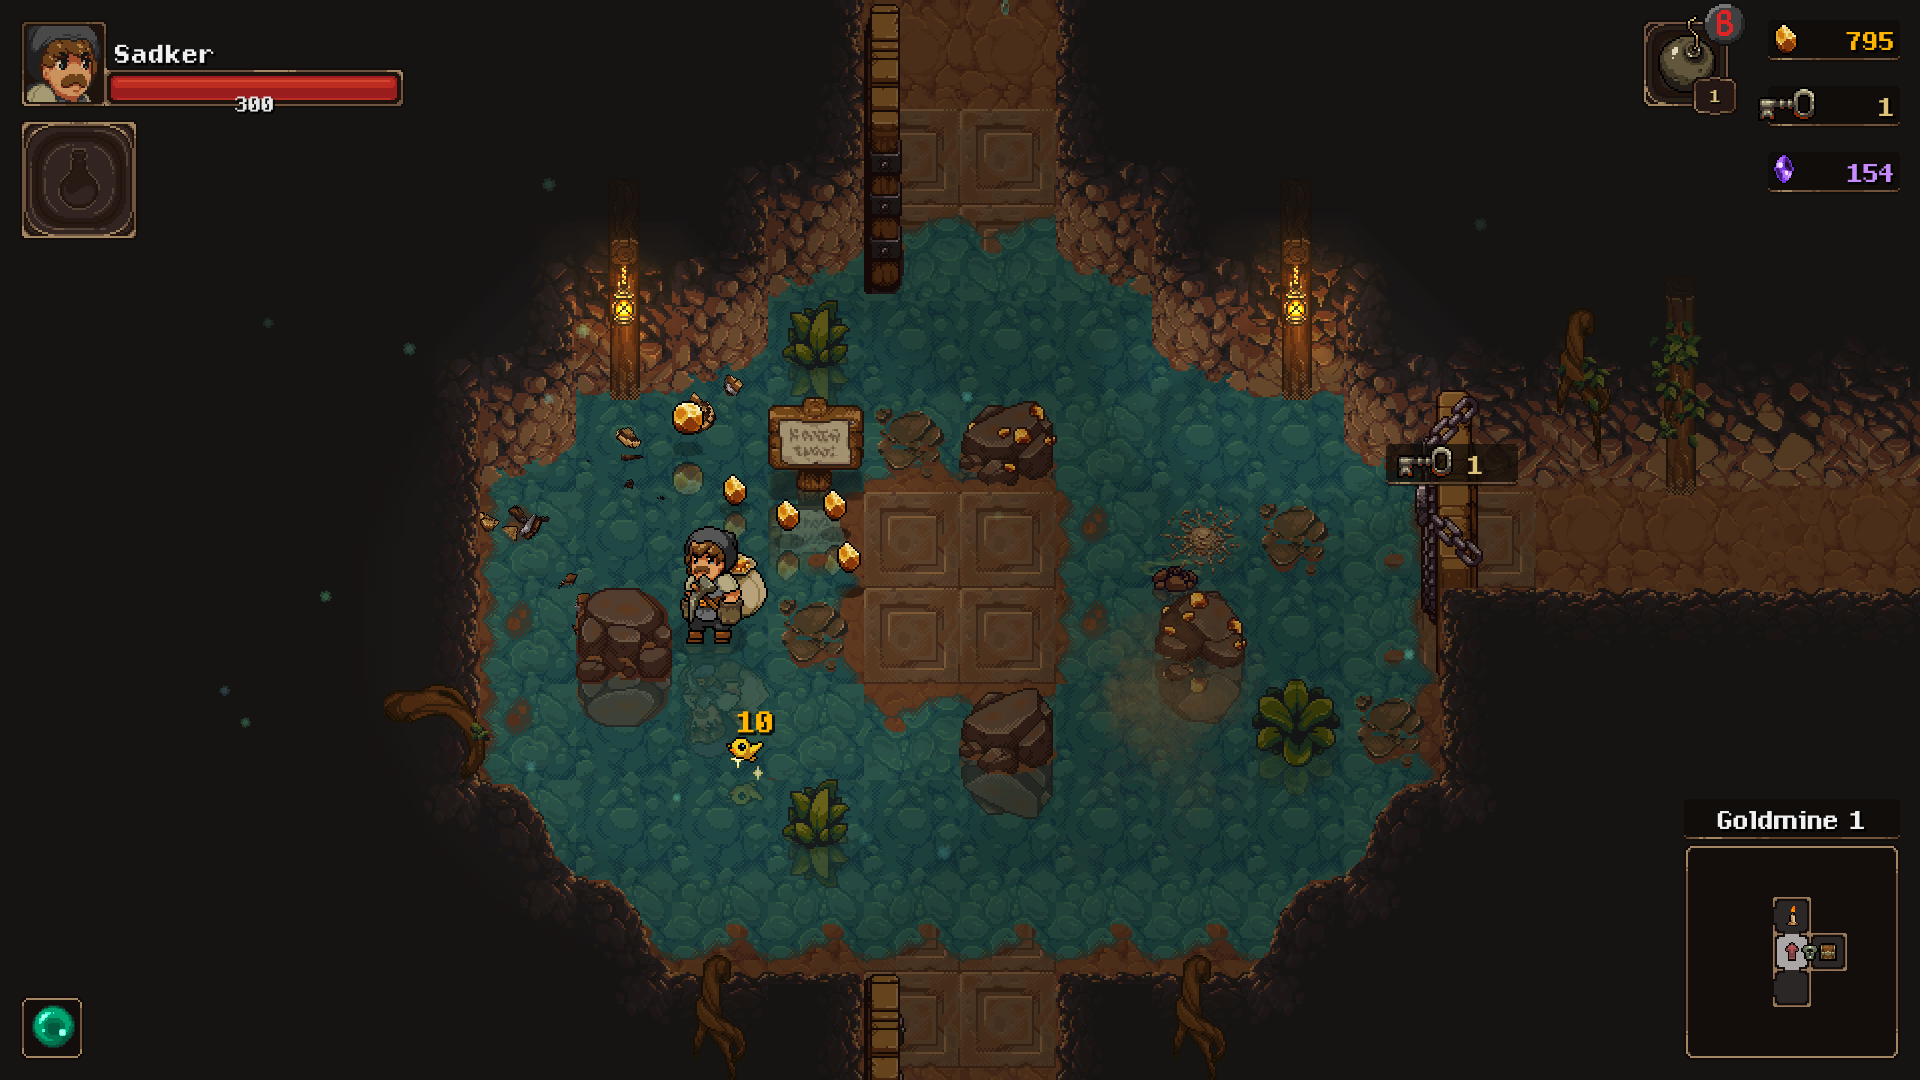
Gold is a critical resource to manage in the UnderMine. While adventuring, you will find gold in chests, crates, vases, and from gold deposits within the different rooms. These gold deposits can be inside boulders or gold veins, so be sure to check all of the walls in a room for gold veins before moving on to the next room! Whenever gold is on the floor, Pilfer’s will come running in to steal as much as they can before you collect it all. They can be attacked and shooed away, but always prioritize picking up the larger pieces of gold (which are more valuable) over smaller pieces.
While delving into the UnderMine, the gold you find will be used to purchase relics, food, and various items from a variety of shops; however, gold is also used to purchase upgrades from the shops back in your base when you die. Therefore, spending as little gold as possible while in the UnderMine and instead bringing back as much as you can upon your inevitable death is vital to making game progress. Knowing the difference between when to purchase items while spelunking to maximize your progress and when to hoard your gold right before you die is a knife-edge balance that can be difficult to master. The deeper you get within the UnderMine, the more gold you will be collecting, but enemies become much more dangerous as well.
There are several relics that will help with gold collection that can be randomly found while adventuring into the UnderMine. Finding a Sewing Kit relic will allow you to bring back all of your current gold when you die, and creating the Golden Idol will immediately give you a massive chunk of gold. The Golden Idol is created automatically once you have both the Adventurer’s Hat and Adventurer’s Whip simultaneously! Additionally, the Golden Powder relic will rain gold down anytime one of your bombs explode, and the Golden Popcorn relic will give gold a chance to duplicate itself!
Upgrades
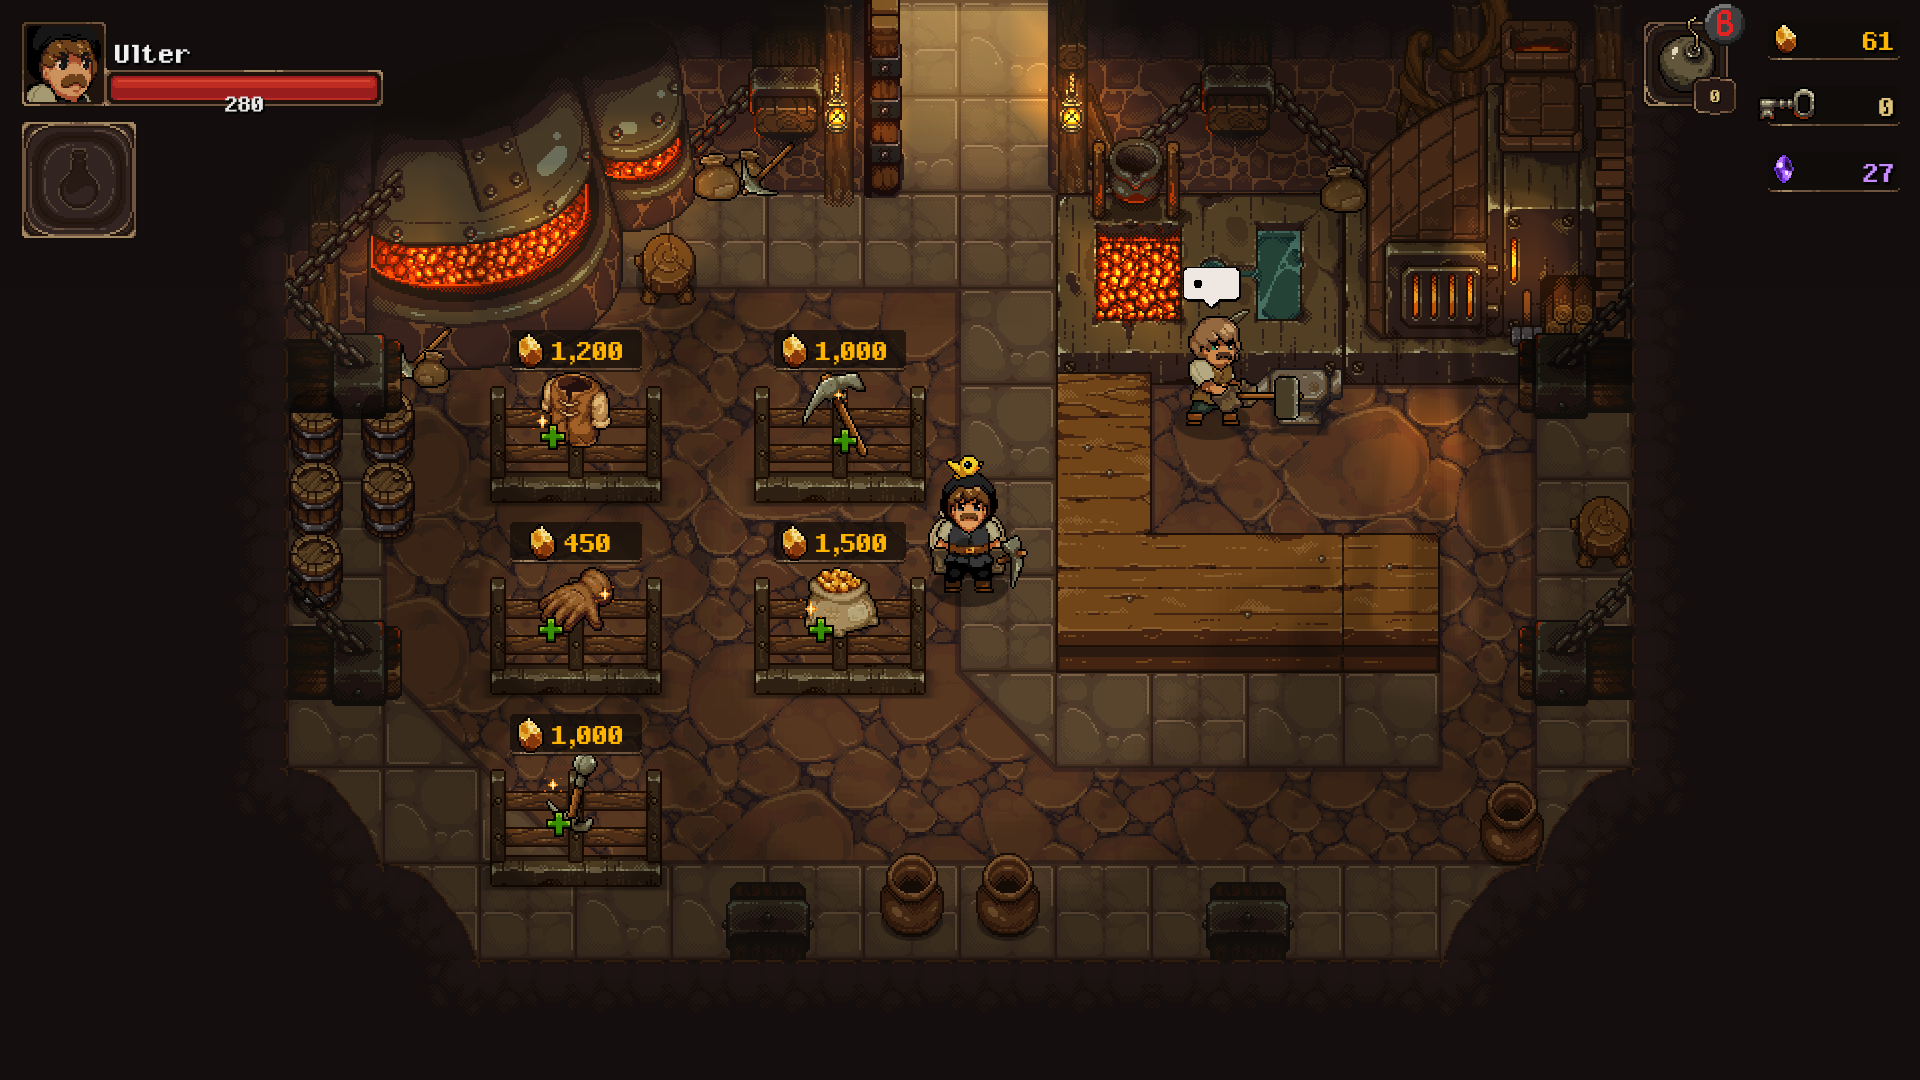
There are many permanent upgrades you can purchase when you unlock specific NPC’s. First, Wayland the blacksmith will give you several upgrades for boosting your swing and throw damage, as well as your max health, throw range, and reducing the amount of gold you lose on death! You should prioritize the Sack upgrades whenever you can afford it in order to optimize the amount of gold you return with upon death. The upgrade priority from Wayland should be as follows: Sack Upgrades > Swing Damage > Throw Damage > Max Health > Throw Range.
Once you rescue Beltrame, you will unlock Baba the Alchemist who will aid your character in crafting potions before you head off on an adventure. This will also unlock two upgrades which will grant you access to a second potion slot and increased potion duration. Unlocking the additional potion slot should be a priority, as this upgrade can be extremely powerful; however, if you find yourself forgetting about potions, then it’s best to ignore this upgrade.
Rescuing Dodson will unlock the ability to upgrade the damage of your bombs, but also allow you to unlock Echo Blast, which allows your bombs to blow up the blueish crystal rocks that are found within the UnderMine. Echo Blast should be a high priority upgrade once available as it will give you access to a quick-travel NPC at the beginning of each new biome. With Echo Blast, you have the ability to skip all four levels of the Mines and begin your adventure at the Dungeon, or even start all the way down at The Halls once unlocked!
Finally, Arkanos the Archmage has some upgrades of his own to offer. Purchasing the seasoning upgrades should be your highest priority as it increases the amount of healing food does when picked up. This can have a significant impact on the longevity of your spelunking, especially when combined with the Butcher’s Cleaver and Pocket Grill relics! These upgrades are rather expensive, but should be your highest priority if you have enough gold.
Secrets, Blessings, Curses, and Traps
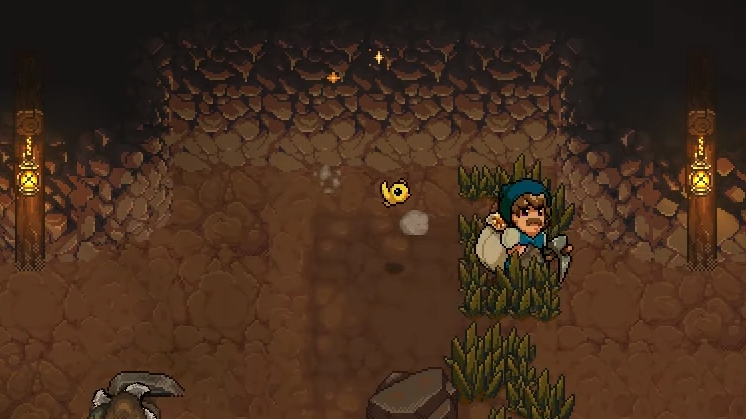
Within the UnderMine, there are various secret rooms that can be discovered, some of which are visible if you know what to look for. Before leaving any room, take a quick look at walls without a door on them. If you see a sparkling shimmer, this indicates that there is a secret room on the other side. To access these rooms, simply place a bomb next to the shimmer and the resulting explosion will open up a secret entrance! These rooms often have significant rewards within them, but aren’t the only secret rooms available. When destroying boulders, there is a small chance for a set of stairs to appear. These secret stairs can lead to rooms containing chests, blessings, or potentially a secret shop!
While adventuring, alters provide blessings at the cost of also being cursed. Most of the blessings are powerful enough to justify becoming cursed, especially considering that curses can be removed with some potions and even other alters! You may also find purple chests in your adventures, and these should be avoided in almost every case. While they provide significant rewards, such as lots of gold and potions, they will also curse you. Without the offset of a powerful blessing, these cursed chests may only be rewarding when desperate for more gold or a particular potion.
Speaking of chests, some of the chests you find within UnderMine may be trapped! Opening a trapped chest will spawn several bombs which can be avoided if you jump away quick enough! Chests also have a small chance of being a Mimic, which can prove to be a significant challenge if you haven’t purchased many damage and health upgrades yet. There isn’t any good way to avoid or detect these trapped chests, so be cautious when opening them!
Optional Bosses
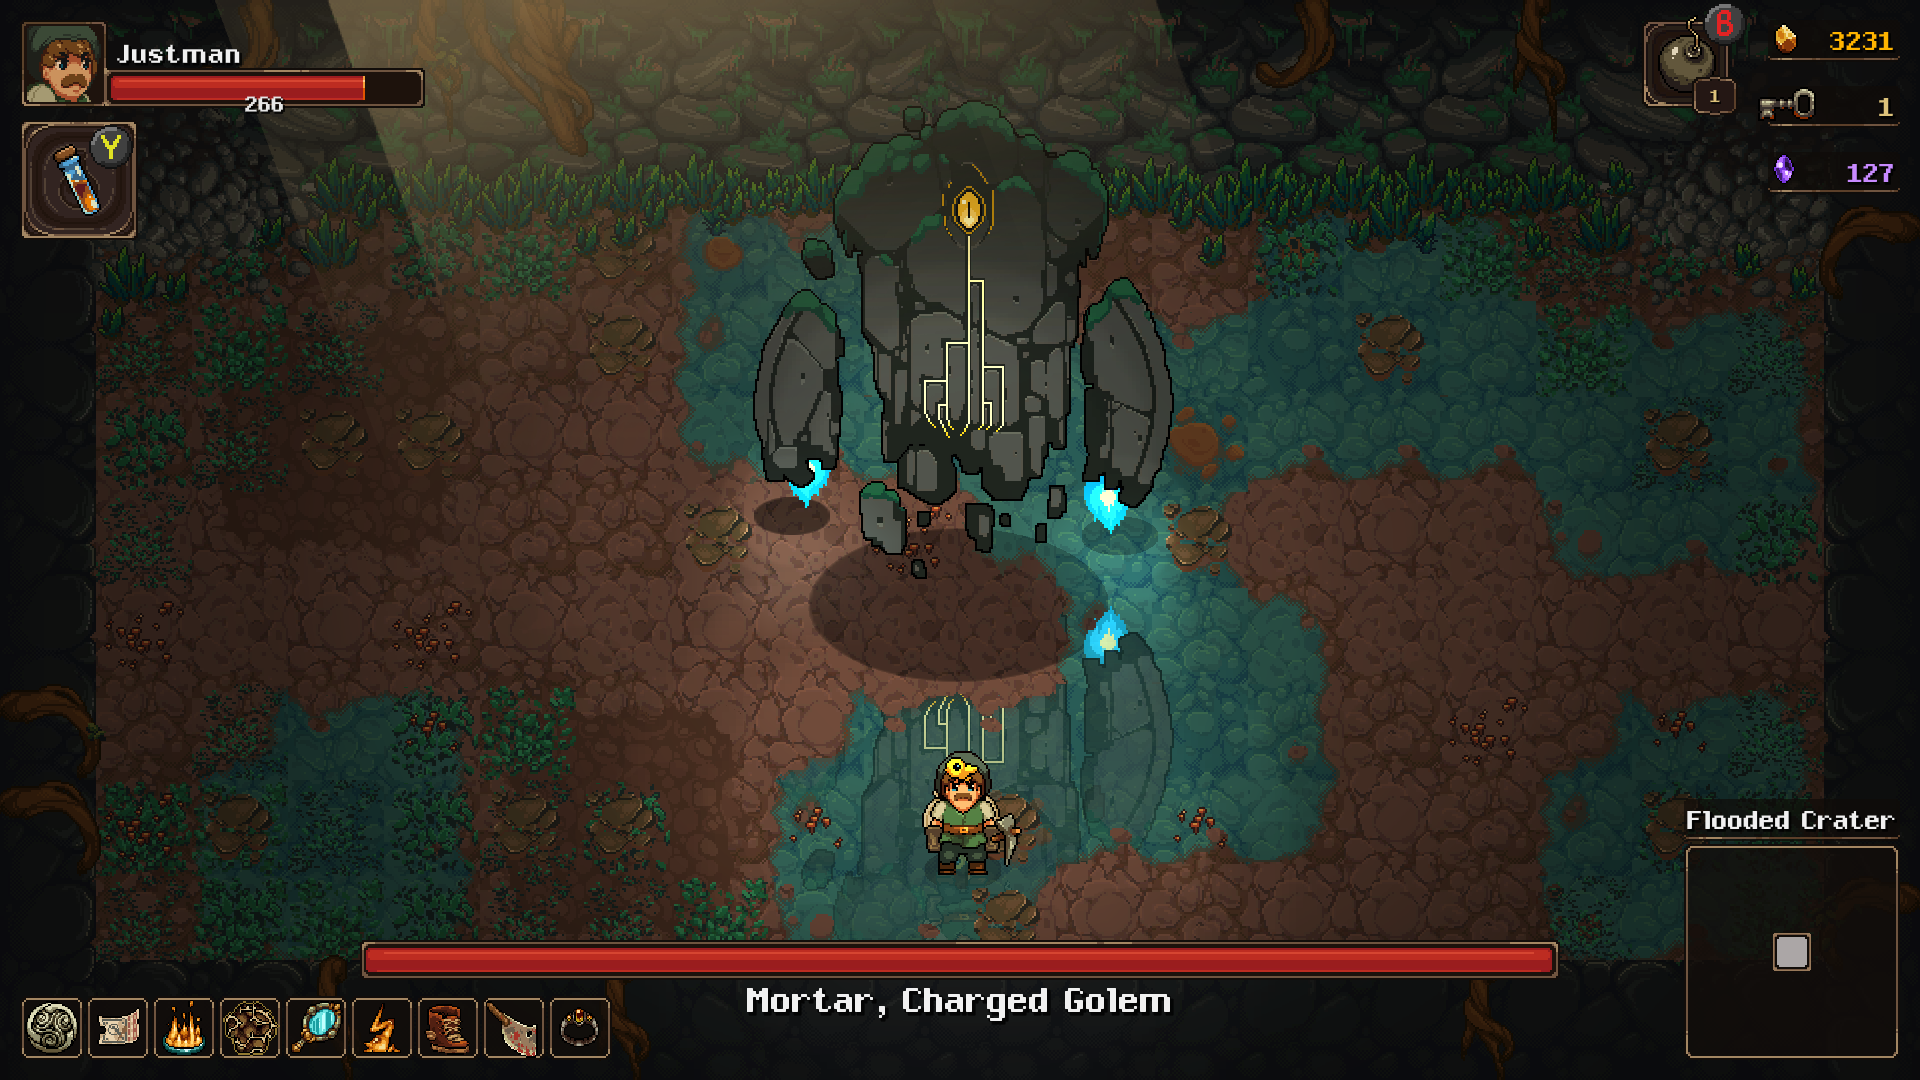
UnderMine has several very difficult boss fights. The first and final bosses are not optional, and entering their rooms will trigger the encounters. There are also two optional bosses in the game that can be avoided and delayed until you have acquired enough power to defeat them. The first optional boss is found on floor 4 of the Mines, and it will be hard to miss the entrance to his room! It may be easy for new players to conclude that the only way into the locked Dungeon on the same floor is to kill this boss; however, killing the two guards outside of The Dungeon will have the same effect! Doing so, and then entering the Dungeon, will provide significantly more gold to purchase upgrades with!
The second optional boss is found on floor 4 of The Dungeon. Again, it will be hard to miss the entrance to the boss room, but it’s possible to enter The Halls by pulling a lever and accepting several curses instead of fighting the boss. Unfortunately, unlike The Dungeon guards which remain dead for subsequent runs once you defeat them, you will be required to accept the curses each time you want to enter The Halls. The only other way around this is to unlock the fast-travel NPC which will teleport you to the first floor of The Halls without any of those nasty curses. Defeating the boss will give you a key to permanently open the entrance to The Halls, allowing you to enter freely without curses.
UnderMine can be an unforgiving game at times, but this beginner’s guide should provide the tools to master even its toughest challenges! For more information on UnderMine, be sure to visit our official Wiki here!